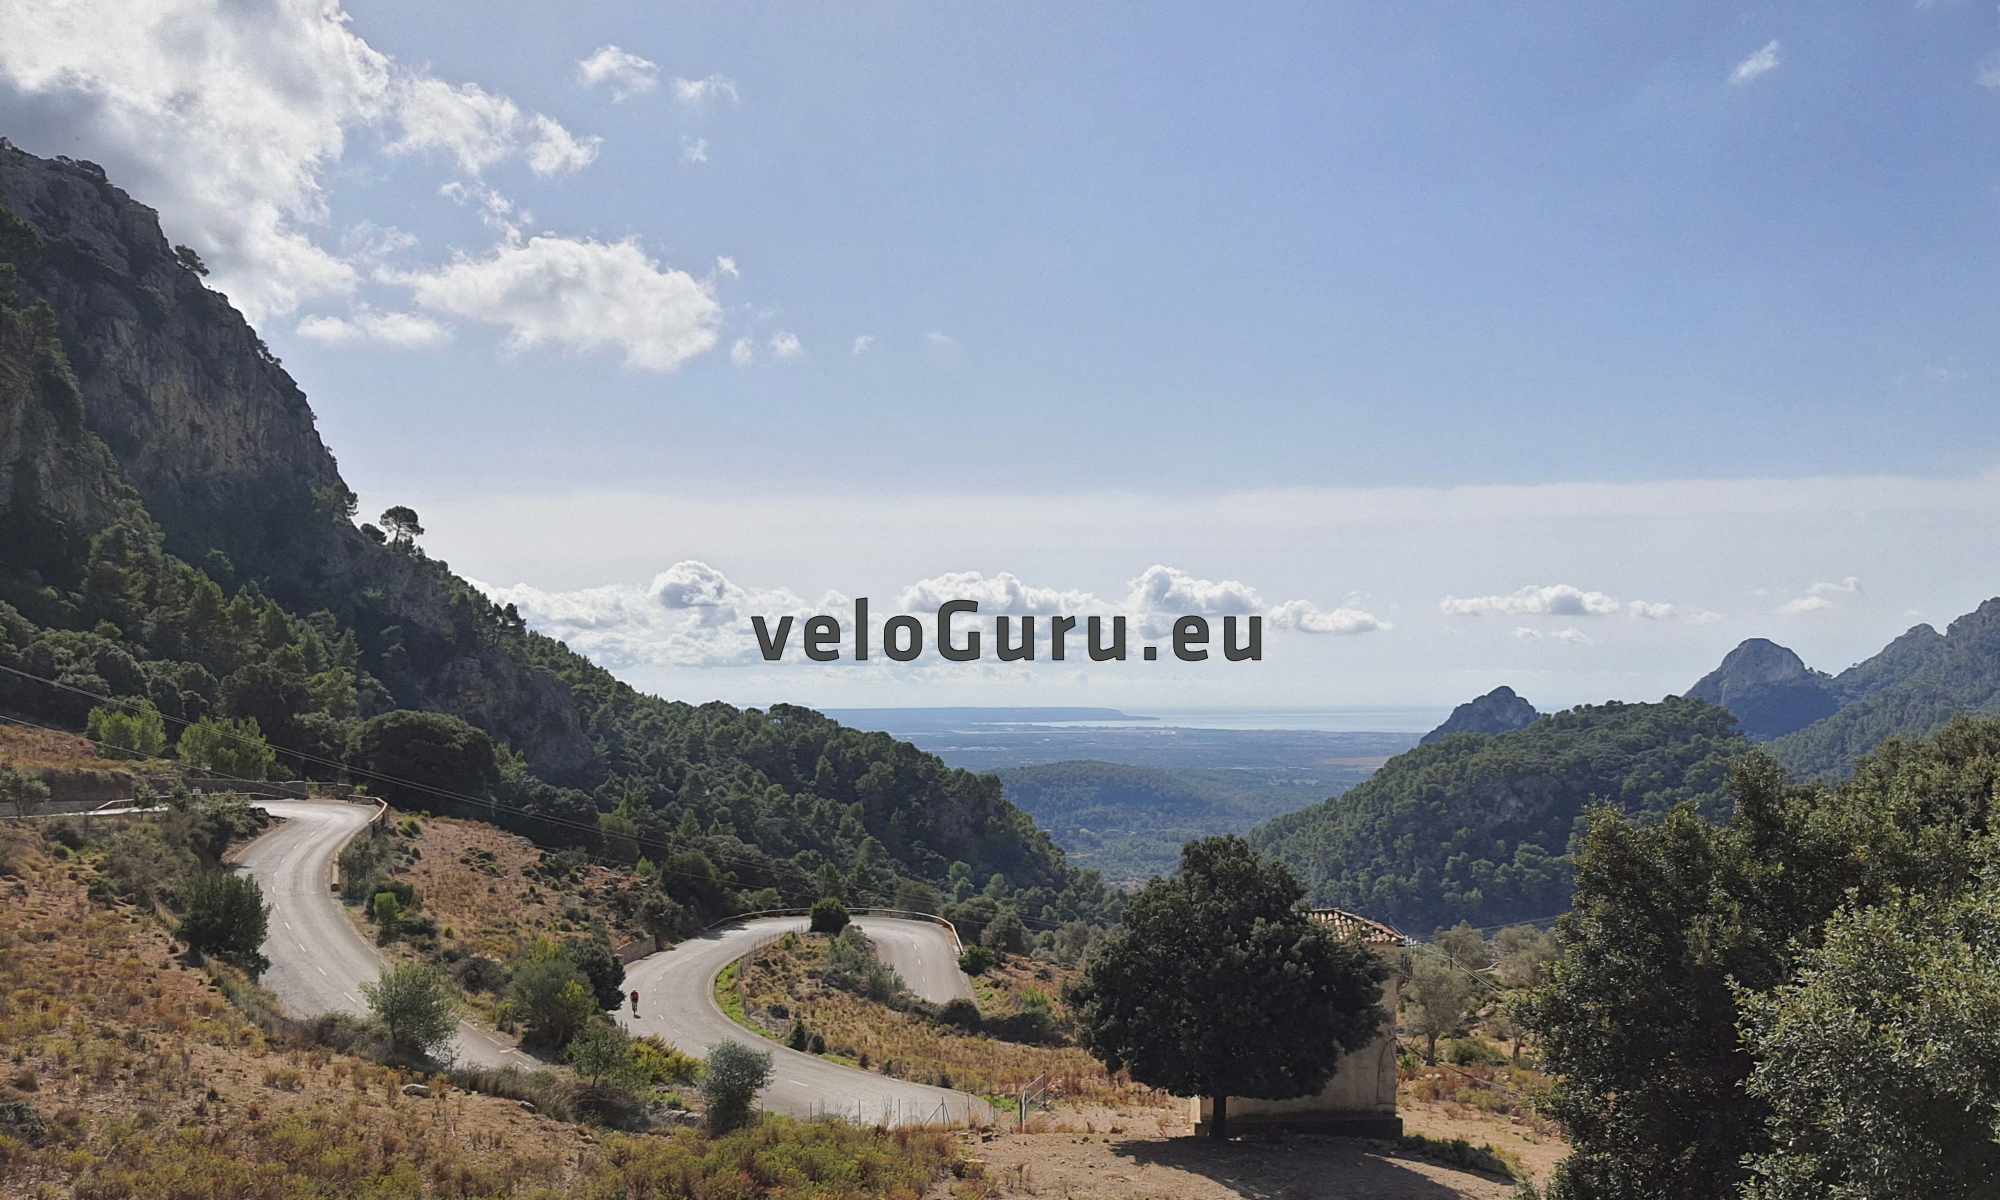
This is just what it is – a short clip taken by my then insta360 X5 down and up those hairpins.
Post-CoViD Island rides
I will not be getting into the darker period prior to my current recovery (which is going great now, thanks for asking).
I want to focus today on a new camera, engineering fails of camera clamps, sun and mountains. How I got me and my bike safely through air travel, you can read here.
The camera in question is the X3 by Insta360 and yes, both the naming strategies of their company and their camera models is less than ideal in my view. Whereas their cameras are actually very good for their intended use, and great fun to use (not sponsored or affiliated in any way).
While there is plenty of info on their cameras online, I want to issue a warning about the levers on the clamps that hold those cams to our bike frames (or, whatever else).
As I found out due to failure on location, those levers are sometimes fixed to the threaded bolt they are meant to turn, by a left-handed thread, and some glue. Yes, you read that right. And yes, I was stunned to find that out, with a lever detaching from the clamp while turning it right way…
Even with my most recent, less-than cheap (and now ‘retired’) clamp, the glue gave up, and so instead of fastening the brackets around my handlebar, the lefty-thread just unscrewed the lever from the threaded bolt, which left me stunned in the presence of such a sad design choice. Those levers need to be locked in place obviously, withstanding both left and right turns to safely open and close those clamps. And no one in their right mind would even assume this could not be the case! So before you buy, try to find out about this point of failure, it is my second model in one year!
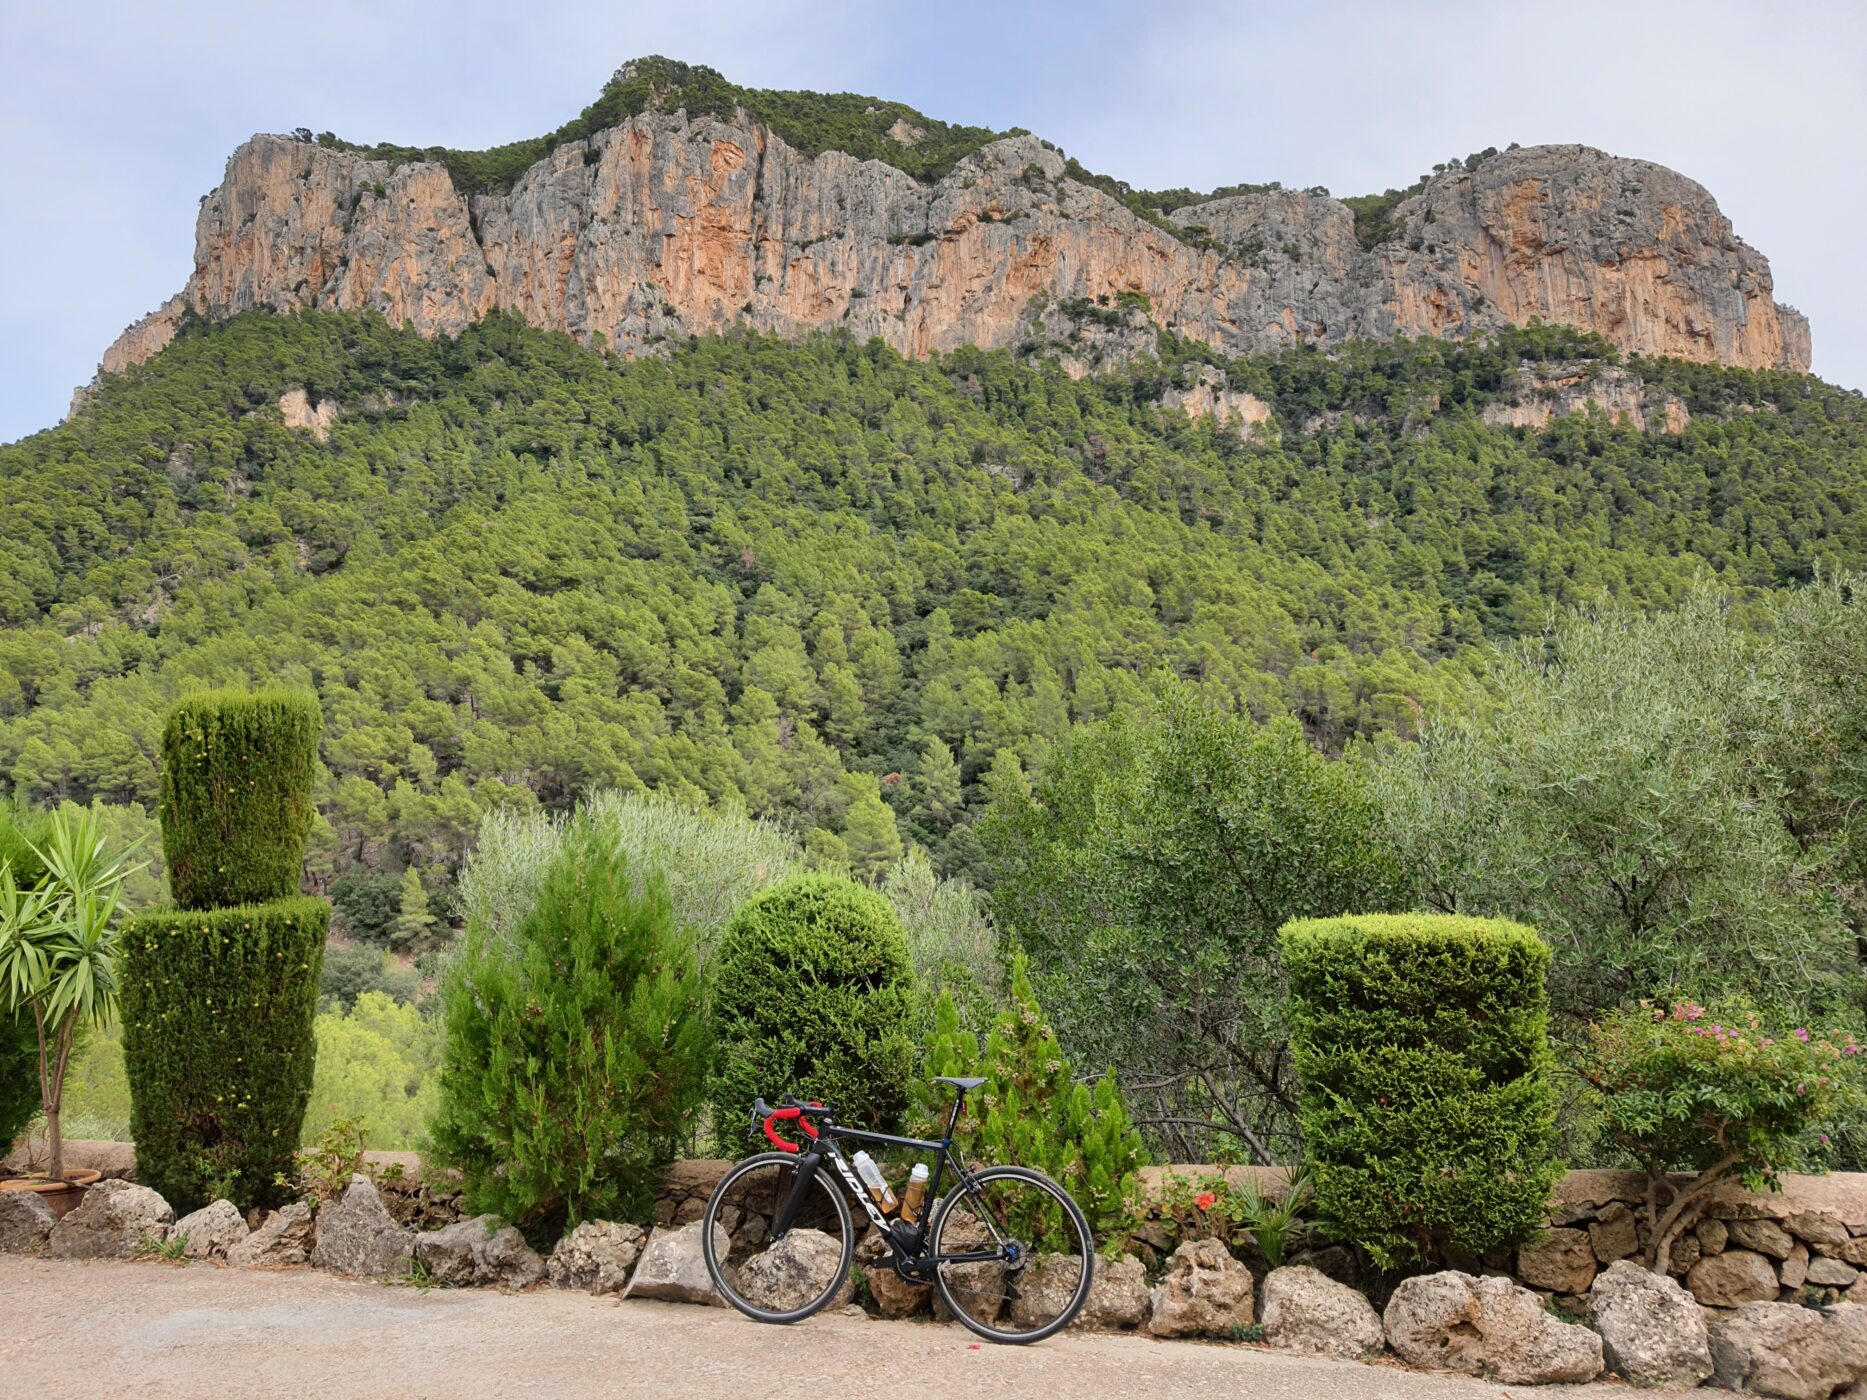
I tossed the thing in the bin on the road across Tramuntana to Sa Calobra, and since that third morning on the island, I was only able to film handheld (and because I am not suicidal and like to have both hands on the bars, only ascends have been filmed 😉 .
The resulting clips show the extra exhaustion caused by going up hill with only one hand on the bar, but more importantly, beautiful scenery. Here you go.
And before the clamp failure, I went from Paguera to Puigpunyent via Galilea:
Chain lube options / now ultra sound waxing
I heard from sources I trust that they are running one chain on their gravel bike for 30.000km. With hardly any signs of wear on the chain, or the whole drive train.
Even for half that life-span, I would be intrigued, as it saves resources and also, cost!
A lightweight cassette being retailed for upwards of 250,- Euros lasting 30K Km…
This year I have finally taken the leap away from drip-on solutions like “Squirt Lube” to the immersion waxing method (see drip-on-post HERE if you’d like).
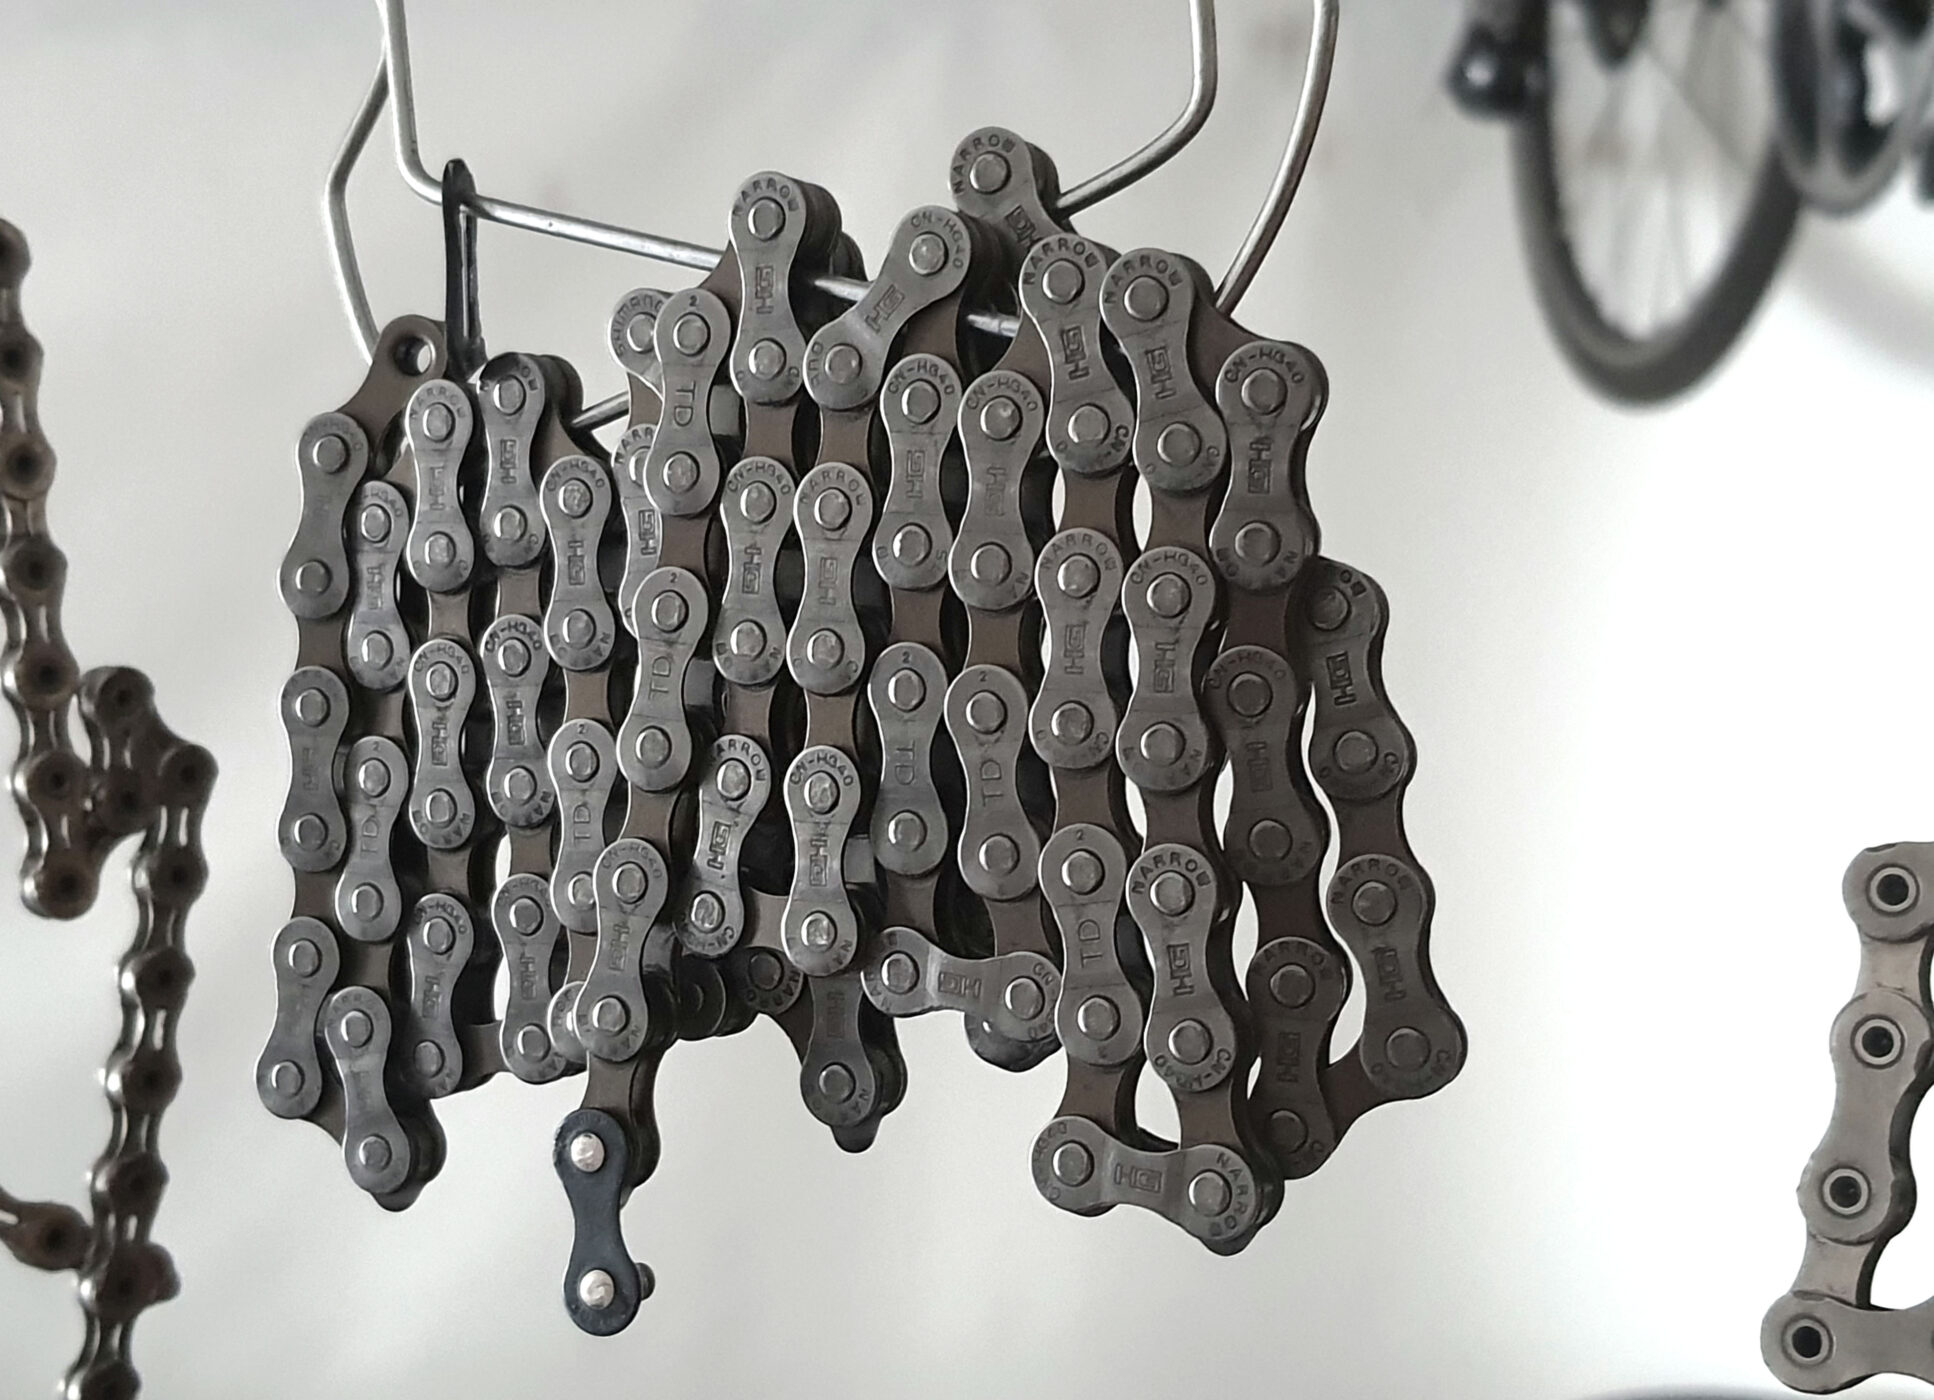
The results are speaking for themselves right away.
Having two bikes converted two months ago to immersion waxed chains, I can say I have never had a more silent drive train. Also, it looks even more clean than with drip-on wax, after the initial overshot wax has fallen off. So far, so brilliant.
I meanwhile have two prepared chains per bike, and upgraded to an ultrasonic cleaner with a big enough basin and a heating function.
The cleaning of a used chain in mildly soapy water with this device is as quick as it is comfortable, especially when using an open tupper ware box (or similar) for the chain and soap, and immerse that container then into the water basin of the device – which stays completely clean itself then. At 80 degrees plus ultrasound, the dirt comes off in 3 rounds at 5 minutes each, easily.
The re-waxing happens the same way of course – a container for the re-usable fresh wax block gets immersed into the basin with the hot water inside, the clean chain and quick links get dropped in, and the ultra sound energy both heats up the system closer to 90 degrees and shakes the very fluid wax into all the dents and crevices around the rollers of the chain.
Take it all out and hang up to drip-dry into the wax container, and then fold the chain into a sealed plastic bag. I like to put labels on with kms ridden and cycles waxed, just to keep a tab and get my numbers correct at the end of the drive trains’ life.
And, we’re up and running again.
///
Some history, and method without an ultra sound cleaner:
Before that sophistication and really, simplification of the process, I had bought a cheap crock pot / slow cooker, white spirit, isopropanol alcohol and some containers. For the future, I hope more people are sharing their tools for a small fee or so, so neighbours can have chain-cook-outs together, maybe 🙂
First lesson here was, getting a pot with automatic temp control, so the wax sits nicely at 90 to 95 degrees Centigrade, so as to easily infiltrate all the tiny spaces within the fully degreased chain, while not fully boiling and evaporating.
The waxing itself is actually fun and rather quick.
The necessary one-time degreasing part is the less enjoyable solution, but tolerable.
We are talking 30.000 km here, after which the chain might need to be swapped for a new one, and thus only then degreasing will be done again.
It takes me three full rinse cycles in white spirit, to get a new chain grease-free.
The used fluid I collect in a bottle to bring to recycling, of course. Cannot get into water ways!
Then another two to three rinses with Isopropanol alcohol, which is a breeze (do not inhale too much, though ;).
Then let dry fully, and get the wax heated up, stir for a bit, and hang to cool.
Include any quick-links should you use those. Wipperman Connex is lovely, can be opened and closed without tools and lasts many closing cycles.
Up the hill on the rocks, with a camera and telemetric data
Just for fun, and for the future possibly with more camera angles – using cameras elevate and accelerate any bike fitting process, too.
This is an aluminium bike, the only carbon fibre parts being the fork and the saddle, composed out of four different “groups” of Shimanos’ offerings.
Brakes, wheels, bottom bracket are all sourced elsewhere, I installed special gearing outside of manufacturers’ specifications, and am running 32mm wide 700C tyres and a 36cm wide drop bar. Coming to a total of 7.6kg ride ready, at present.
With this new gearing, I feel confident even on 17% gradients on loose terrain, while feeling still confident descending at relatively high speeds (high within my personal stress tolerances, meaning never above 70 kph).
Here is the short version of my most recent ascent, starting point set in the gnarliest bit, right before the peak of that mountain:
Here is the full version, should you now feel so inclined:
Bottom bracket spin test. Say nothing.
They actually are tricky to really make assumptions about the real friction.
As we do not know how the grease inside behaves under load, when getting warmer, and so forth.
What we can certainly say though, is that this frames’ bottom bracket shell has been properly faced to have clean, smooth and perpendicular surfaces for the bearing cups to snug up against, allowing the spindle to experience the least possible friction from misalignment.
So, these “race” bearings, with oil instead of grease, no- contact seals and being of the best quality available, show us certainly this, at least.
Power meters, souplesse and feel
I have received an email from a dear fellow cyclist (his Youtube here) residing in Thailand, as to what my take is on powermeters. Specifically, if they are apt to teach us better pedalling and if we put an equal amount of torque into both left and right crank arms.
Full disclosure: I do not have much first hand experience with different systems. But I have some ideas about them I am willing to share. Also, I will include a link to a youtuber who is deep into the matter.
My first power meter was a heart rate monitor. It has nothing to do with “souplesse” of course, but I keep circling back to using those to get a better feel of “felt exhaustion” in relation to the actual state of my heart and “rpm”.
While I did extensive research (as I tend to do), I since only opted for a single sided system in form of Stages Power (not affiliated or endorsed), which seemed to be a practical because it can easily be interchanged between any crank set of the same spec (i.e. spindle and crank length).
The data output correlates significantly with the heart rate monitor, but is of course much more imminent as torque put into the crank is measured many times per second and displayed on the head unit immediately. And the heart takes a little longer to react to exertion and resting periods.
I do like this system a lot, especially to show me more directly where I am headed (full on blowing up soon, or, possibly a sustainable effort) on ascends and into headwinds.
As for souplesse or at least, balancing power input between left and right foot, I believe a well tuned dual sided system can help. I would probably check into a pedal-axle system because it can be easily transferred between bikes, despite the fact that an increase in stance (“Q-factor”) can have some effect on comfort on the bike, and might take some getting used to.
What I tend to rely on more though, both for souplesse and balance on the bike, is “feel” (yes, an overused word indeed). As I state in my “ich” (German only) section on this website, I profess in feel for three decades now, and come to believe it is somewhat a declining form of approach, while being able to provide not only great insights, but also joy.
In the right circumstances (shoes tied equally, bike fits well, no imminent outside threats like rabid dogs or, car drivers) it does result in a state similar to meditation, at least for me.
Especially on free rollers, any imbalance becomes very obvious in form of the bike drifting to one side and the feel of the hands on the bars.
While there are many techniques to get more in touch with “feel”, this would be a bit much for this one blog post.
But if I know where and what to look for from a mere mechanical perspective, I can find differences rather easily.
Knee injuries do help ironically, and dealing with some tendon inflammation on the outter side of mine gave me even more insights over the years, and good solutions on top.
The contact points are, where it is at. It is rather hard to feel “a knee” in motion if focussing on it alone, but going with the reference points of my feet exerting pressure within my shoes and the movement of my hip joints, I was able to rather easily and quickly reign in the sideways motion of my knees during the pedal stroke.
A similar approach helped me to have more power and endurance during my first stay on Mallorca in 2022 (see the last Strava cut down the page), where I focussed on how my feet felt within the shoes while trying to a) pedal more equally and b) to put power into the crank for a wider angle within the rotation.
Shane Miller aka GPLama on Youtube (external link!).
Back in the game
Or rather, up the hills. Which I find more and more appealing, and a true source of teachable moments.
Especially off-tarmac and on compacted paths or even the proverbial gravel, balance is trained because well needed, on my racer with only 32mm wide tires.
Add a steep gradient (in parts peaking at over 20%), and you have good reason to learn as much “souplesse” (or, “the art of perfect pedalling”, i.e. constant power to the cranks) as you possibly can.
Getting out of the saddle is not an option, because 32mm rubber will just not deal with your power peaking on those paths. But even when you try that (and fail), you learn how to very quickly click out of your pedals to avoid some of that gravel making its way into your skin.

Admittedly, I am just really, really happy that my power numbers – f-it, who cares for those – my health and fitness has mostly recovered to the point where it all went to zero, right after my private bike camp on Mallorca in the Fall of 2022.
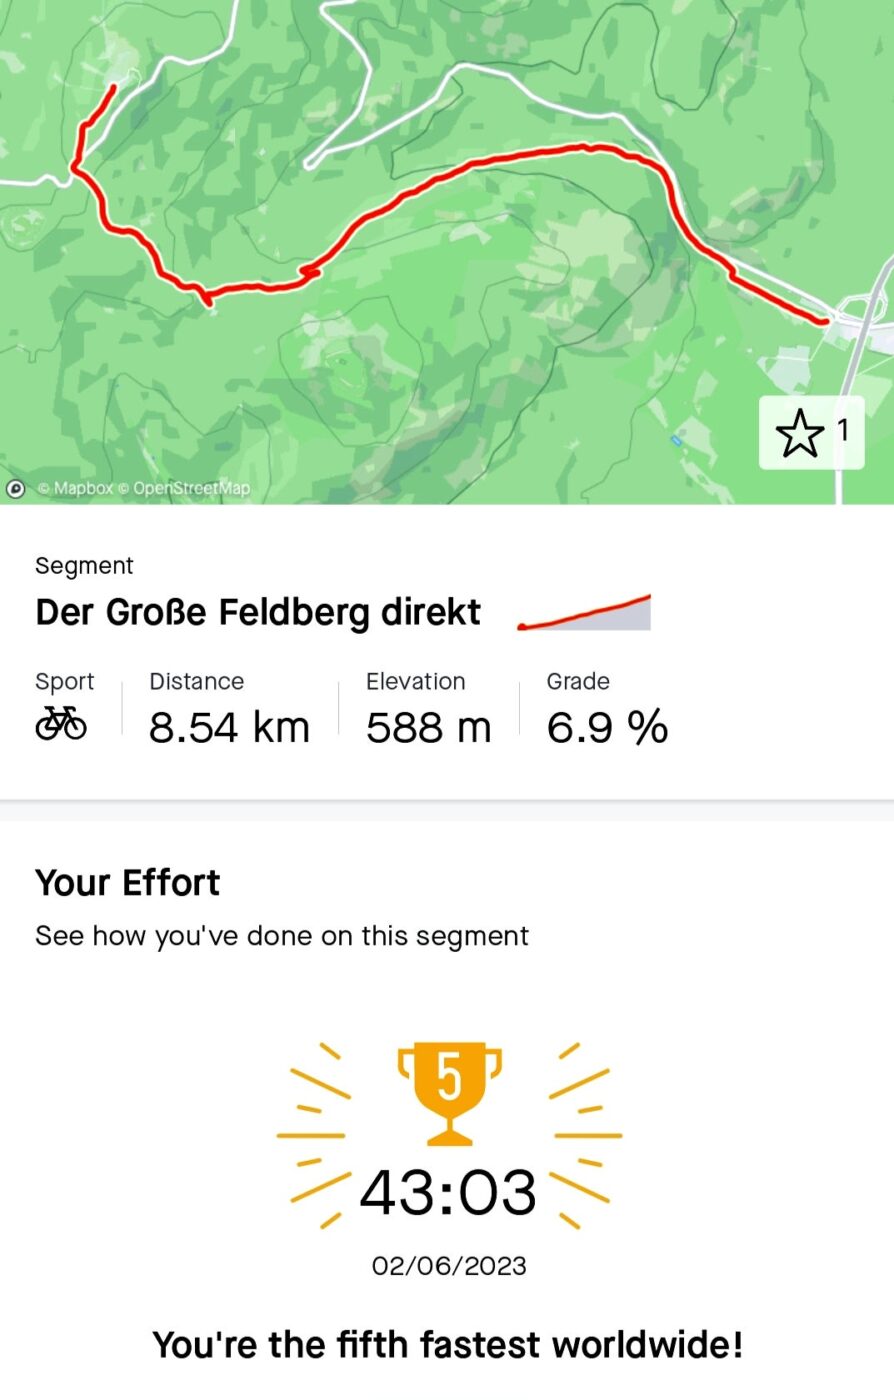
And again, numbers are only there to surprise me, not for me to chase after – so, know that only 89 riders had ridden up that segment at the time I randomly discovered this lovely, lonely alternative to the treaded and dreaded tarmac alternative.
Future proofing my style
I have not posted in a while.
My injuries due to the crash in October of 2022 took about as long to heal as the doctors predicted, which was entirely longer than I wanted them to. In my mind, I was good to go after about one-fifths of their estimate. Sigh.
Another possibility got me thinking, and time to think I had plenty.
What if that crash had happened not on my city commuter, but on one of my “nice” bikes?
What if frame or fork had taken serious damage, beyond repair, and no replacement possible?
The threaded bottom bracket is back en vogue now, after out-of-spec bb-shells causing creaking noises for about 15 years.
While that is welcome by me (and adds to the list of the marketing bs we are constantly exposed to), that was not to be foreseen.
The hookless rim has just been outed as having been merely a means to cut cost (see an engineers take on newly filed international patents here), and they are bringing hooks back, baby (i.e. they patented a way to manufacture the hooked rims cheaper now).
My point is, I like to have options. Mainly to entertain a certain style of bike, to have a choice.
If and when they might be going to bring back rim brake frames and hubs and well, rims, as a lightweight and capable alternative to disc brakes (“whew, see the 622mm rotors we got now? Great heat dissipation, less warping and also less system weight – and enough power to slide out a 28mm front tire at 100+ PSI on tarmac, with only two fingers on the lever”), I can not foresee. (Got curious? I knew you would – see my take on being force-fed disc brakes here, if you dare).
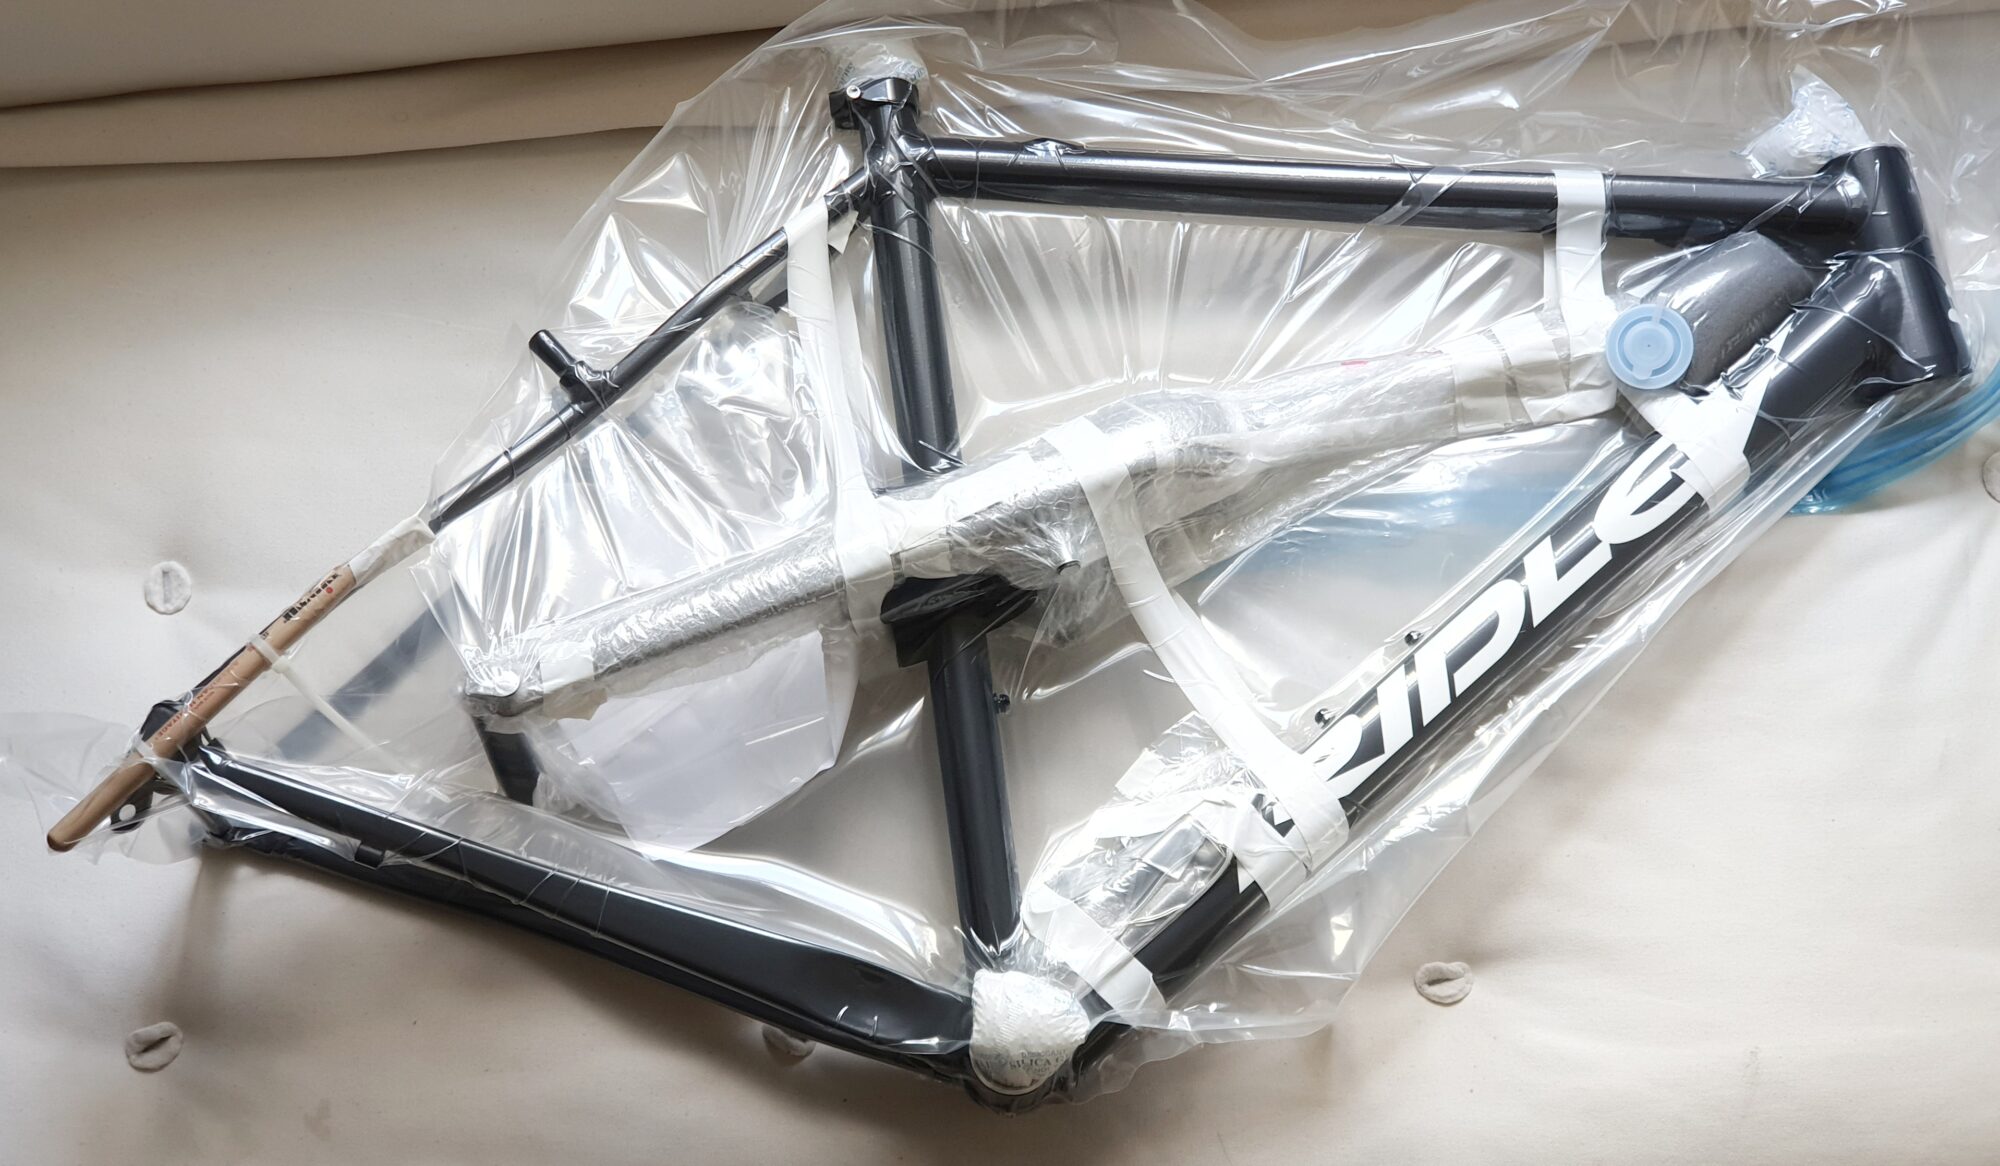
Hence, I am now prepared. I bought (at a price that make your eyes water, but with joy) one of the last available cantilever rim brake frames, and future proofed it as good as I know how.
Wrapped in two layers of vacuum bag, all drop outs protected with dummy axles, and the derailleur hanger protected by a broken drum stick via zip ties (the vacuum really ties the frame together!), good padding of fork legs and steerer because the fork is tape-suspended inside the main triangle, and all frame openings served with a copious amount of silica gel packs to keep humidity well controlled for a decade (or for how ever long my current frame will last me).
Disc Brakes. Why, and for whom.
(German below)
– An attempt to enable an educated decision on choice of braking system –
(and why I still prefer rim brakes for lightweight and maintainable bikes with narrow tires)
First up: Everyone should know what they want and/or need, and then decide.
No system has only advantages or disadvantages – the facts and purpose should be considered. Simple.
Also, rim brakes are not suddenly dangerous. But hear me out.
Observation
Disc brakes are suitable for people with
– a healthy “I do not really care, there are more important topics in life” attitude
– waning hand strength due to physical inhibitions
– heavy bikes, and such with motors of some kind
– half knowledge, contrived from brand marketing, social media shills and more
– need for recognition and low self esteem (“pros have them”, “everybody has them”, “expensive and/or the latest, must be better”, …)
My collection regarding disc brakes on velos:
– can flip a bike into a somersault with just one finger on the front brake
(well tuned rim brakes need about two fingers for that :-P)
– provide more stopping power in relation to the same hand input
(That varies greatly with brake track in question and material of brake cartridge used:
An aluminium rim/brake track with correct choice of cartridge has comparable
stopping power to a disc brake system, especially in dry conditions.
In wet conditions, disc brakes “bite” harder. But with thin tires, the rubber loses grip on the (now wet, remember?) asphalt as well…so you slide out quicker, or, cannot really use the power they provide.
Longer descends tend to overheat the discs, which can lead to loss of braking power.
Pistons tend to get stuck then as well, which can lead to locking of brakes.
Overheated discs tend to warp, which can lead to scraping sounds.
– the whole system is 400g-500g heavier than rim brake systems
(Taking into account all parts, which, next to rotor, caliper, hoses, grips is also
the reinforcement of fork legs/frame stays, hubs and the higher spoke count,
to take the high load of the braking forces at a rather small diameter.
– less aero
(Rim brakes are positioned in “dirty air”, in turbulence caused by the tire, which hits
the air first, and are therefore negligable. Rotors are air cooled and have vents, and
are located outside of the wheel in the wind.
And a radial spoke pattern (without crossing) is impossible to use, for the brake forces
need to travel through hub via spokes to rim and tire, and the spokes would simply
sheer off.
– loss of front wheel symmetry
Due to the rotor needing space on the non-drive side, the symmetry of the spoke angles
towards the hub is lost, which needs to be compensated for with uneven spoke tension
left to right, resulting in a less stable front wheel.
– Pros know how to brake. Really. Most of us (me included) do not.
Meaning, they know the limits of their tires, and sometimes go beyond them.
Even if disc brakes “bite more” in the wet, it is the contact patch of rubber on tarmac
which really slows us down after all. So, if I hardly ever use the full potential of whichever
brake system, why does it matter to have more bite, all of a sudden?
– Disc brake systems are more costly to maintain.
(The word of “brake track failure” on rim brake wheels I have heard, but I have never
seen a worn track, have you? As you will have to change rims or even wheels over time
with any brake system due to stress loads just rolling along, I have not found this
point to matter.
World tour mechanic on the topic (starts min 3:29)
Chris Froome on the topic (starts min 8:37)
June 2022 – I will gladly update fresh findings and arguments in the future.
////////
///////// German, thanks, google 😉 ////////
– Ein Versuch, eine fundierte Wahl des Bremssystems zu ermöglichen –
(und warum ich bei leichten und wartungsfreundlichen Rädern mit schmalen Reifen immer noch Felgenbremsen bevorzuge)
Zunächst einmal: Jeder sollte wissen, was er will und/oder braucht, und dann entscheiden.
Kein System hat nur Vor- oder Nachteile – die Fakten und der Zweck sollten berücksichtigt werden, ganz einfach.
Auch sind Felgenbremsen nicht plötzlich unwirksam oder gar gefährlich. Aber eines nach dem anderen:.
Beobachtung:
Scheibenbremsen sind geeignet für Menschen mit
– einer gesunden „Ist mir eigentlich egal, es gibt wichtigere Themen im Leben“-Einstellung
– nachlassender Handkraft aufgrund körperlicher Einschränkungen
– schweren Fahrrädern und solchen mit irgendwelchen Motoren
– Halbwissen, gesammelt aus Markenmarketing, Social-Media-Kenntnissen und ähnlichem
– Bedürfnis nach Anerkennung und geringem Selbstwertgefühl („Rennsport-Pros fahren auch Discs“, „jeder hat sie“, „teuer und/oder das Neueste, muss besser sein“, …)
Und hier nun meine Sammlung zum Thema Scheibenbremse am (Renn-)Velo:
– kann ein Fahrrad mit nur einem Finger an der Vorderradbremse in einen Salto zwingen
(gut abgestimmte Felgenbremsen brauchen dafür etwa zwei Finger :-P)
– bieten mehr Bremskraft in Relation zur gleichen Handkraft
(das ist je nach Bremsflanke und Material der verwendeten Bremsgummis sehr unterschiedlich allerdings:
Die Bremsleistung mit Alufelge/Alu-Bremsflanke bei richtiger Wahl der Gummimischung
ist mit der eines Scheibenbremssystems vergleichbar, insbesondere bei trockenen Bedingungen.
Bei Nässe „beißen“ Scheibenbremsen theoretisch härter zur, aber die Bodenhaftung ist letztlich, was zur Verzögerung des Rades führt – und mit schmalen Rennreifen ist da nicht viel (Bodenhaftung…).
Längere Abfahrten neigen dazu, die Scheiben zu überhitzen, was zu einem Verlust der Bremsleistung führen kann.
Auch die Brems-Kolben neigen dann zum Festsitzen, was zum Blockieren der Bremse führen kann.
Überhitzte Scheiben neigen zum Verziehen, was zu Schleifgeräuschen führen kann.
– das ganze Brems-System ist 400g-500g schwerer als Felgenbremssysteme
(Unter Berücksichtigung aller Teile, die neben Rotor, Bremssattel, Hydro-Schläuchen, Griffen auch die Verstärkung von Gabelbeinen/Rahmenstreben, Naben und die höhere Speichenzahl einrechnen muss, um die hohe Belastung der Bremskräfte bei eher kleinem Durchmesser aufzunehmen.
– weniger Aero
(Felgenbremsen befinden sich in „schmutziger Luft“, in Turbulenzen, die durch den zuerst auf die Luft treffenden Reifen verursacht werden sind daher vernachlässigbar. Rotoren sind luftgekühlt und haben Belüftungsöffnungen und befinden sich außerhalb des Rades im Wind, dadurch haben sie aerodynamisch eine höhere Bremswirkung.
Und ein radiales Speichenmuster (ohne Kreuzung) ist für die hohen Bremskräfte nicht zu verwenden, da diese durch Nabe über Speichen zu Felge und Reifen gelangen müssen – radiale Speichen würden dabei einfach abscheren. Damit ist auch die Einspeichung durch die nun notwendigen Kreuzungspunkte weniger aerodynamisch.
– Verlust der Vorderradsymmetrie
Bedingt durch den Platzbedarf des Rotors auf der Nicht-Antriebsseite, geht die Symmetrie der Speichenwinkel Richtung Nabe verloren, was durch ungleichmäßige Speichenspannung ausgeglichen werden muss von links nach rechts, was zu einem weniger stabilen Vorderrad führt.
– Profis wissen, wie man bremst. Wirklich bremst. Die meisten von uns (mich eingeschlossen) tun das nicht.
Das heißt, Pros kennen die Grenzen ihrer Reifen wie niemand sonst – so können wenn überhaupt sie von einem späten Anbremspunkt in Kurven mit Sekundenbruchteilen als Vorteil rechnen.
Aber auch wenn Scheibenbremsen bei Nässe „mehr zubeißen“, ist es die Kontaktfläche von Gummi auf Asphalt, die uns wirklich entschleunigt. Also, wenn ich kaum jemals das volle Potenzial von Felgenbremsen nutze, warum ist es plötzlich wichtig, noch mehr Biss zu haben?
– Scheibenbremssysteme sind teurer in der Wartung durch schneller Abnutzung und teurere Komponenten (Rotoren und Brems-Pads).
Im Gegenzug dazu habe ich das Wort „Bremsflankenbruch“ bei Felgenbremsrädern gehört, aber noch nie eine abgenutzte Felge gesehen – sonst irgendjemand? Im Laufe der Zeit müssen Räder sowieso wegen ermüdeter Speichen oder Naben erneuert werden, meist lange bevor Felgen “durchgebremst” worden sind.
Welttournee-Mechaniker zum Thema (ab Min. 3:29)
Chris Froome zum Thema (ab Minute 8:37)
Juni 2022 – Neue Erkenntnisse und Argumente werde ich in Zukunft gerne aktualisieren
A collarbone snapped
This is allegedly the most common injury when unintentionally dismounting a bicycle at speed.
It is certainly fun to use the gps data from the bike computer and strava flyby, to create a real time analysis of what happened. Time well spent while bones and tissue heals up.
Pictures of Mallorca


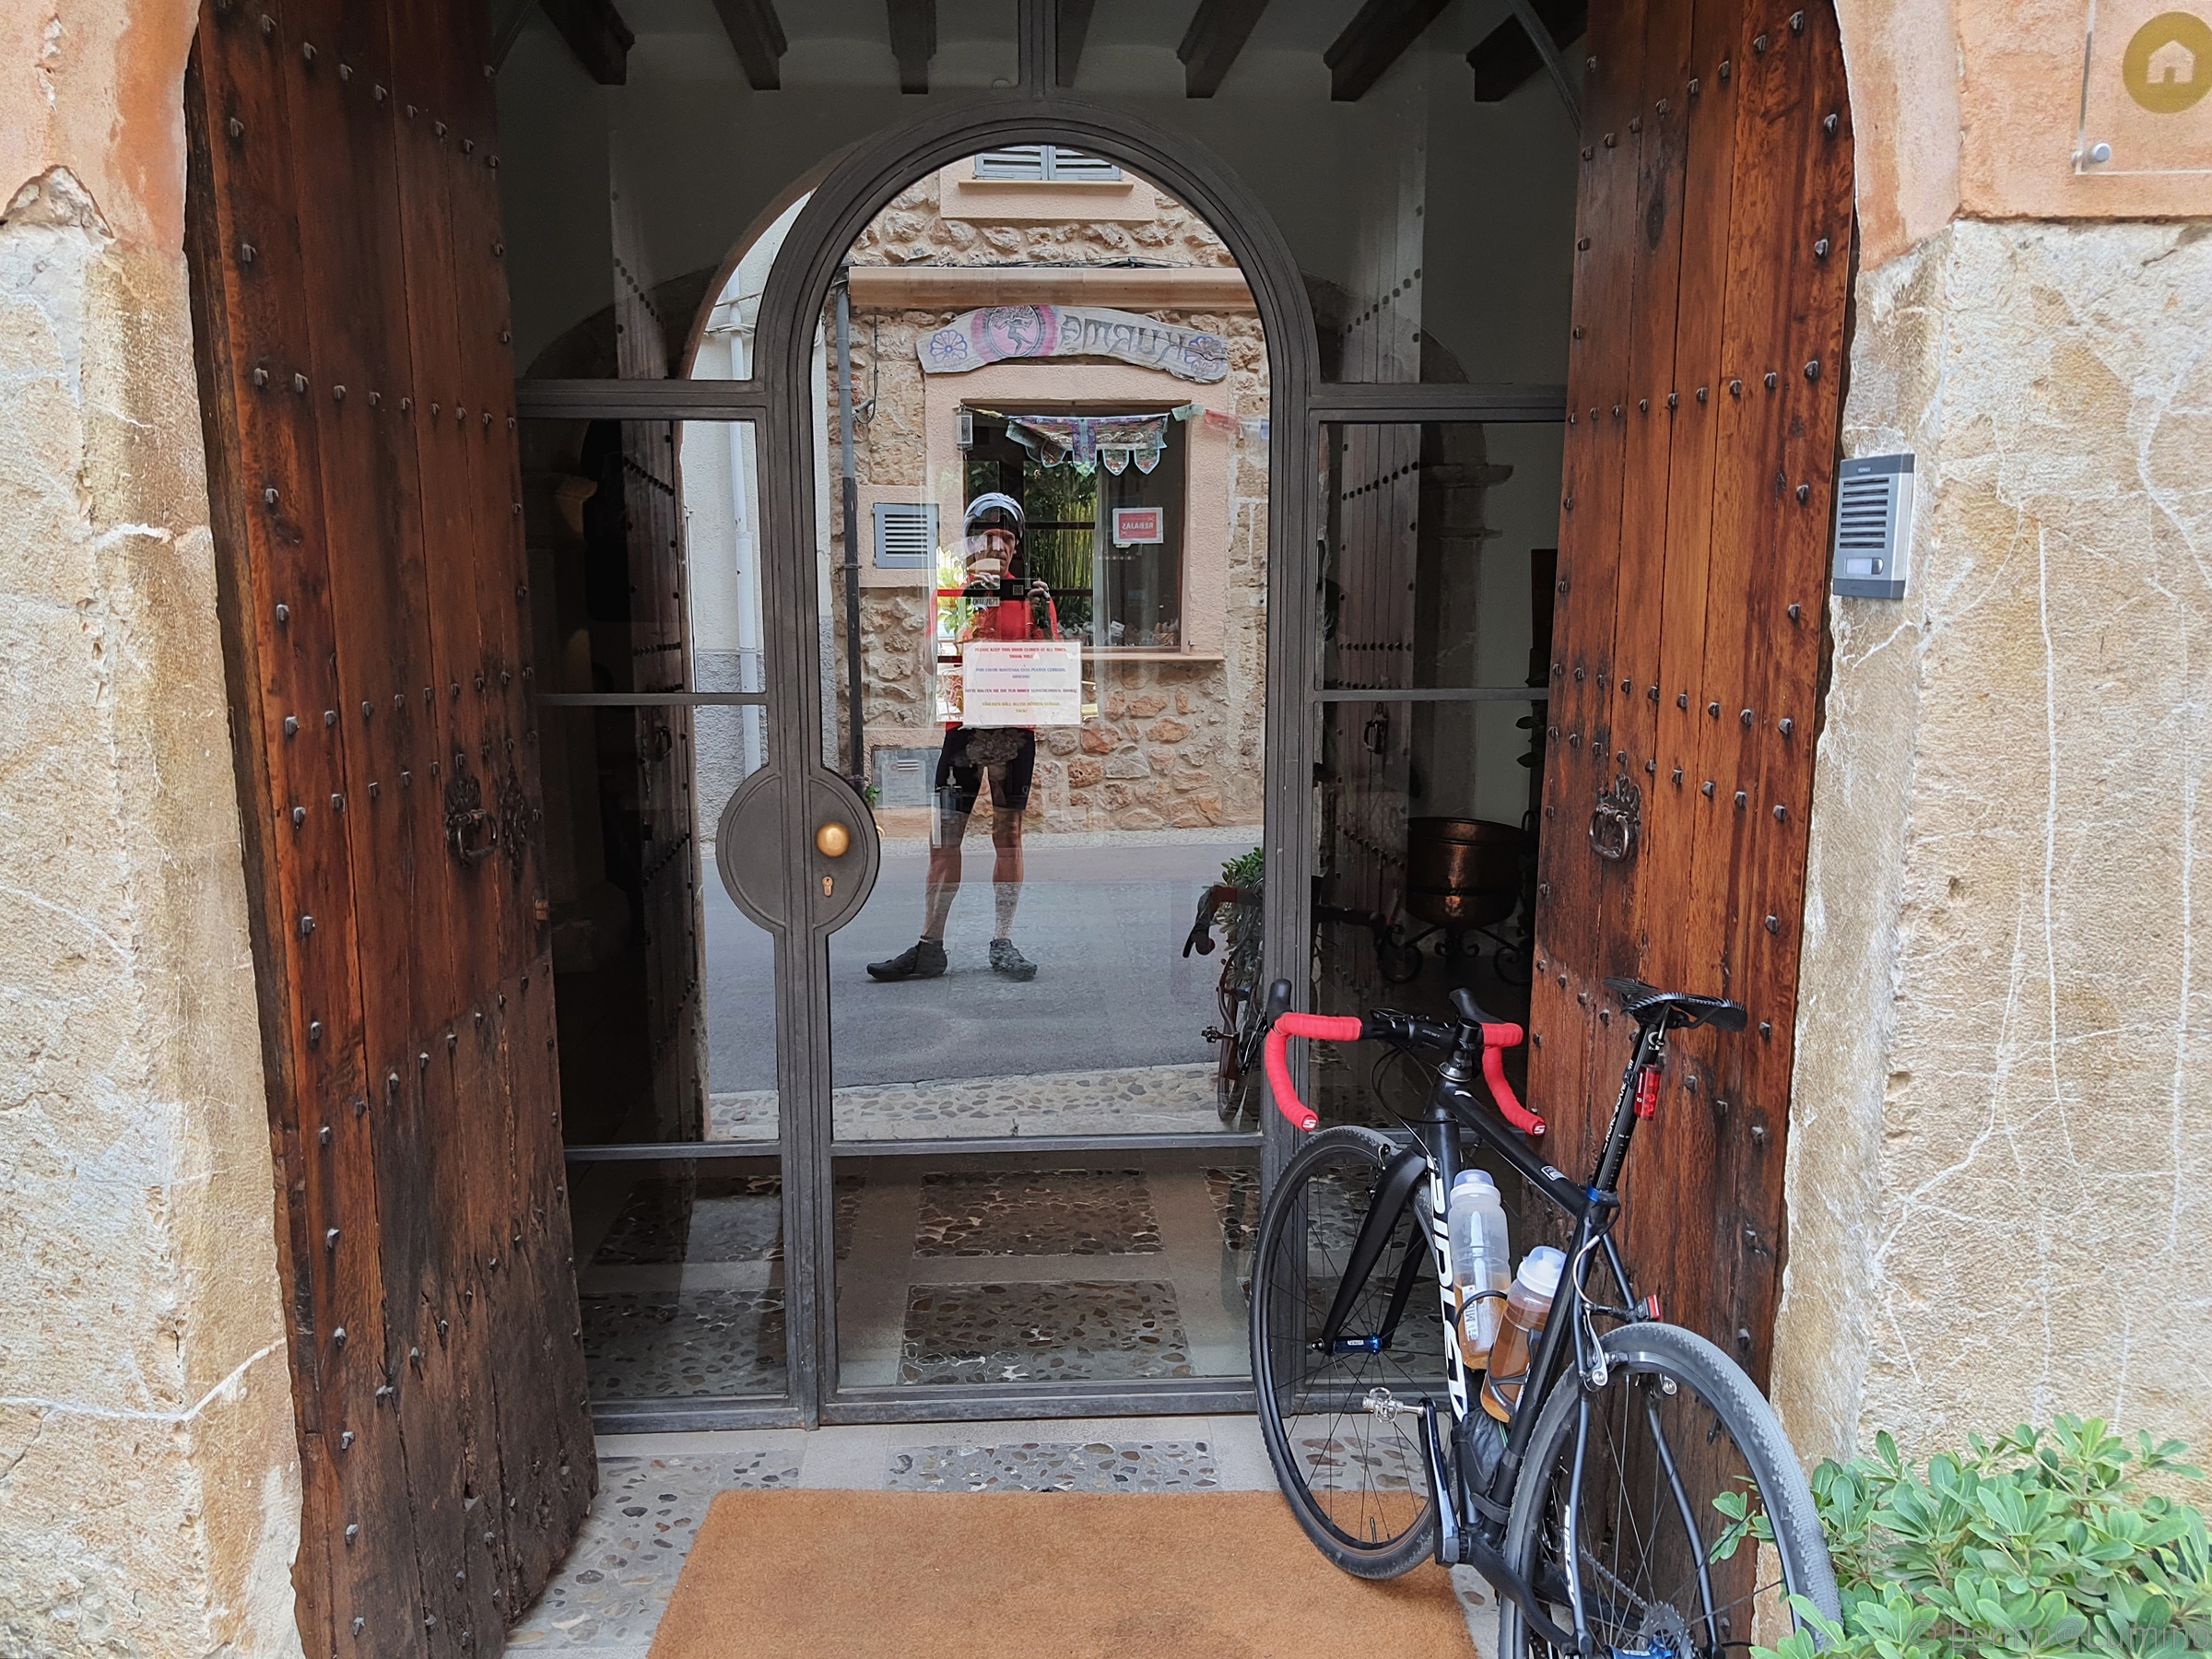

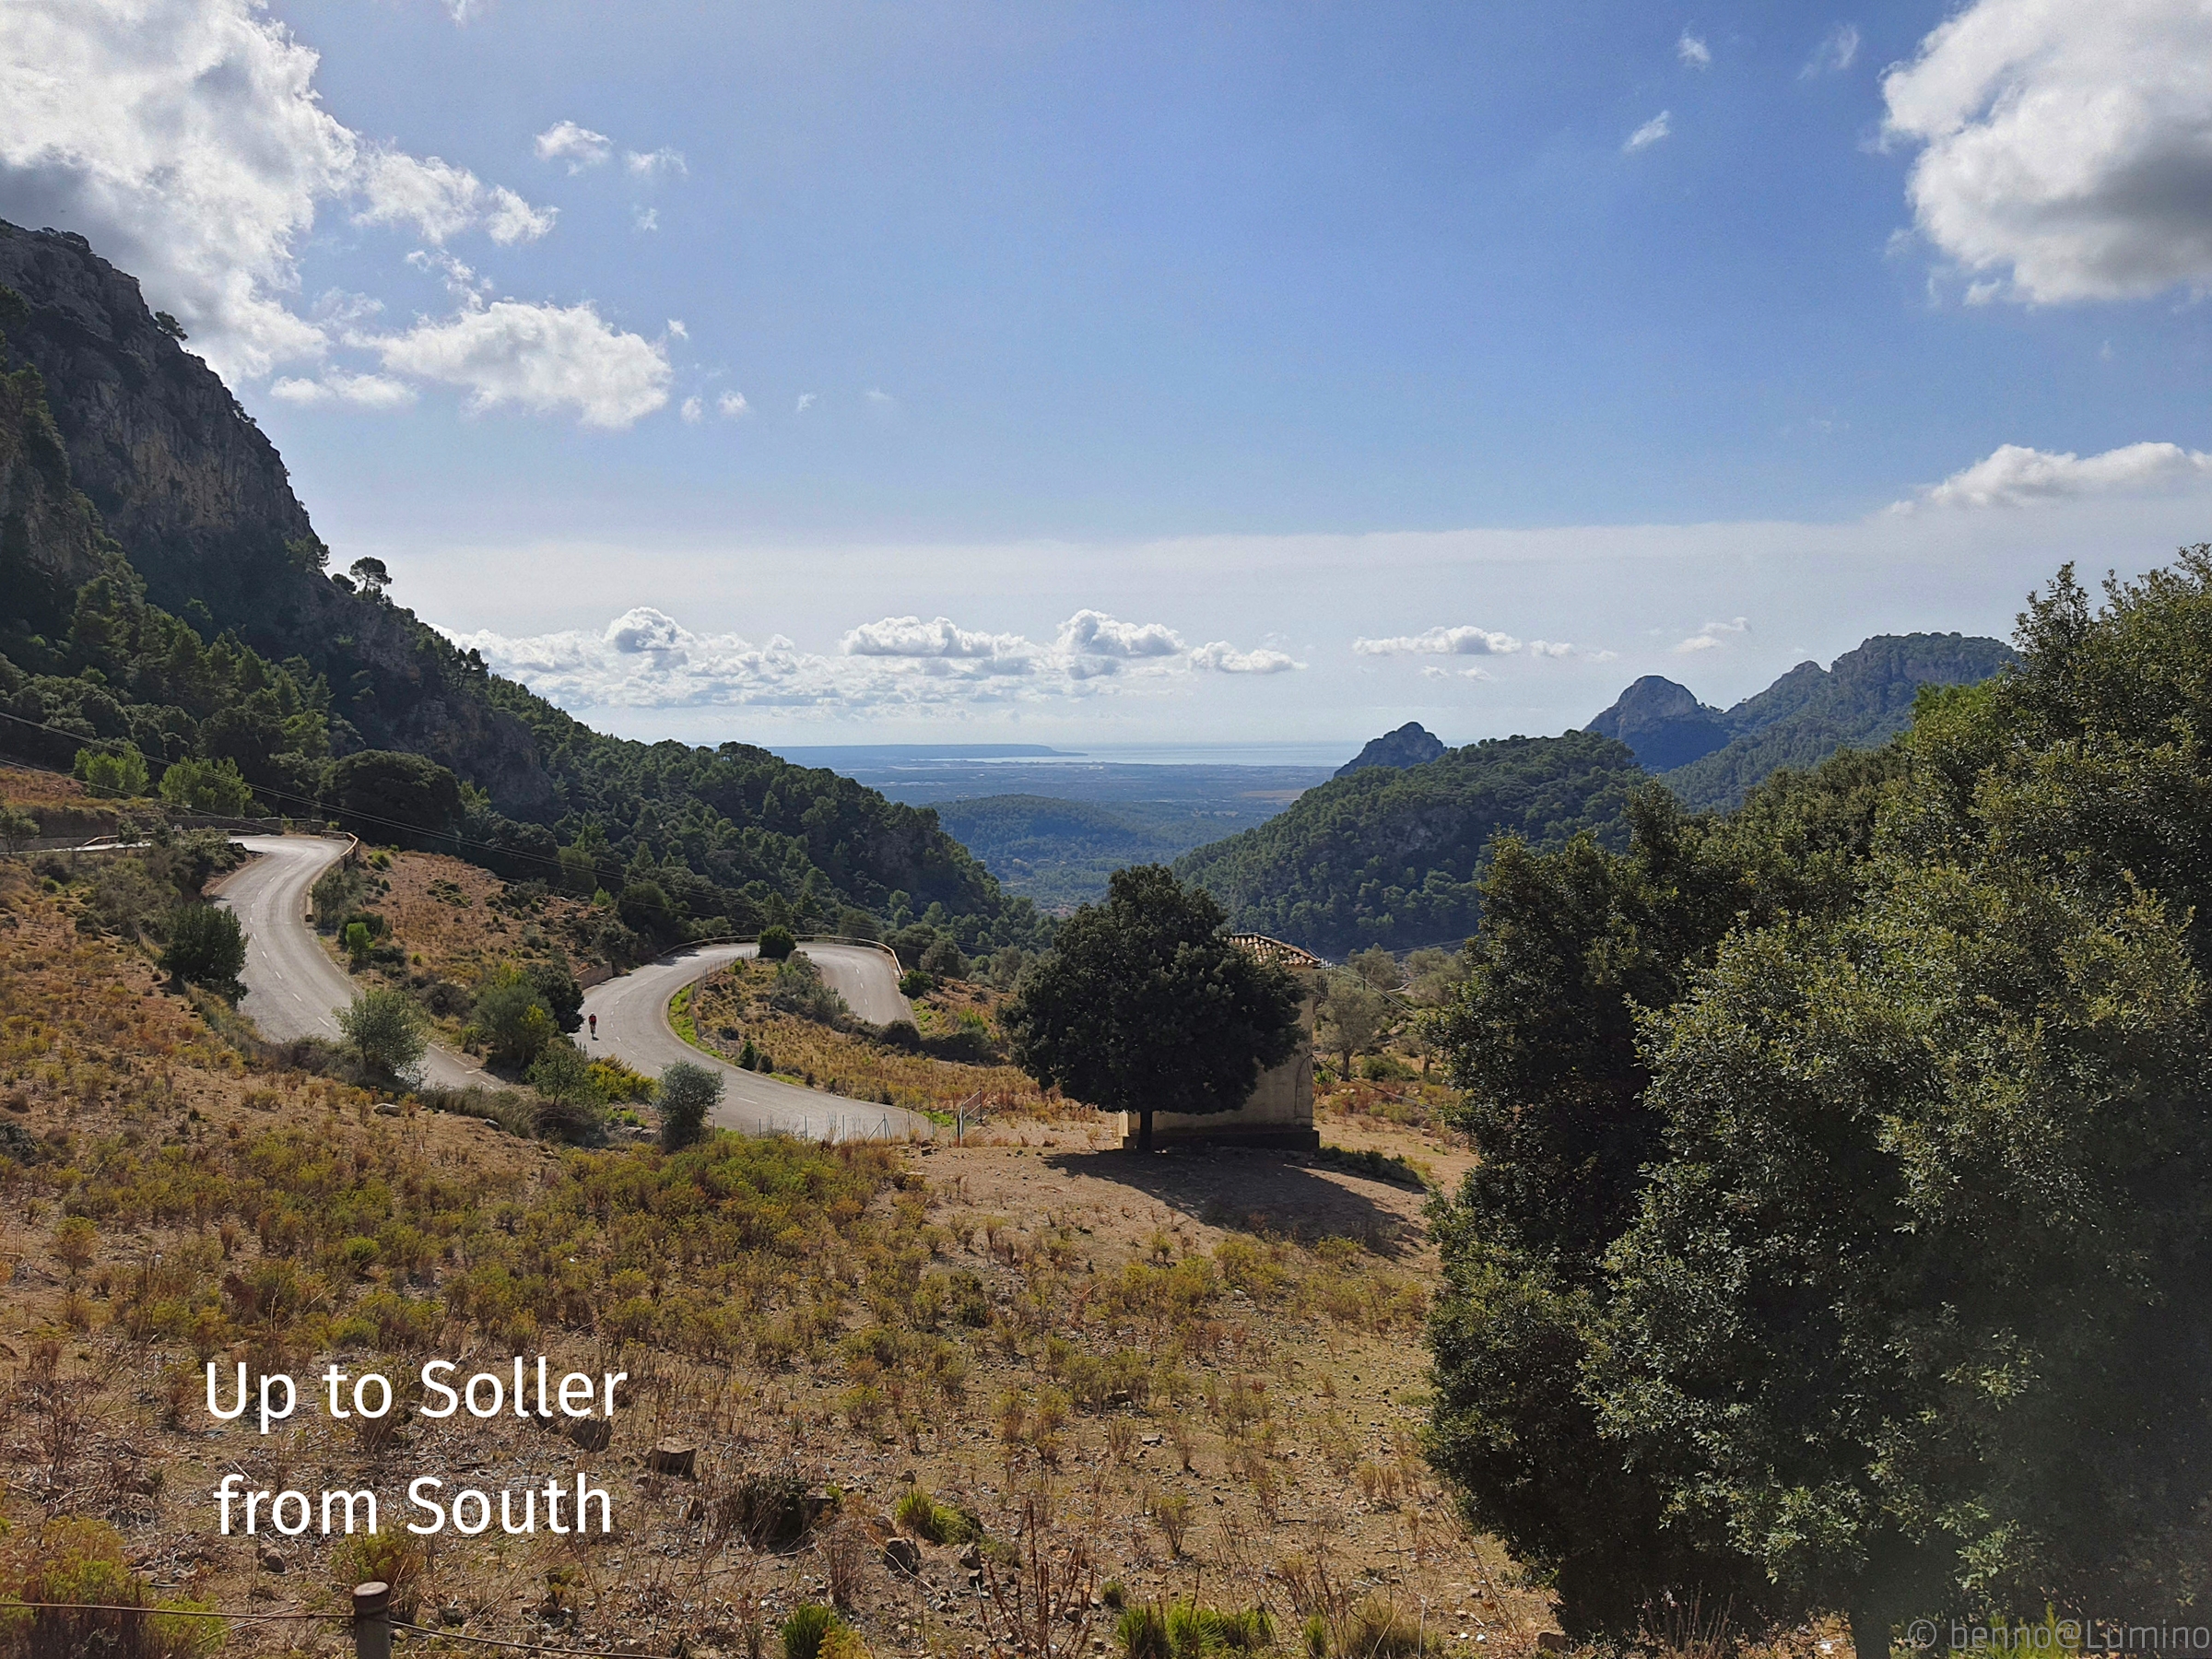
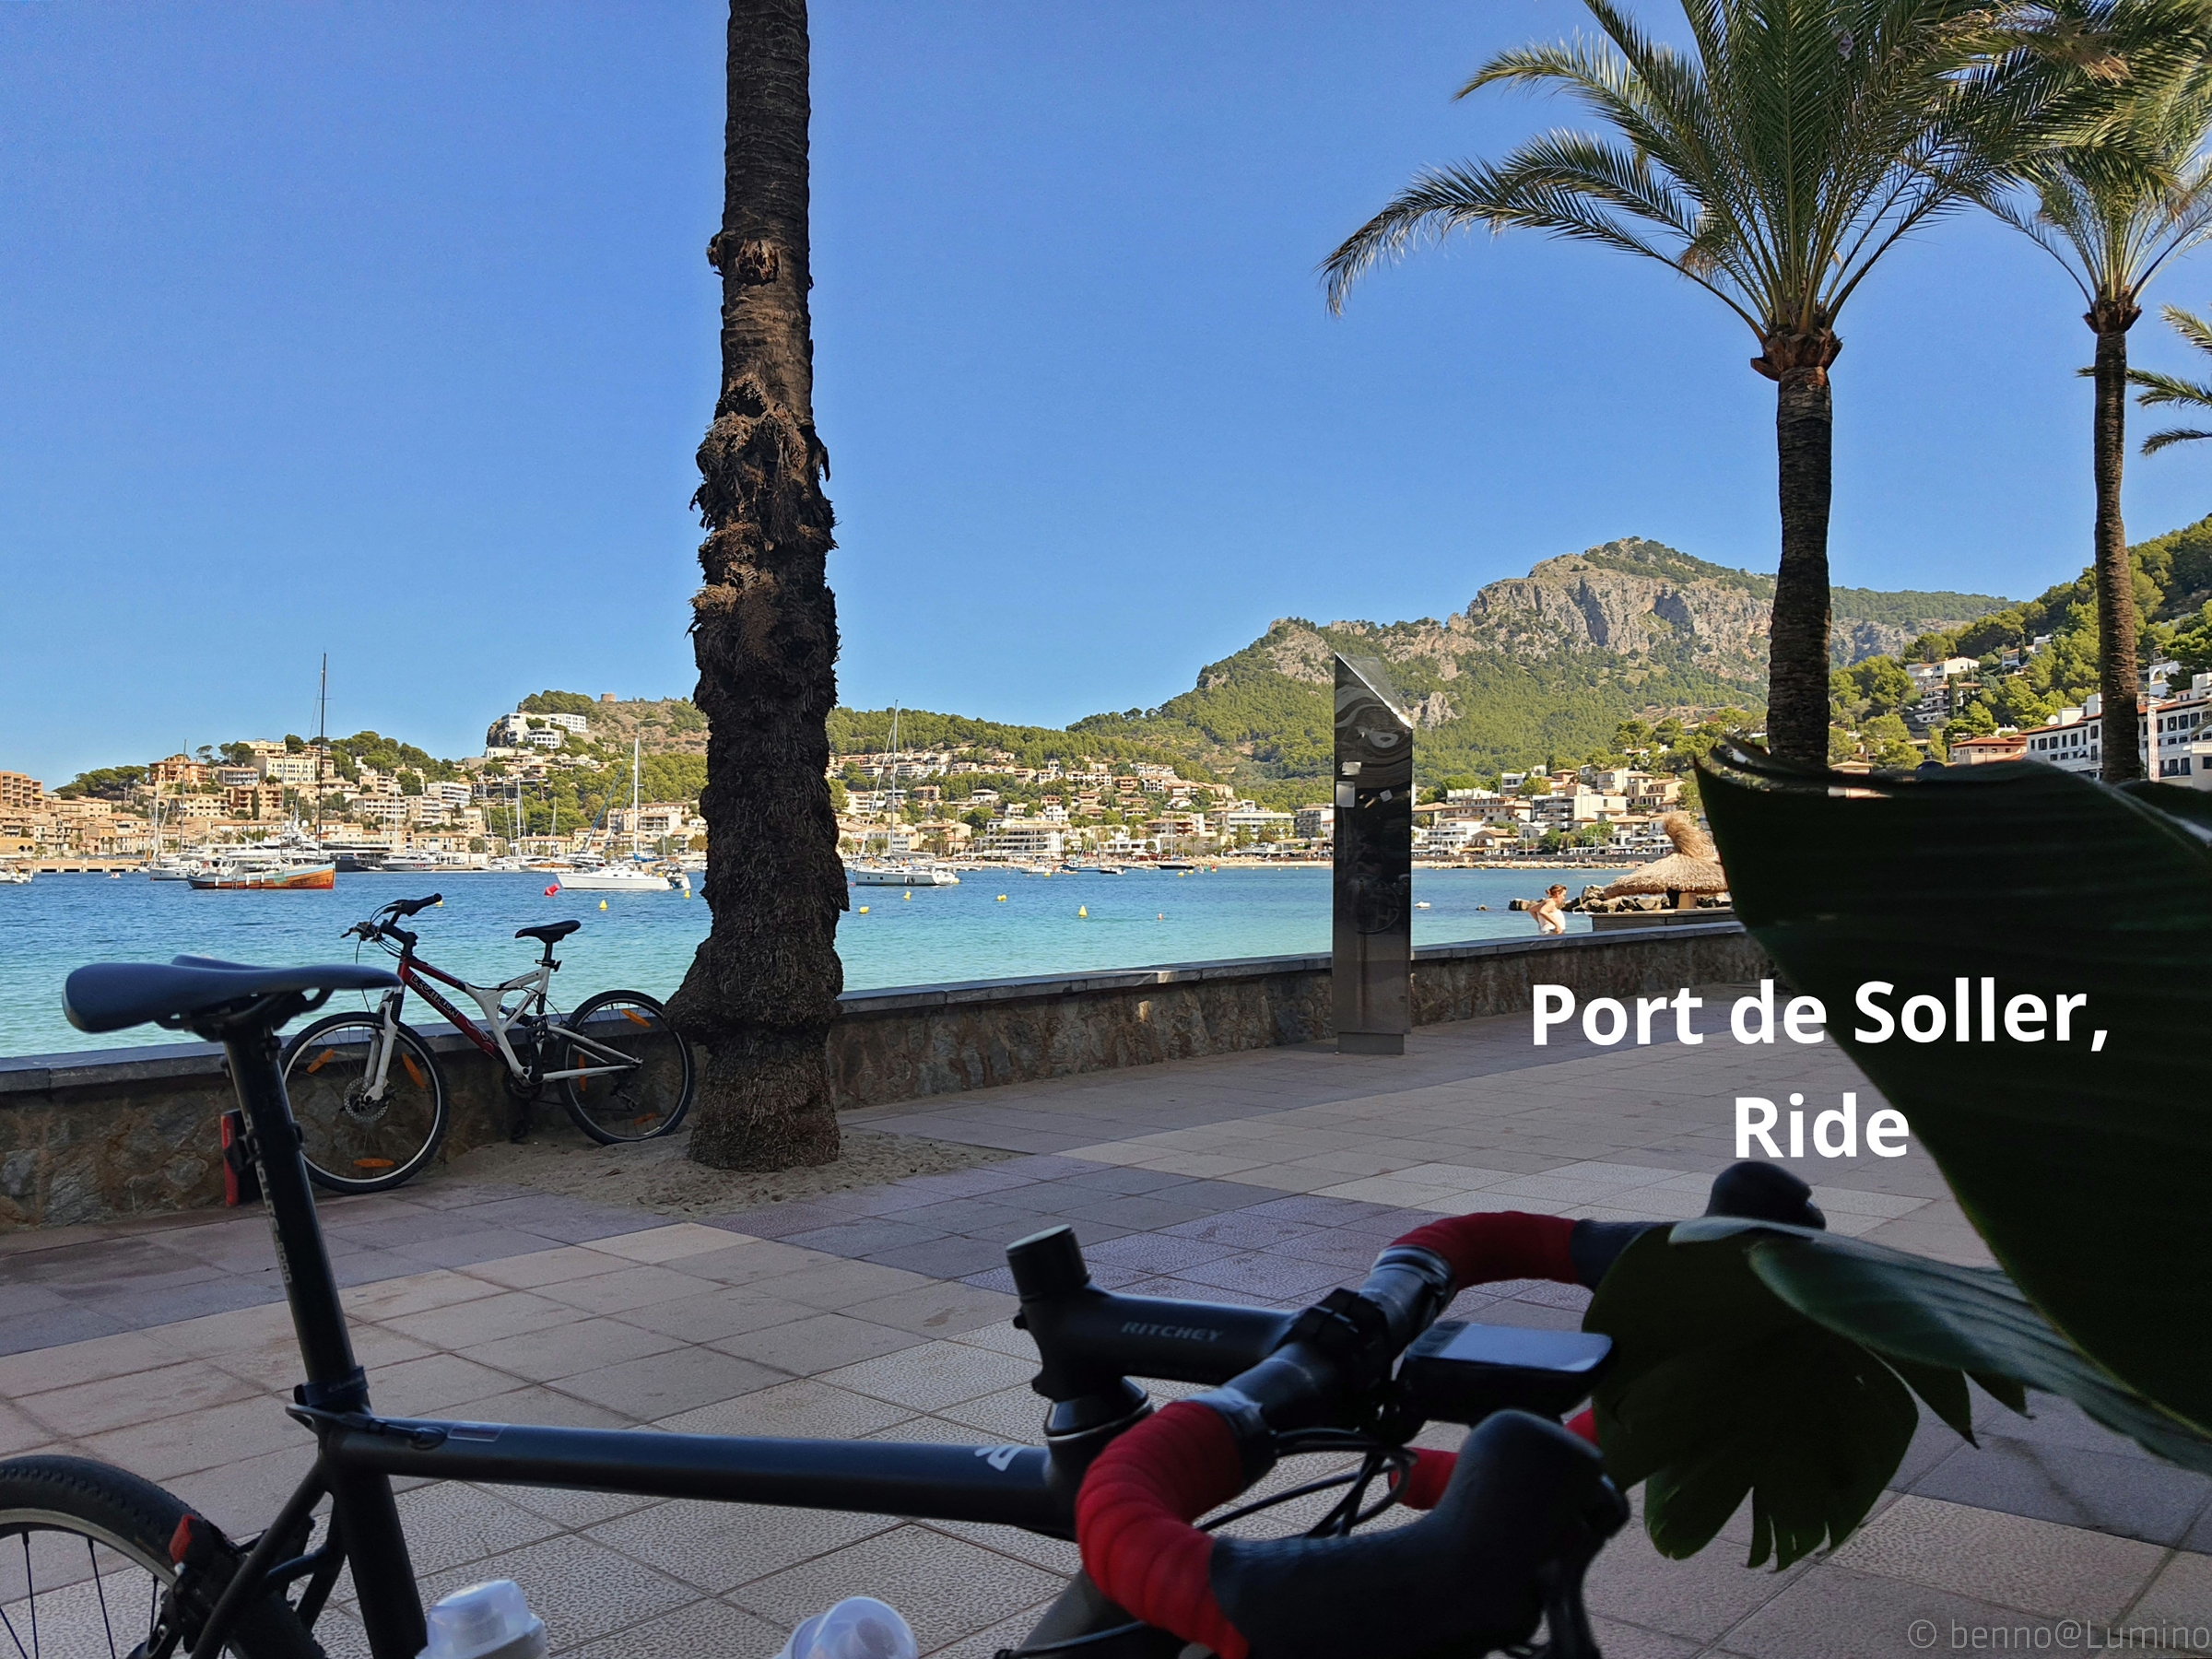
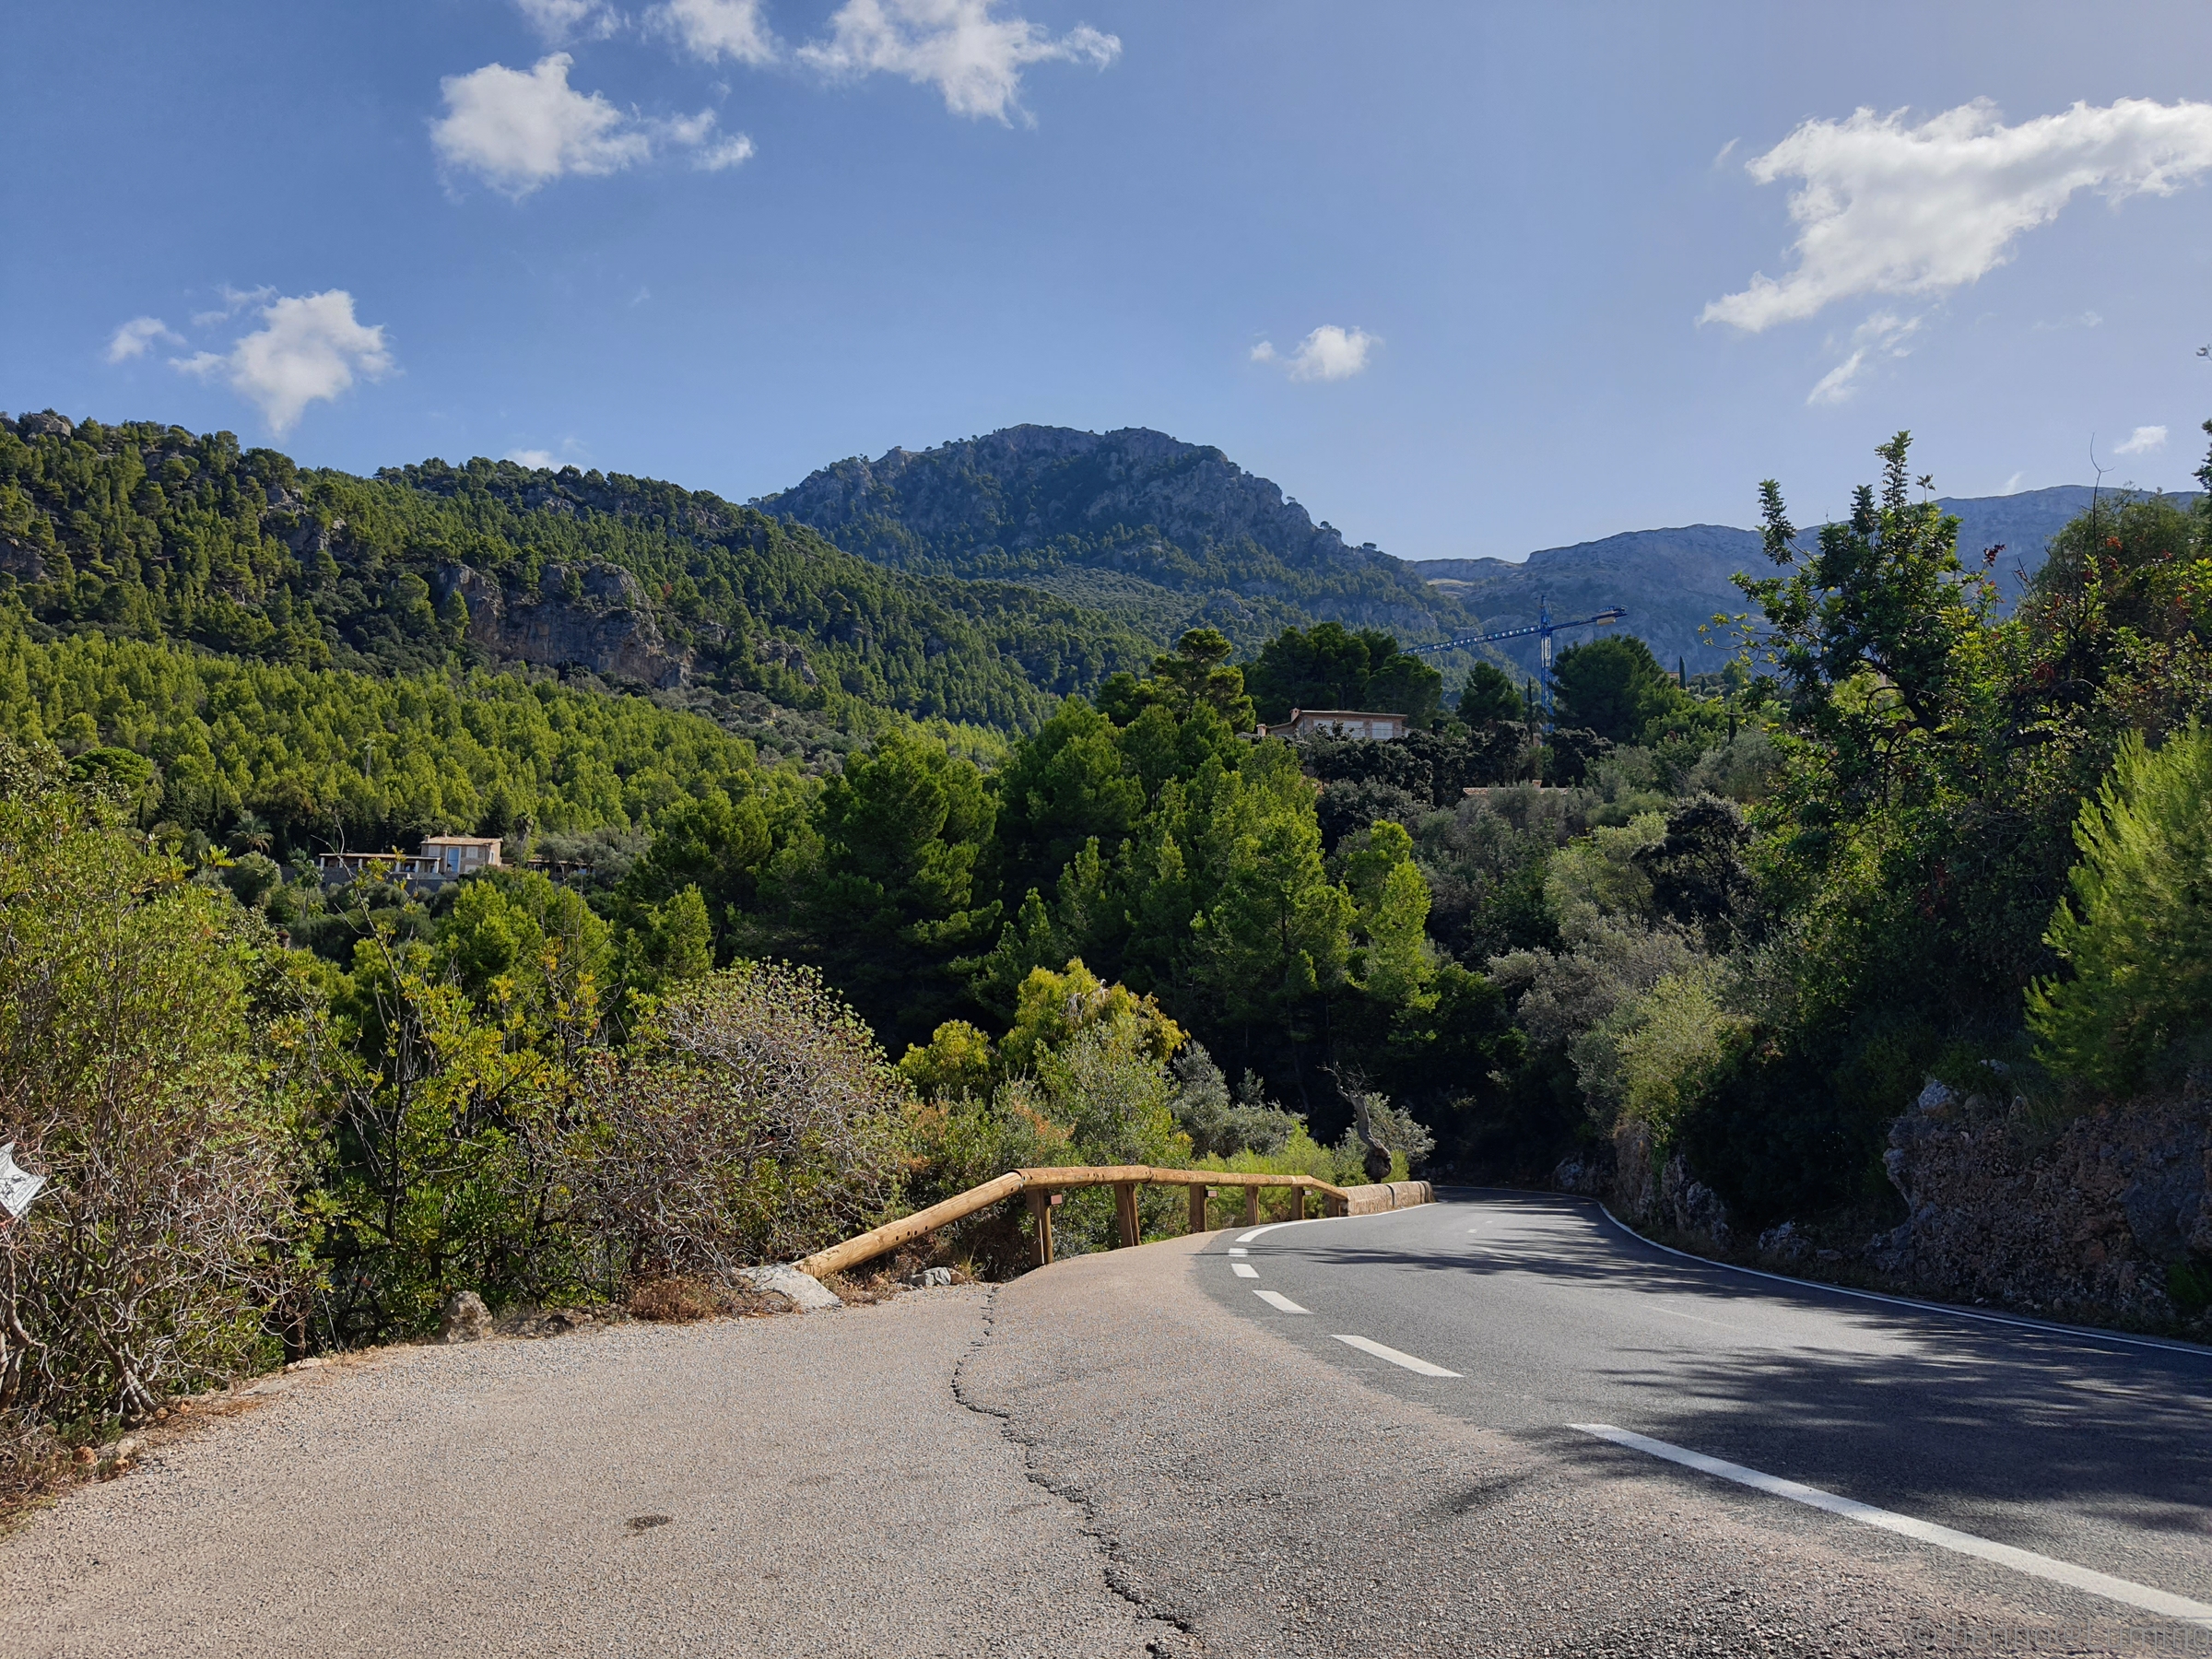
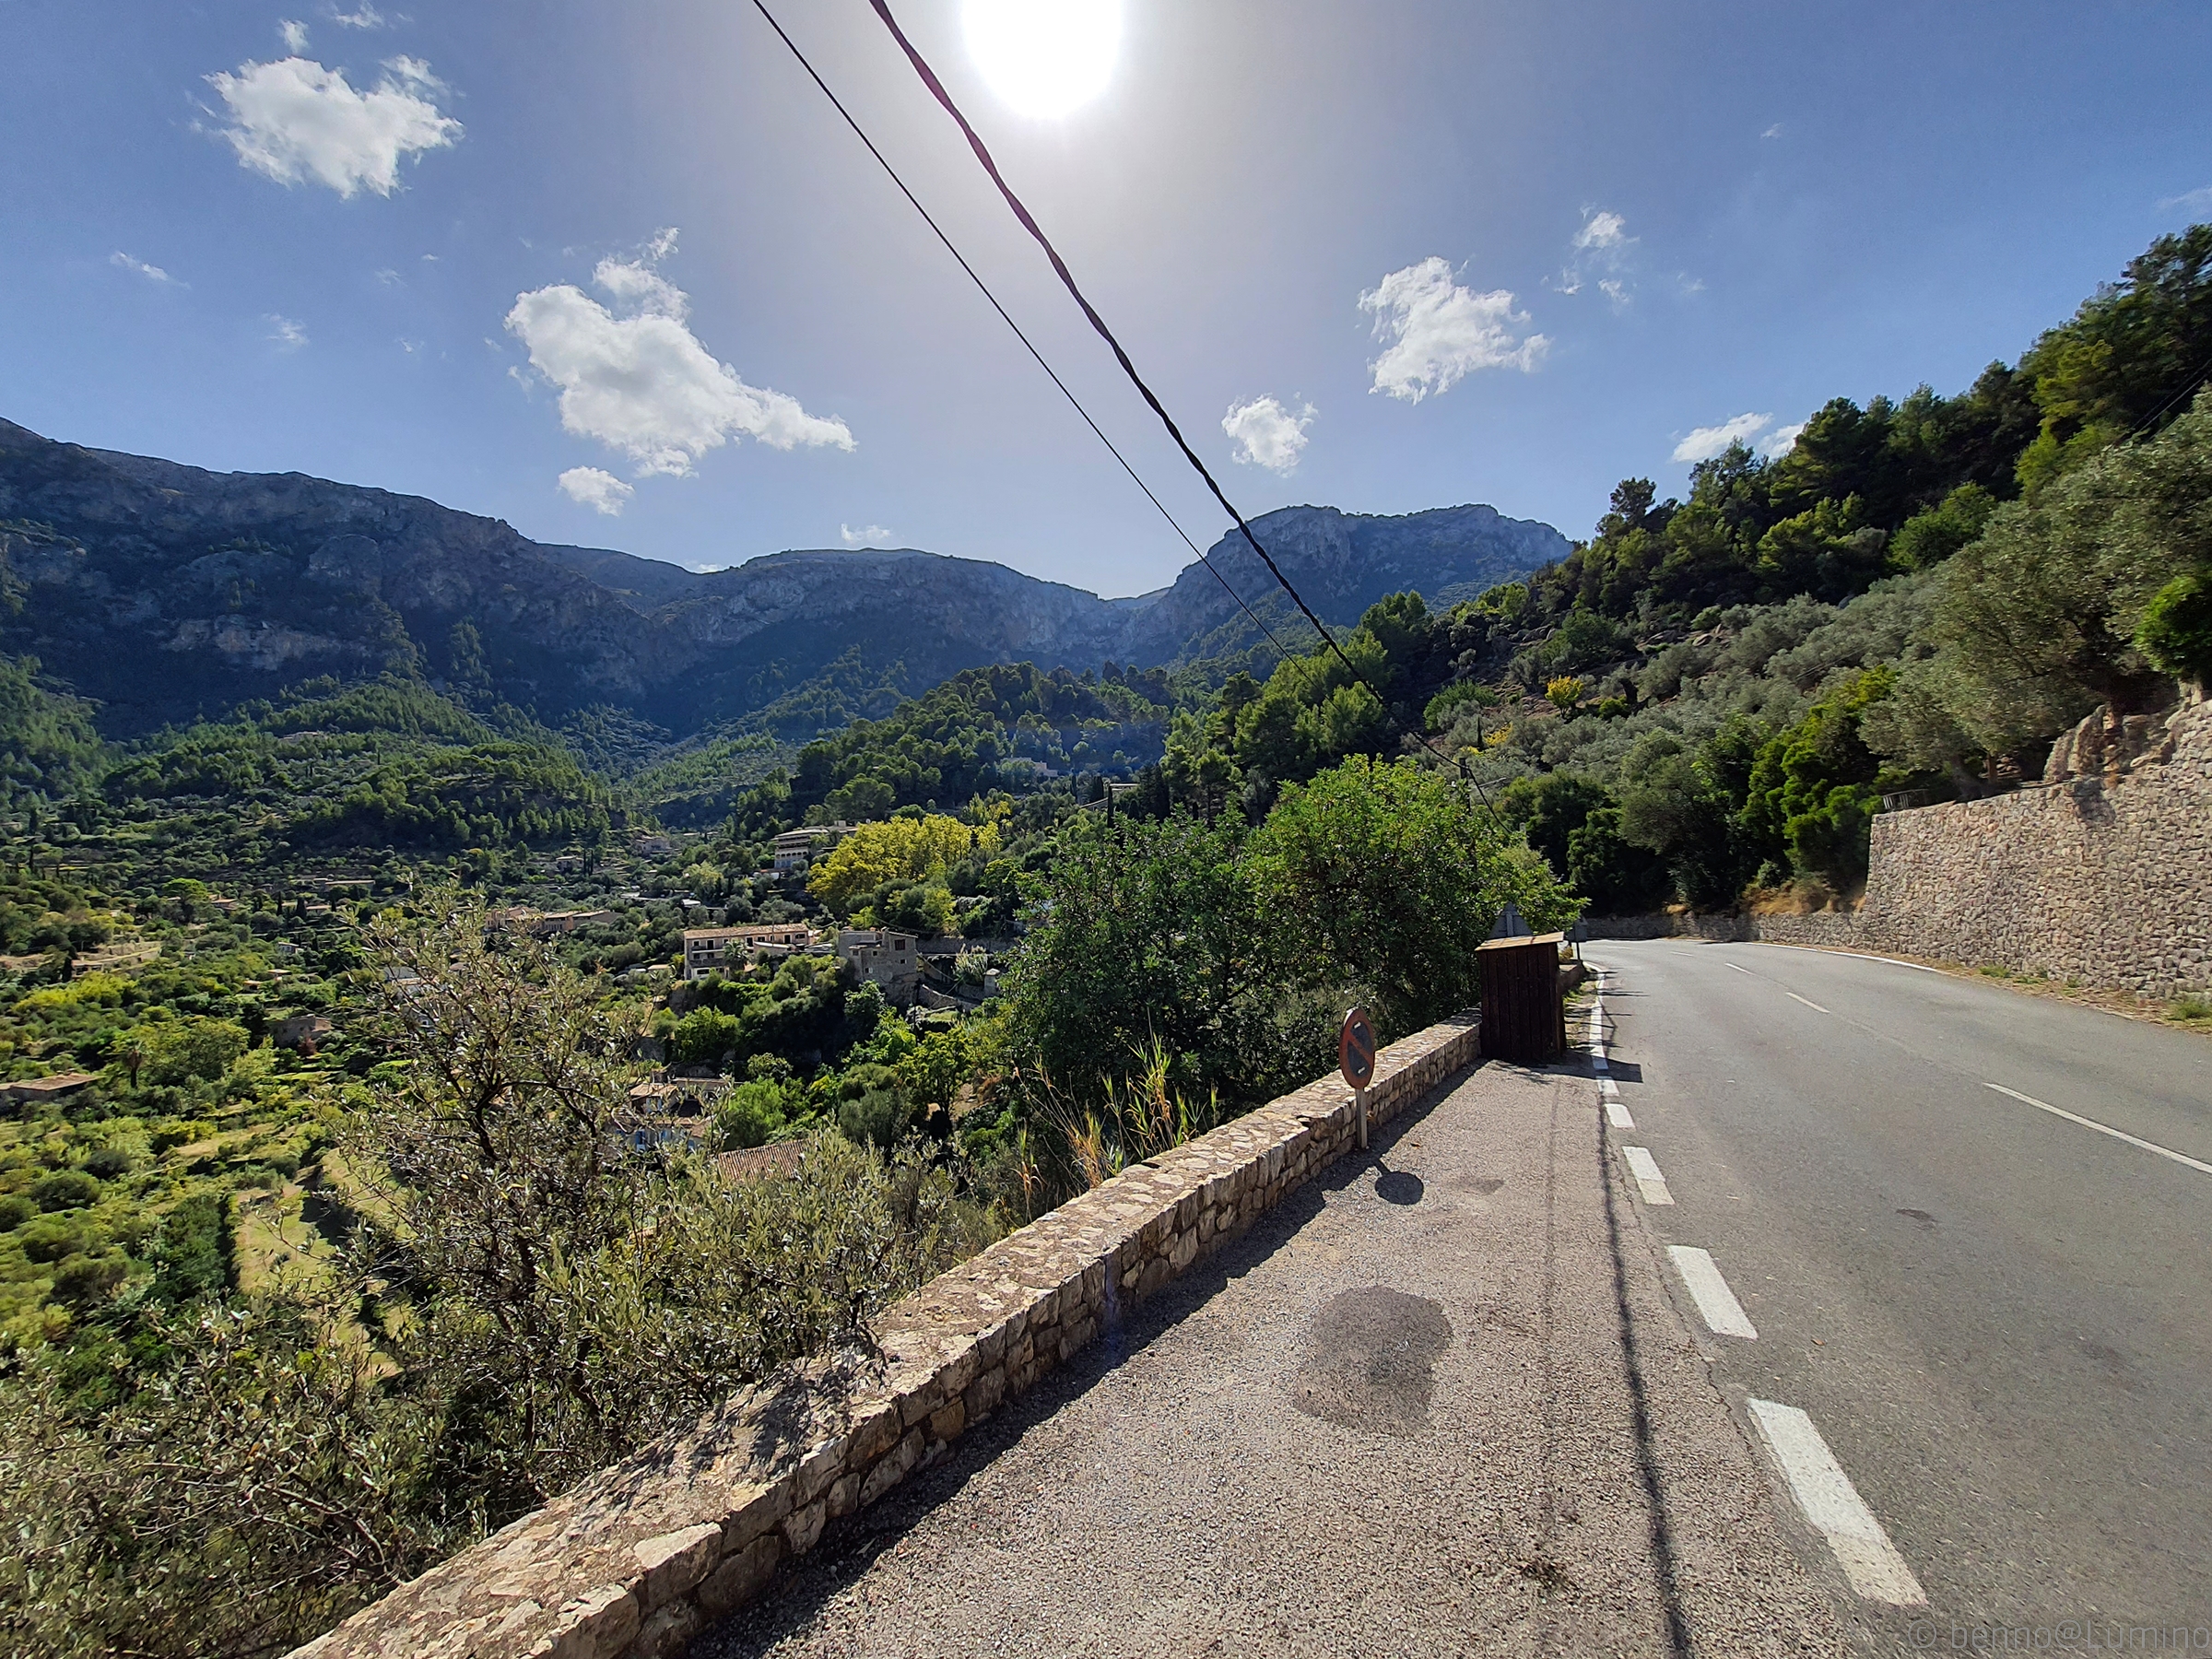

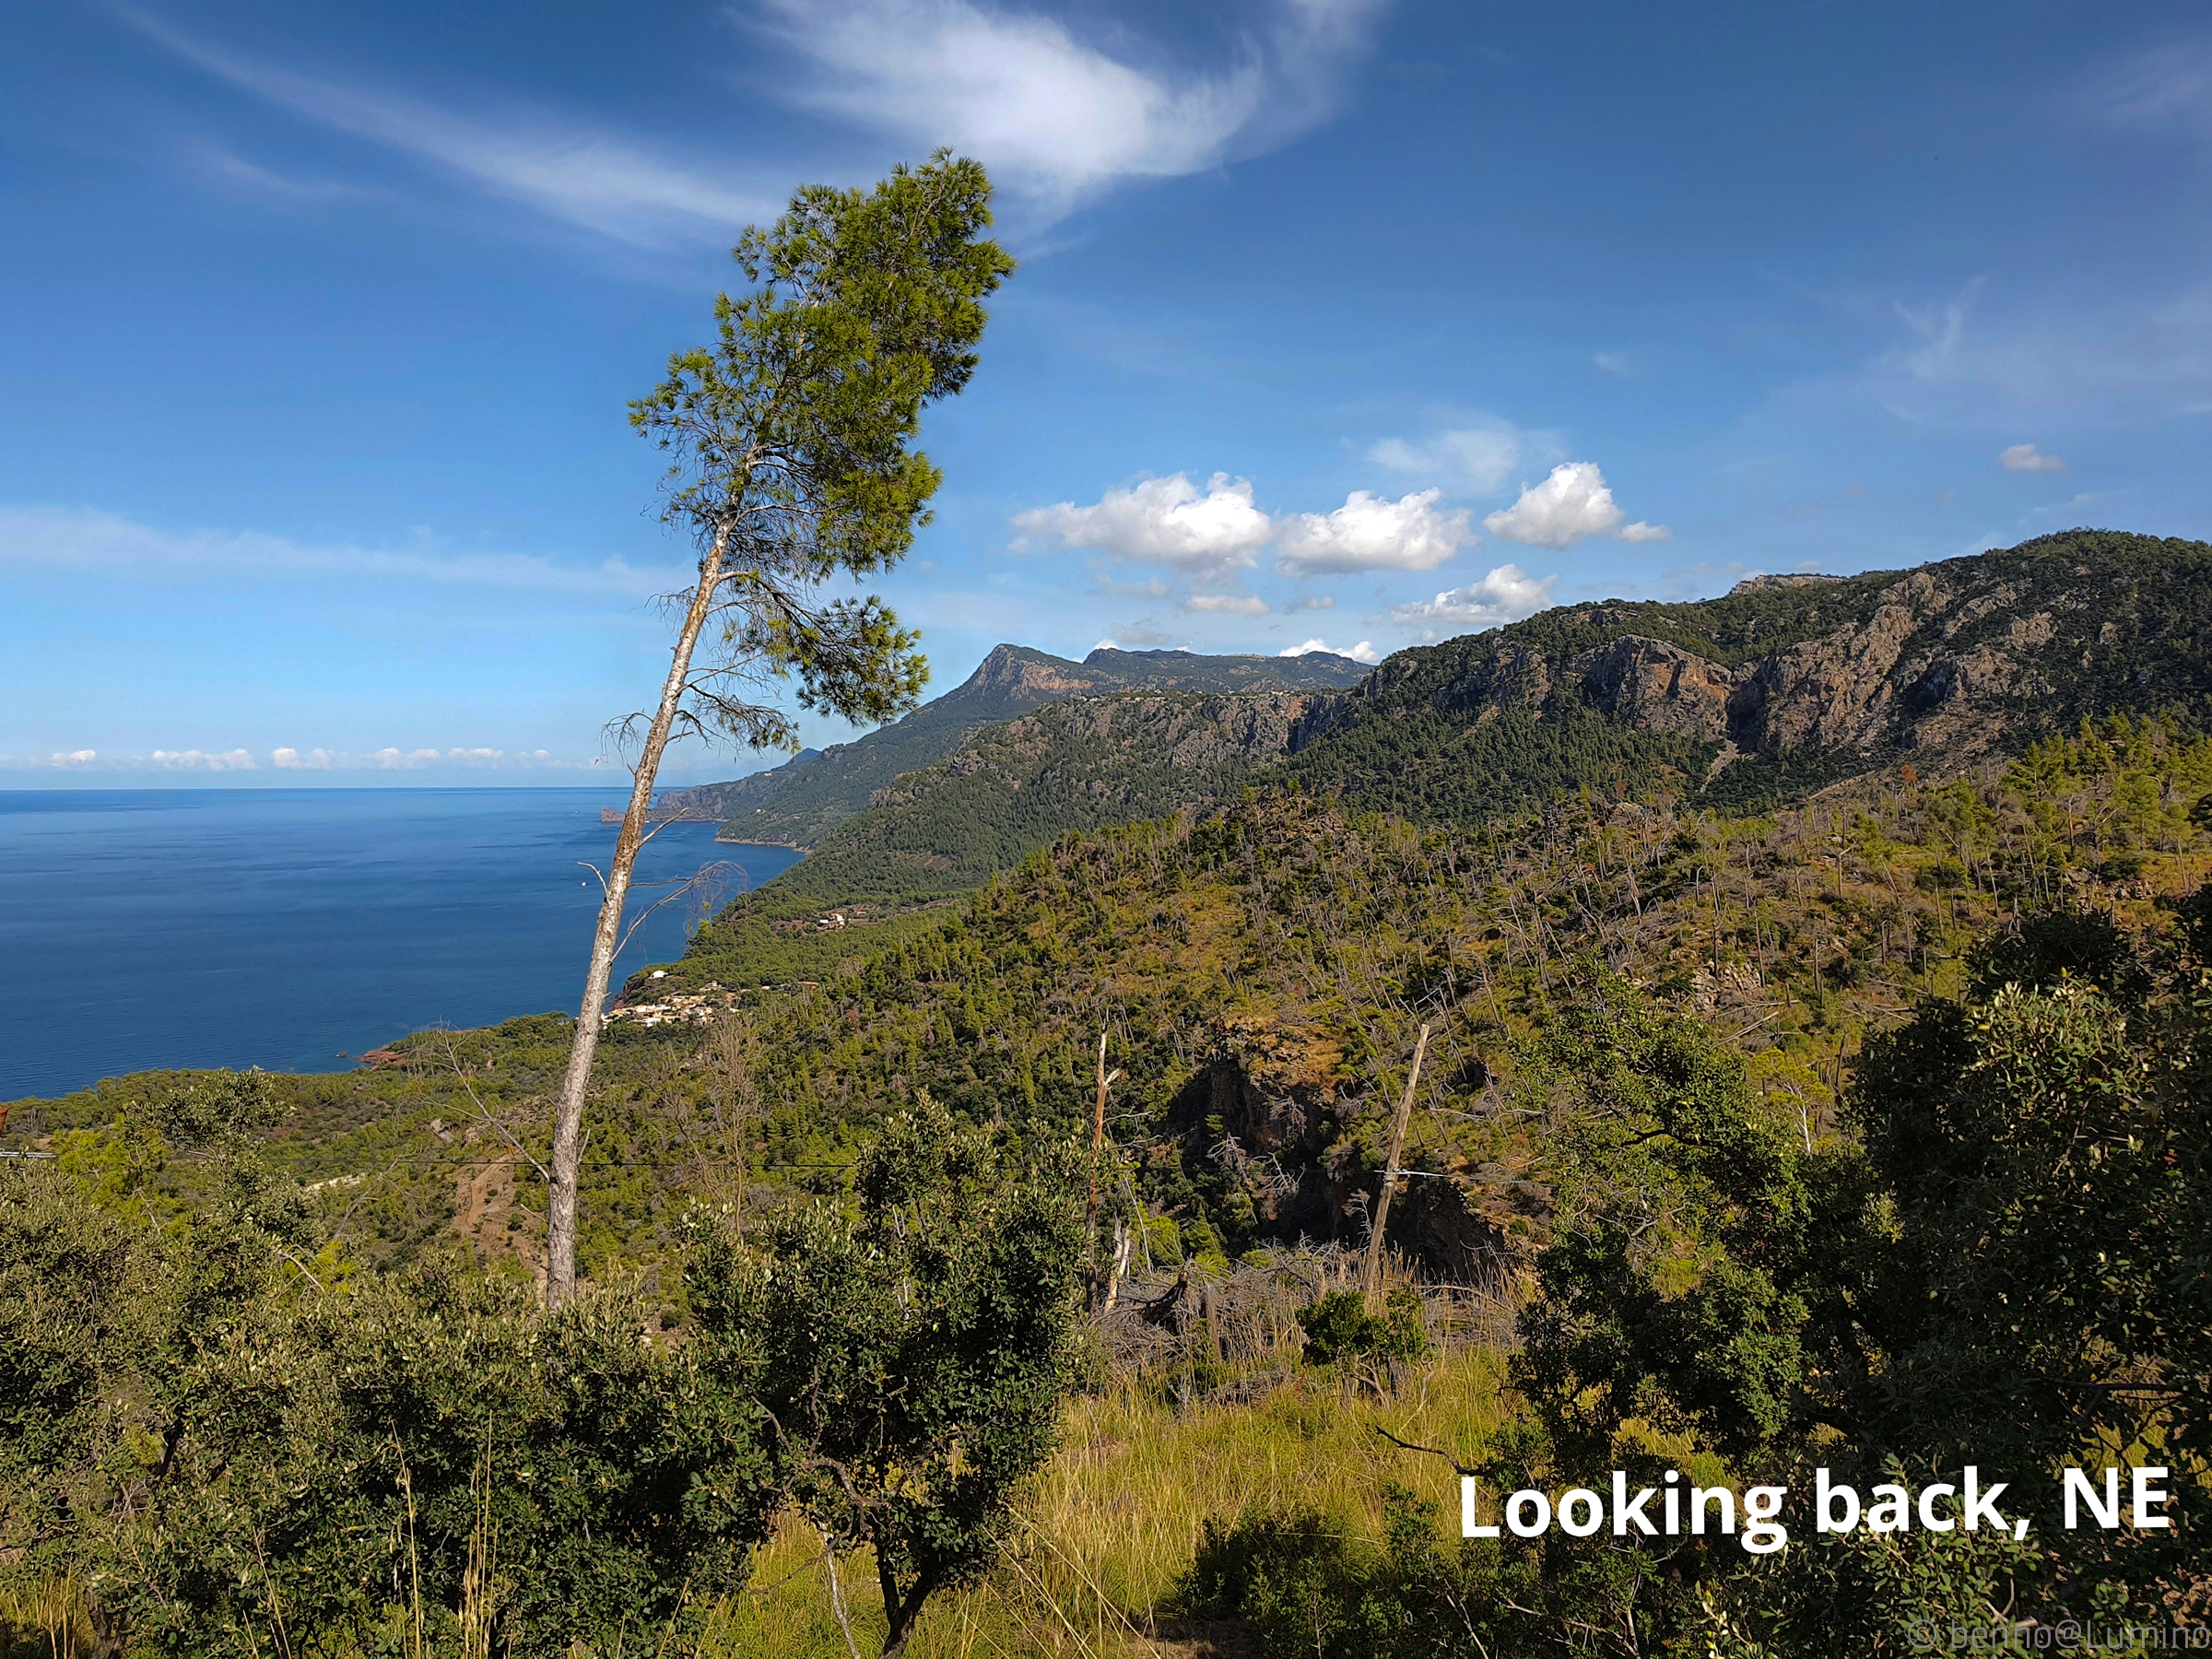
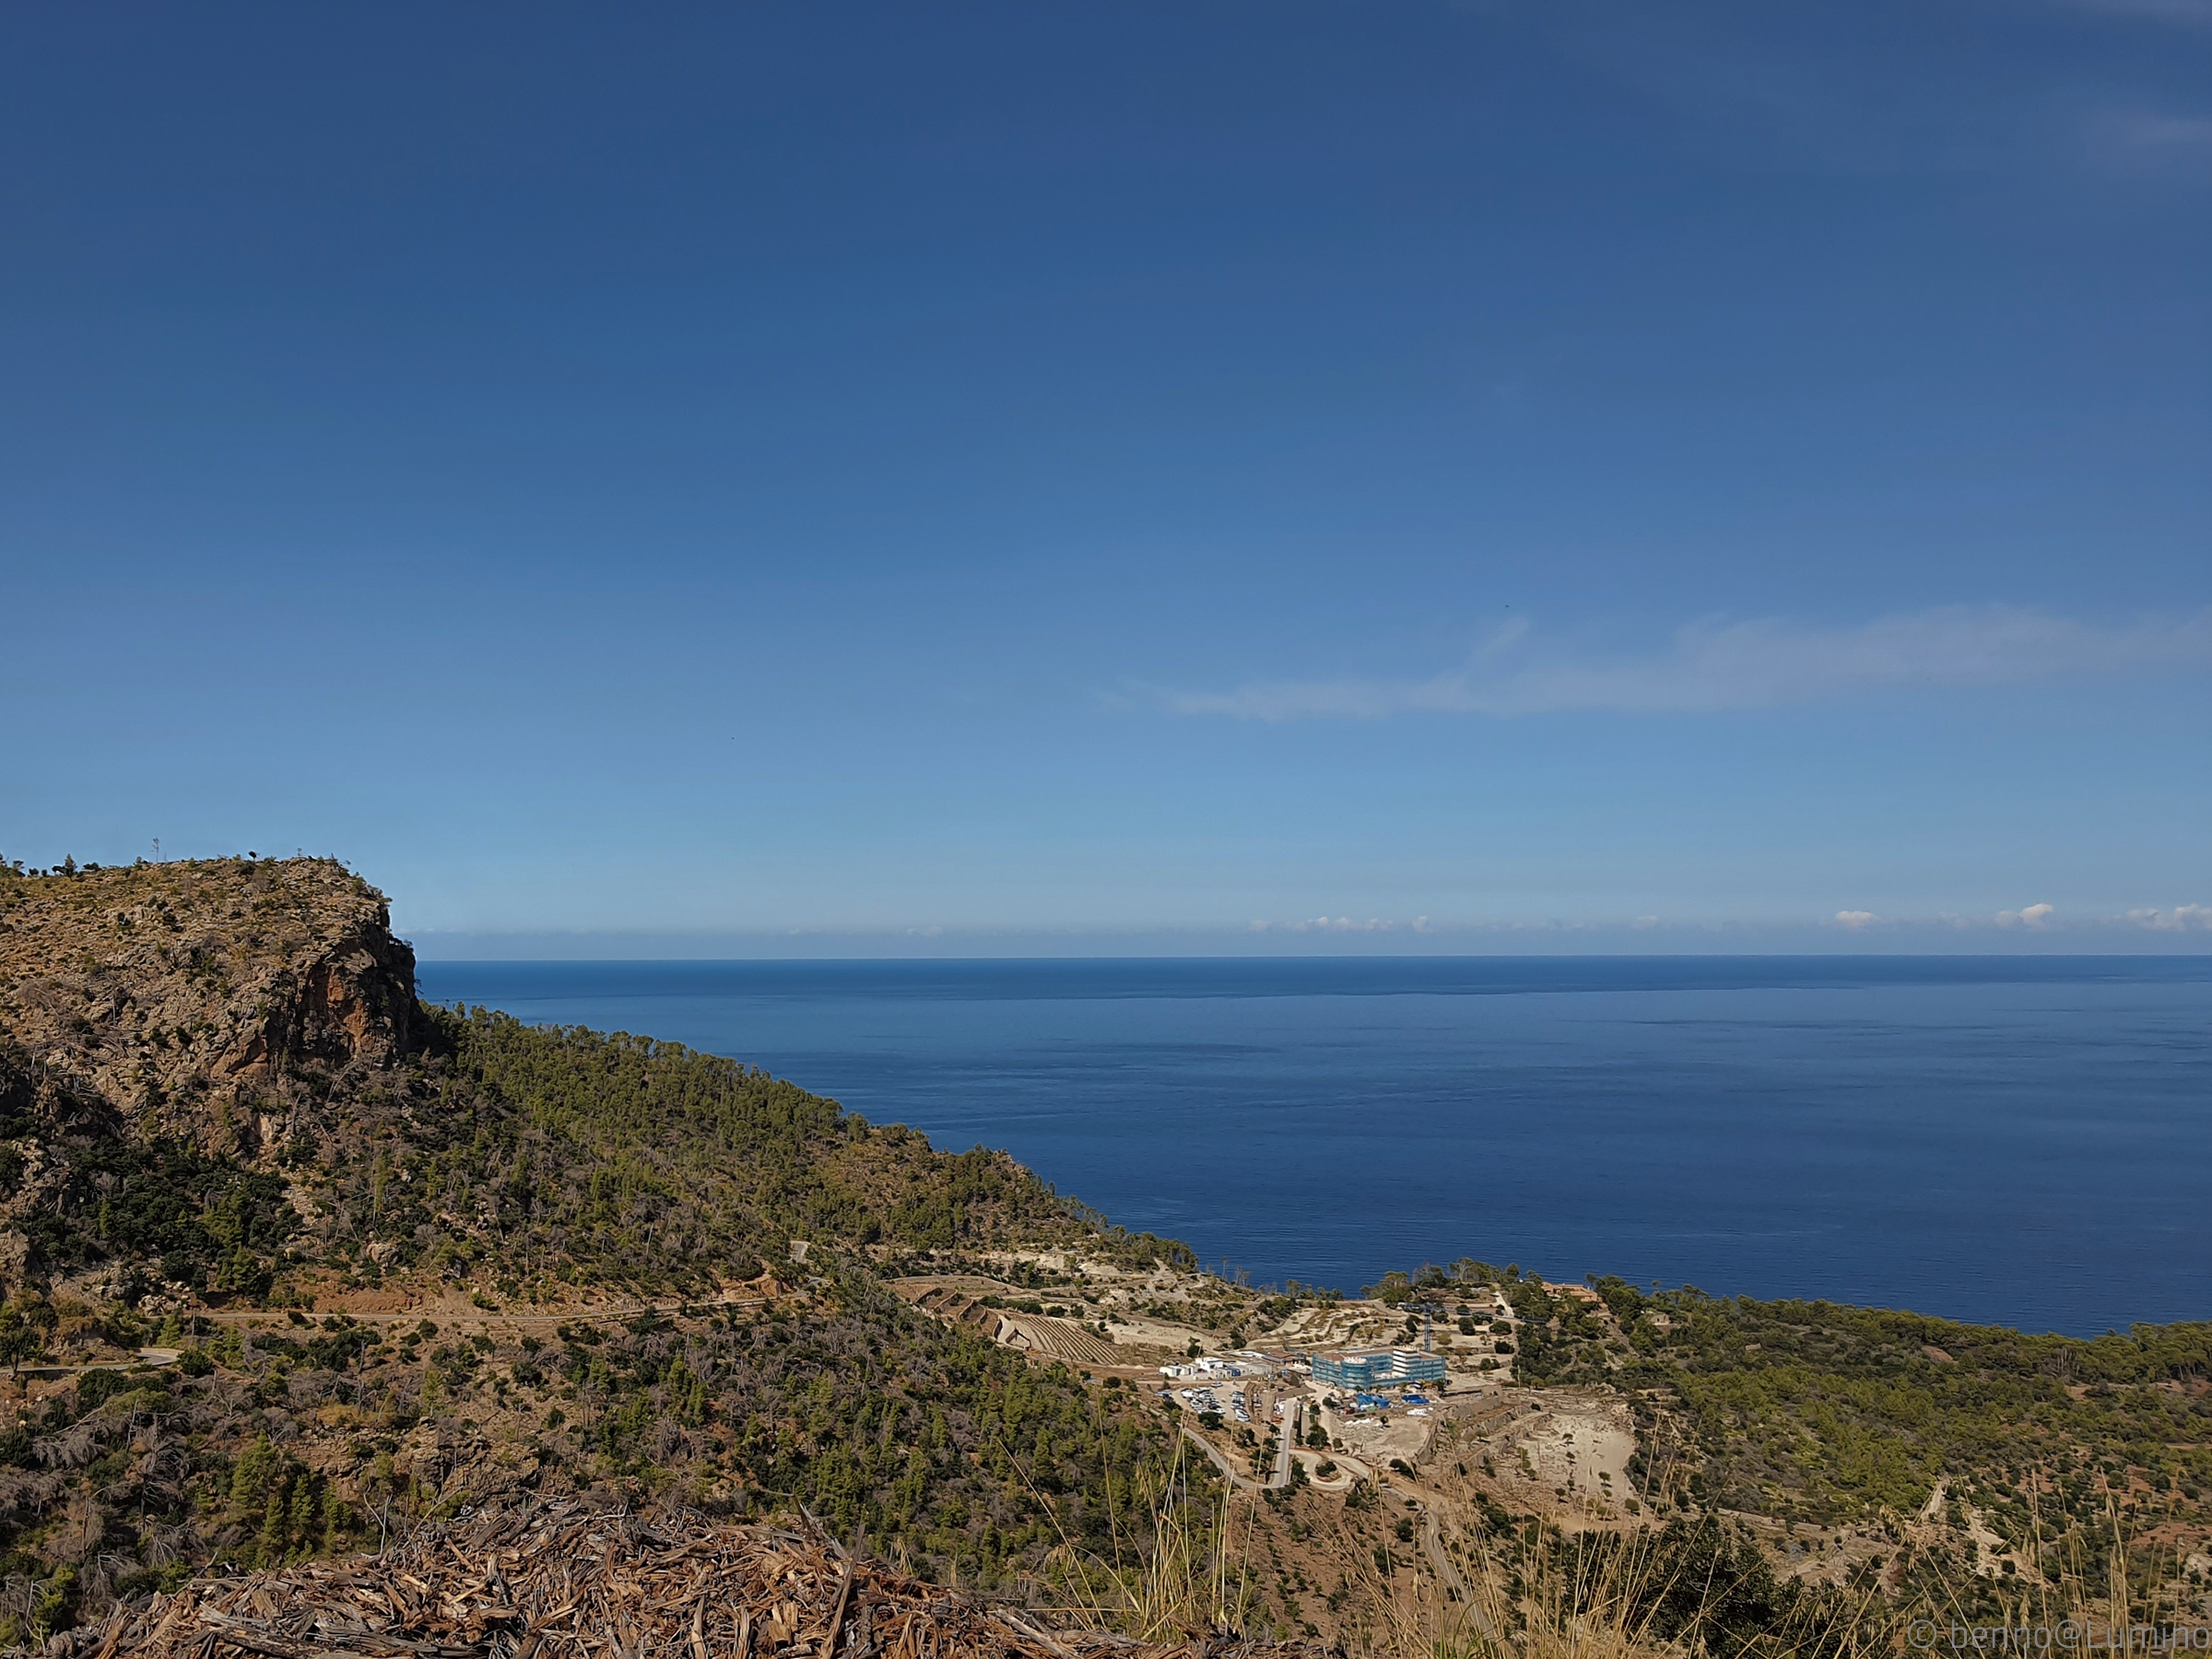
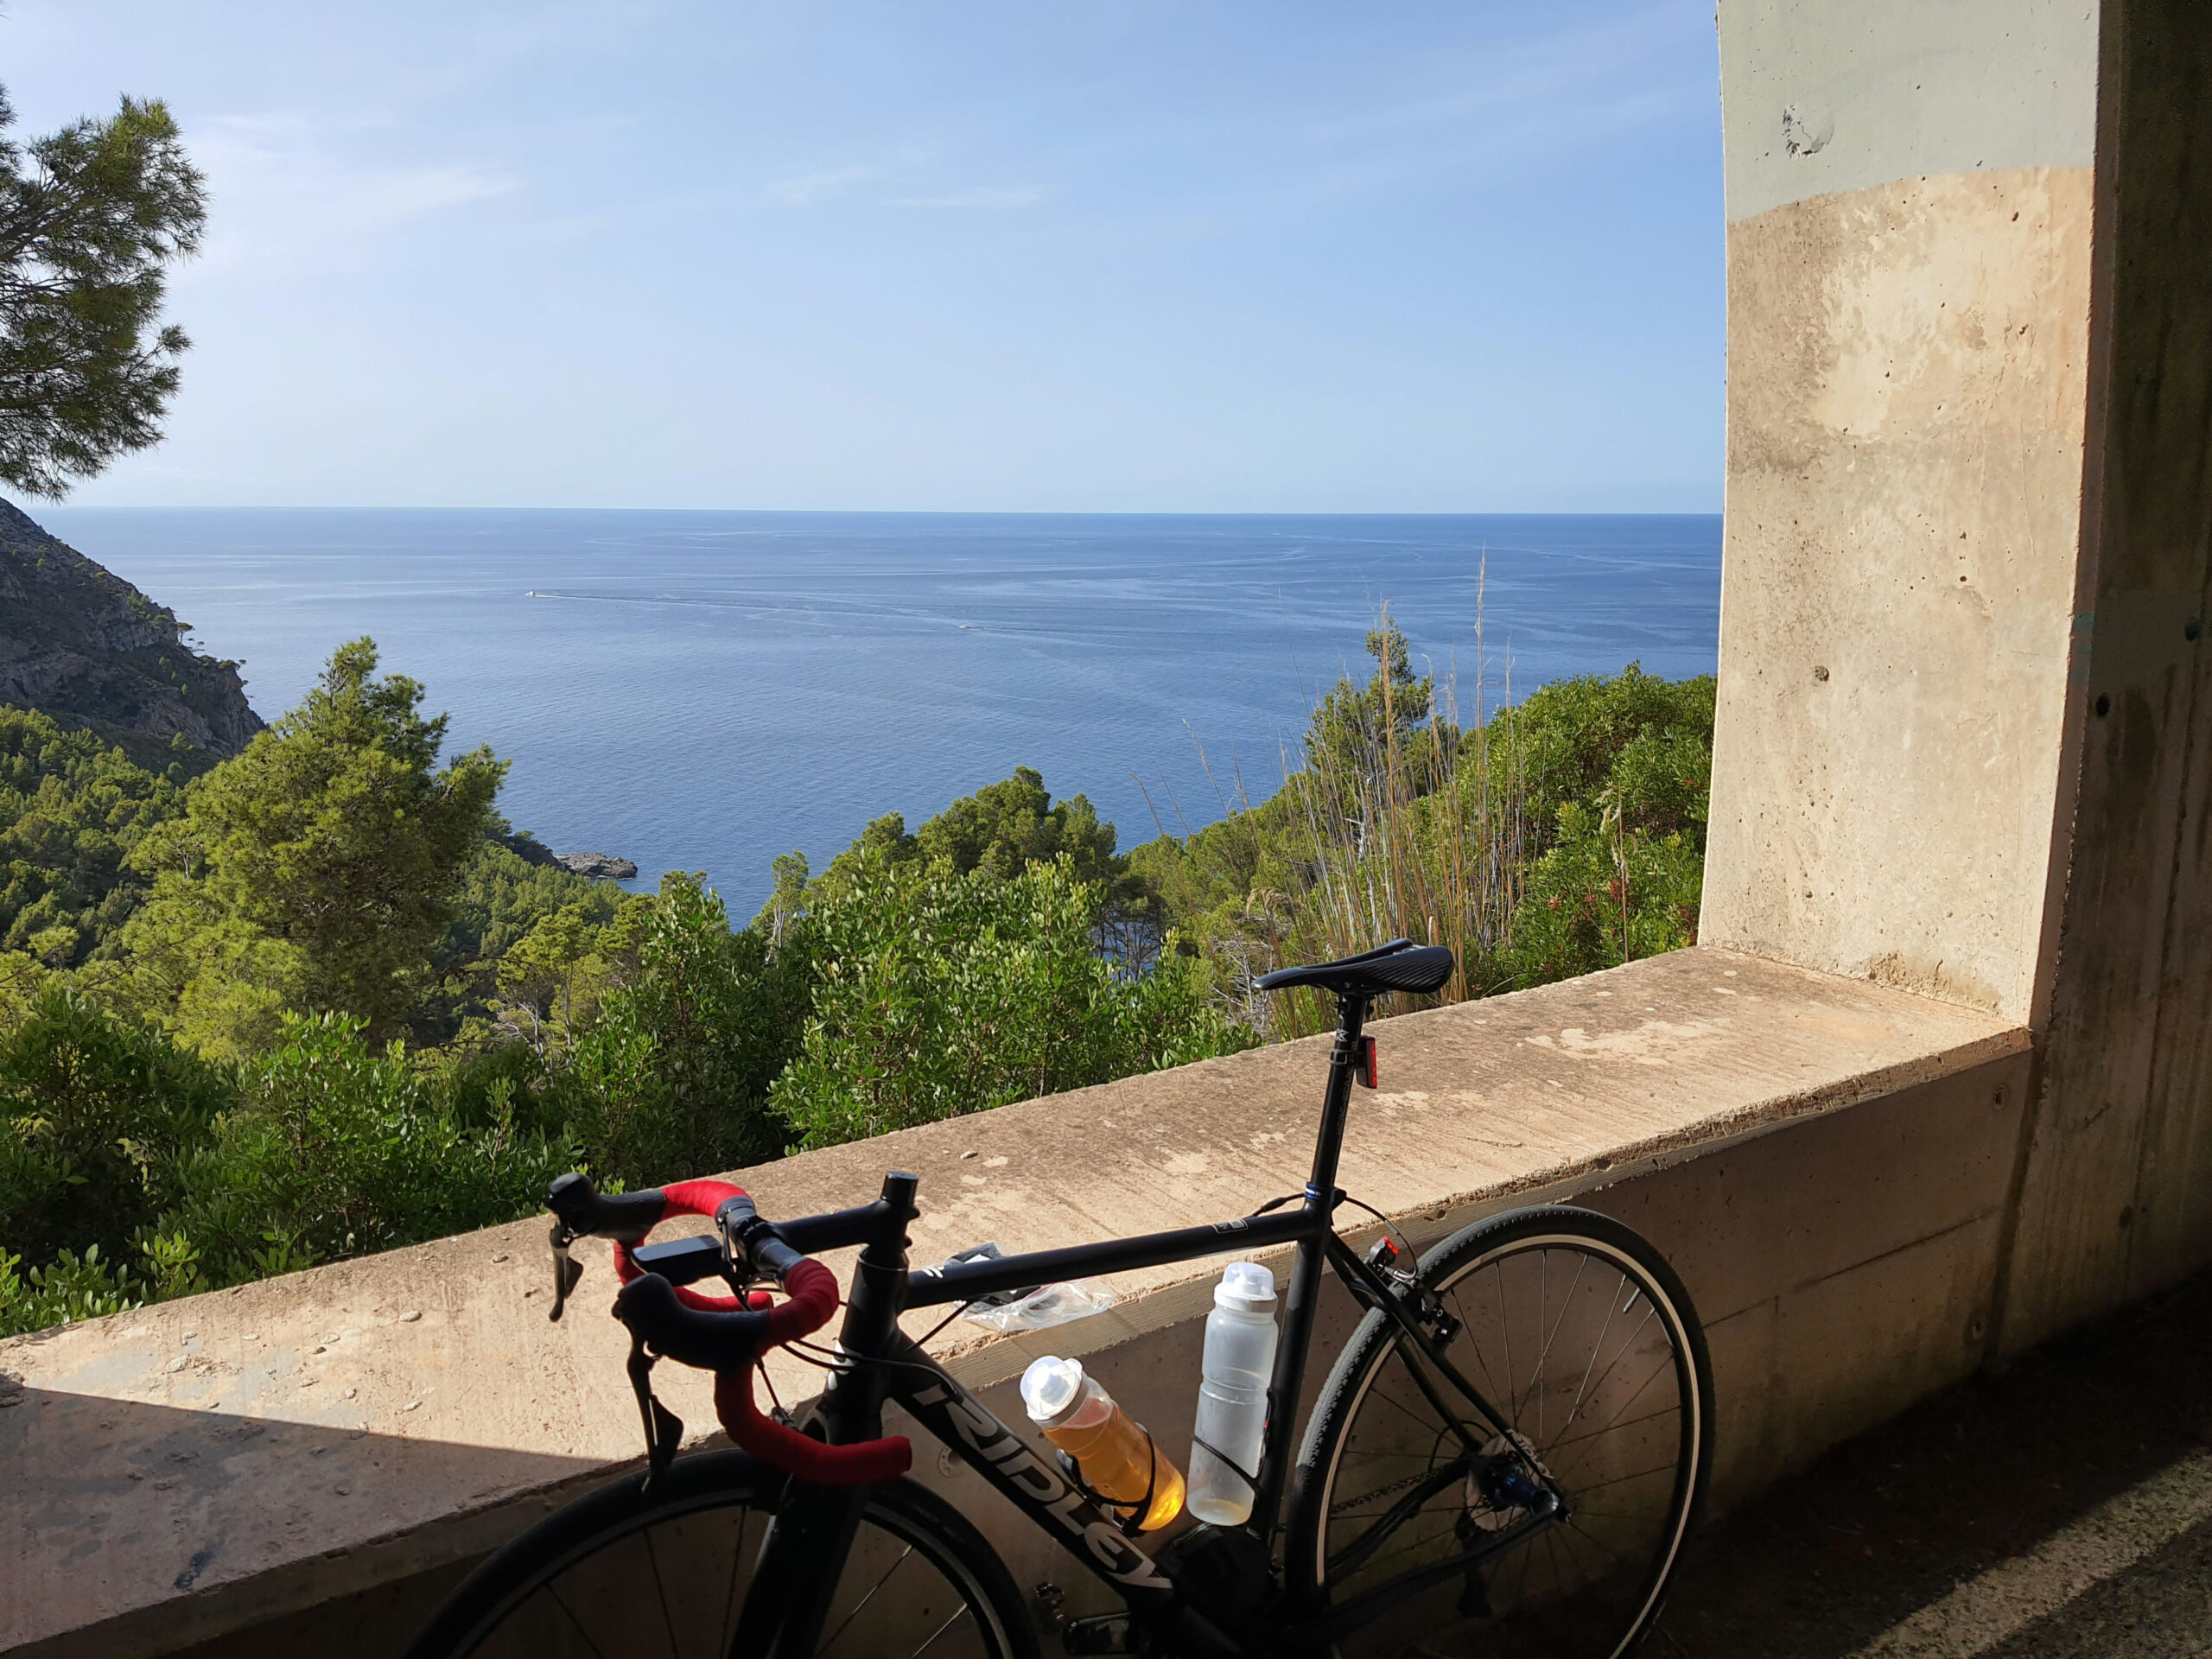
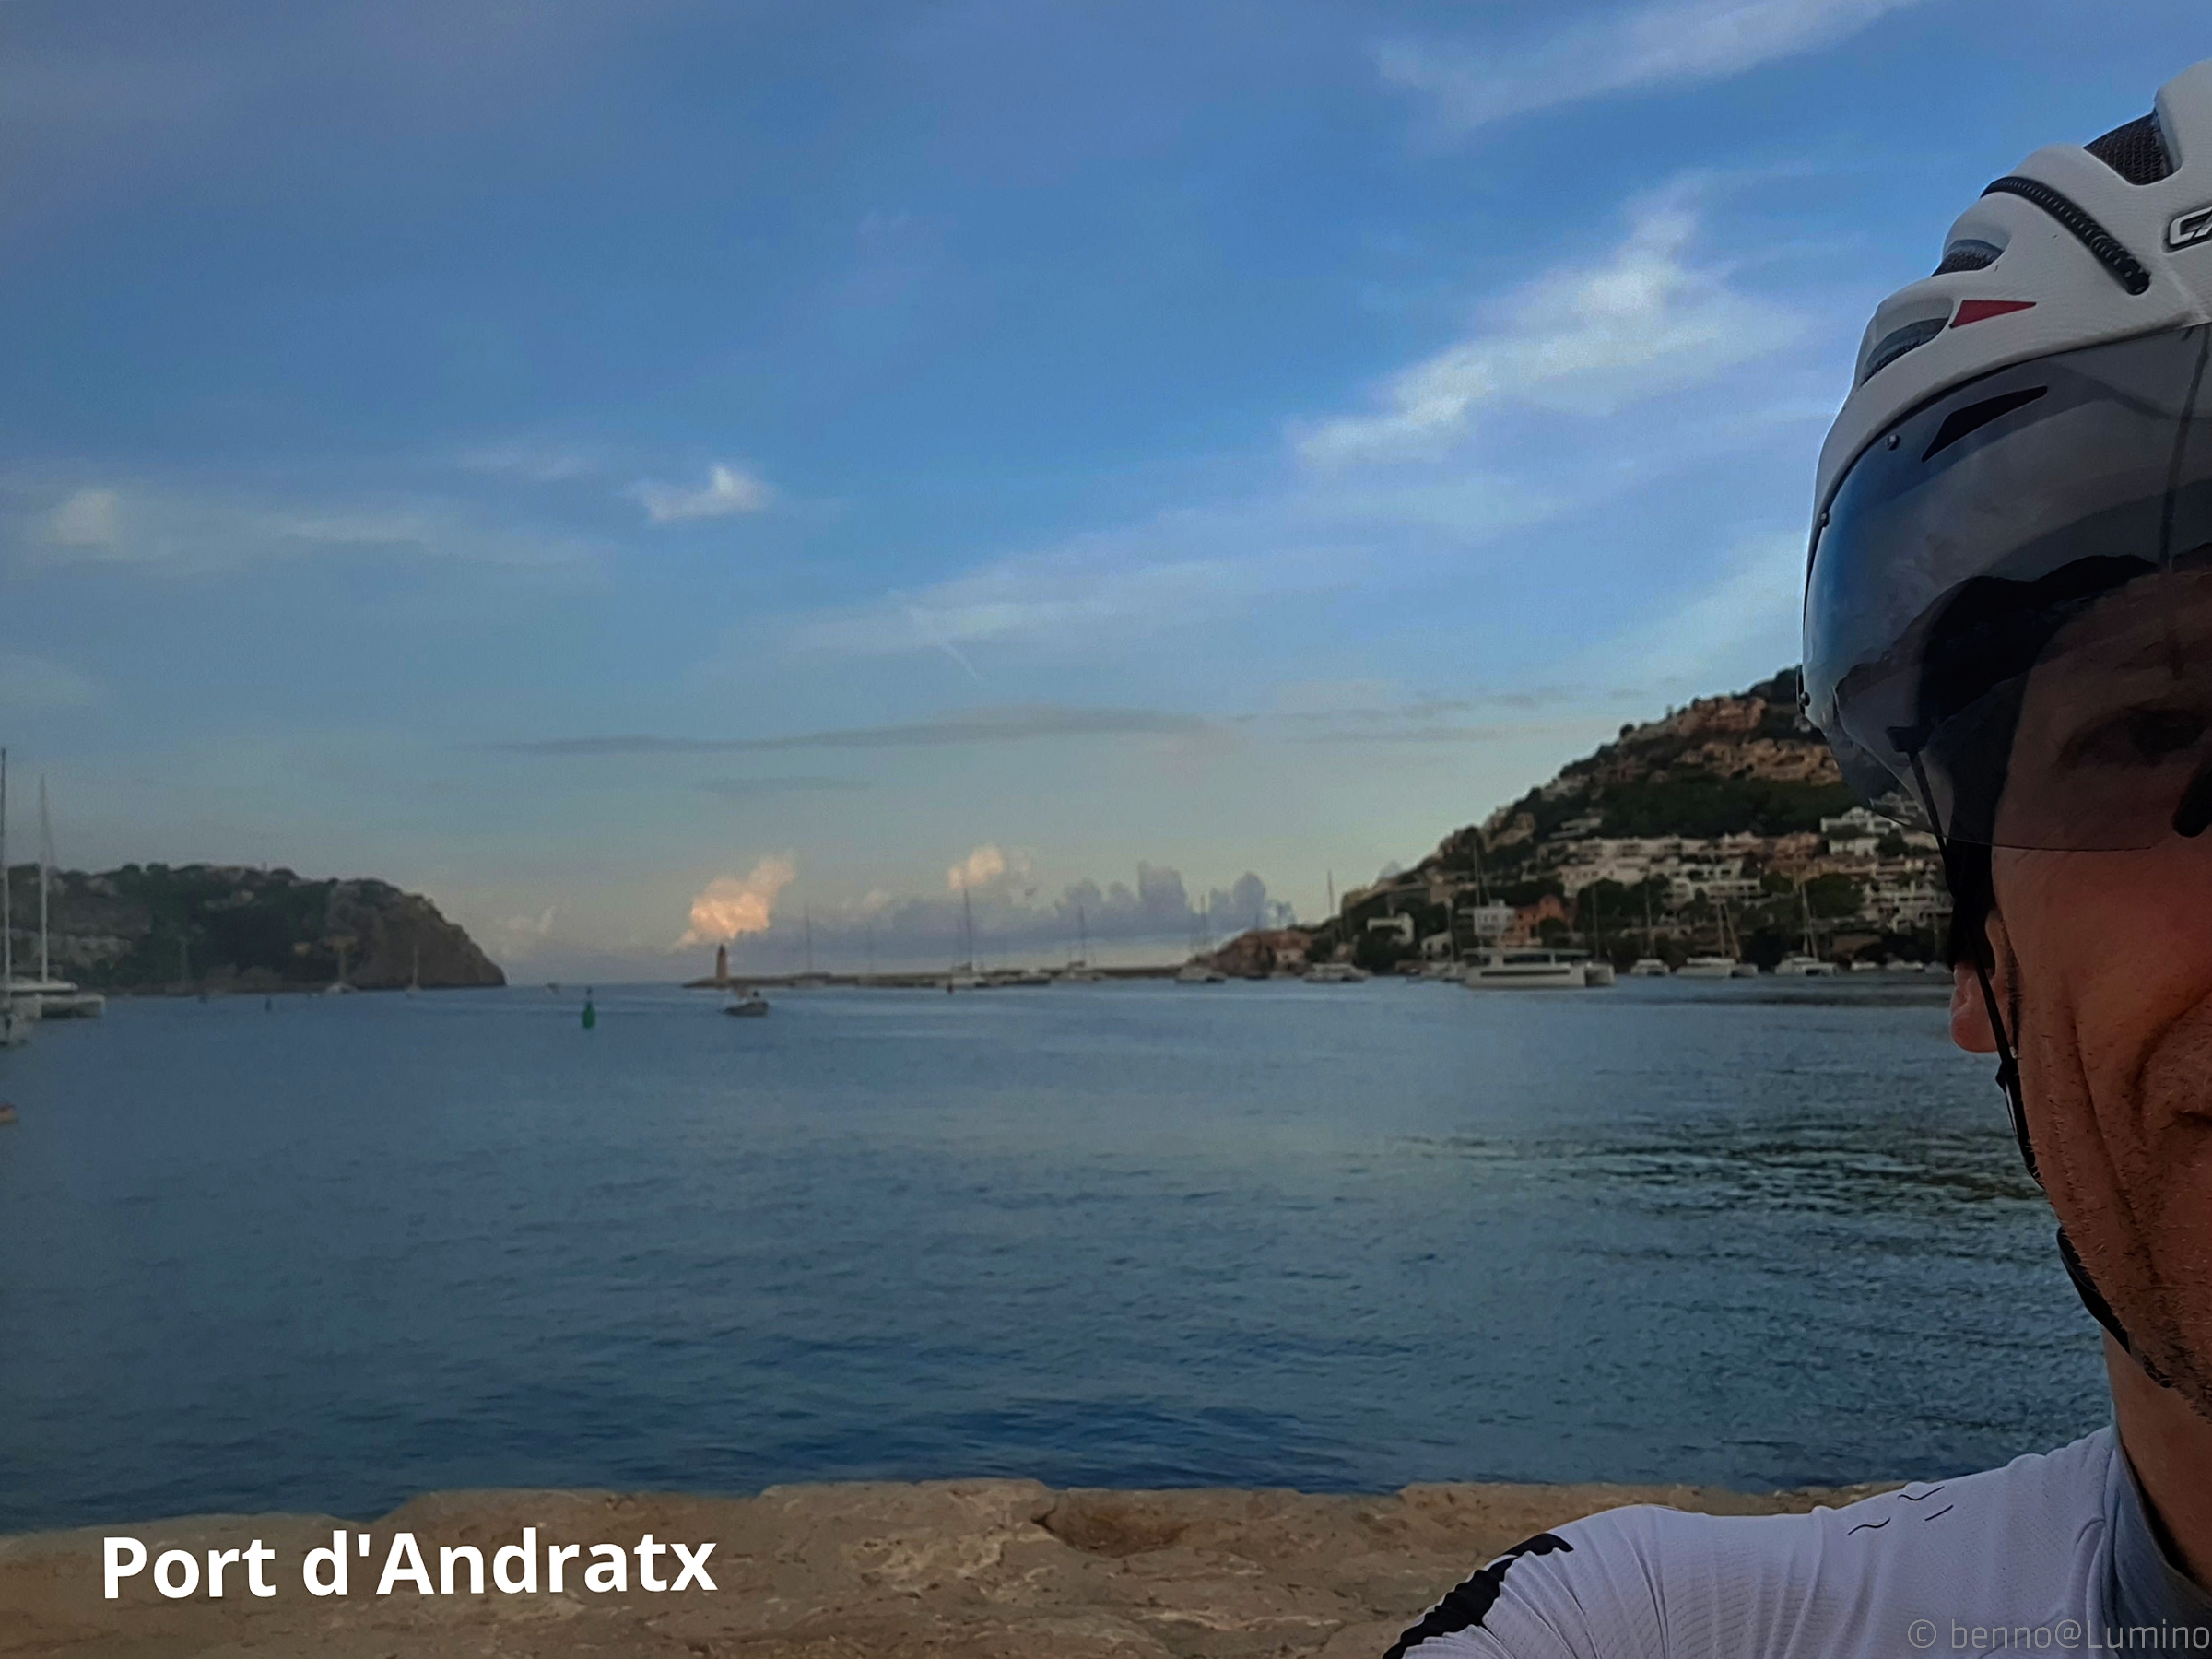


Results of Mallorca trip / flying with a bike
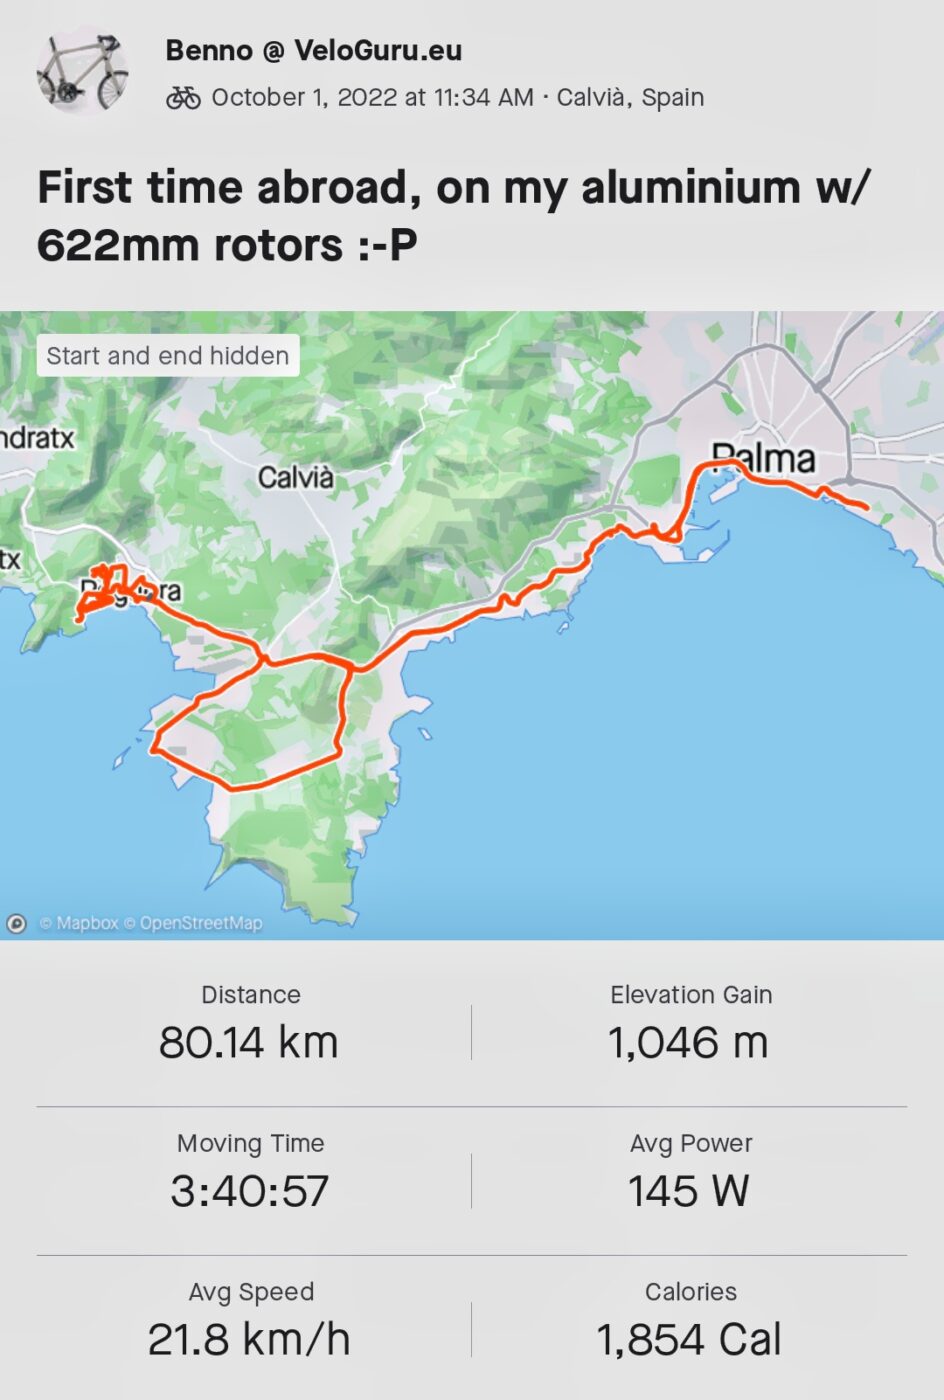
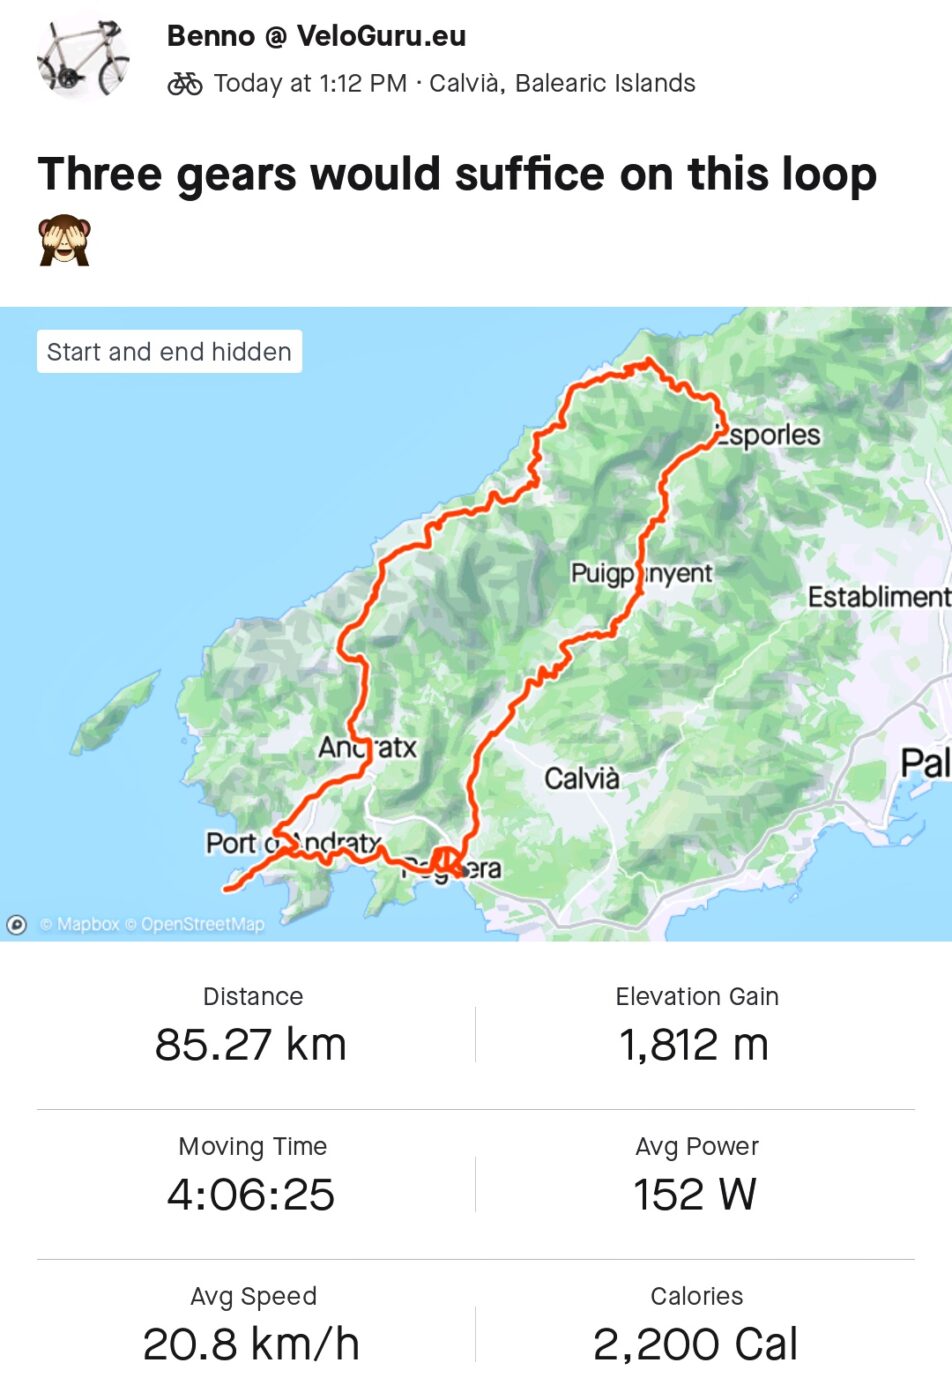
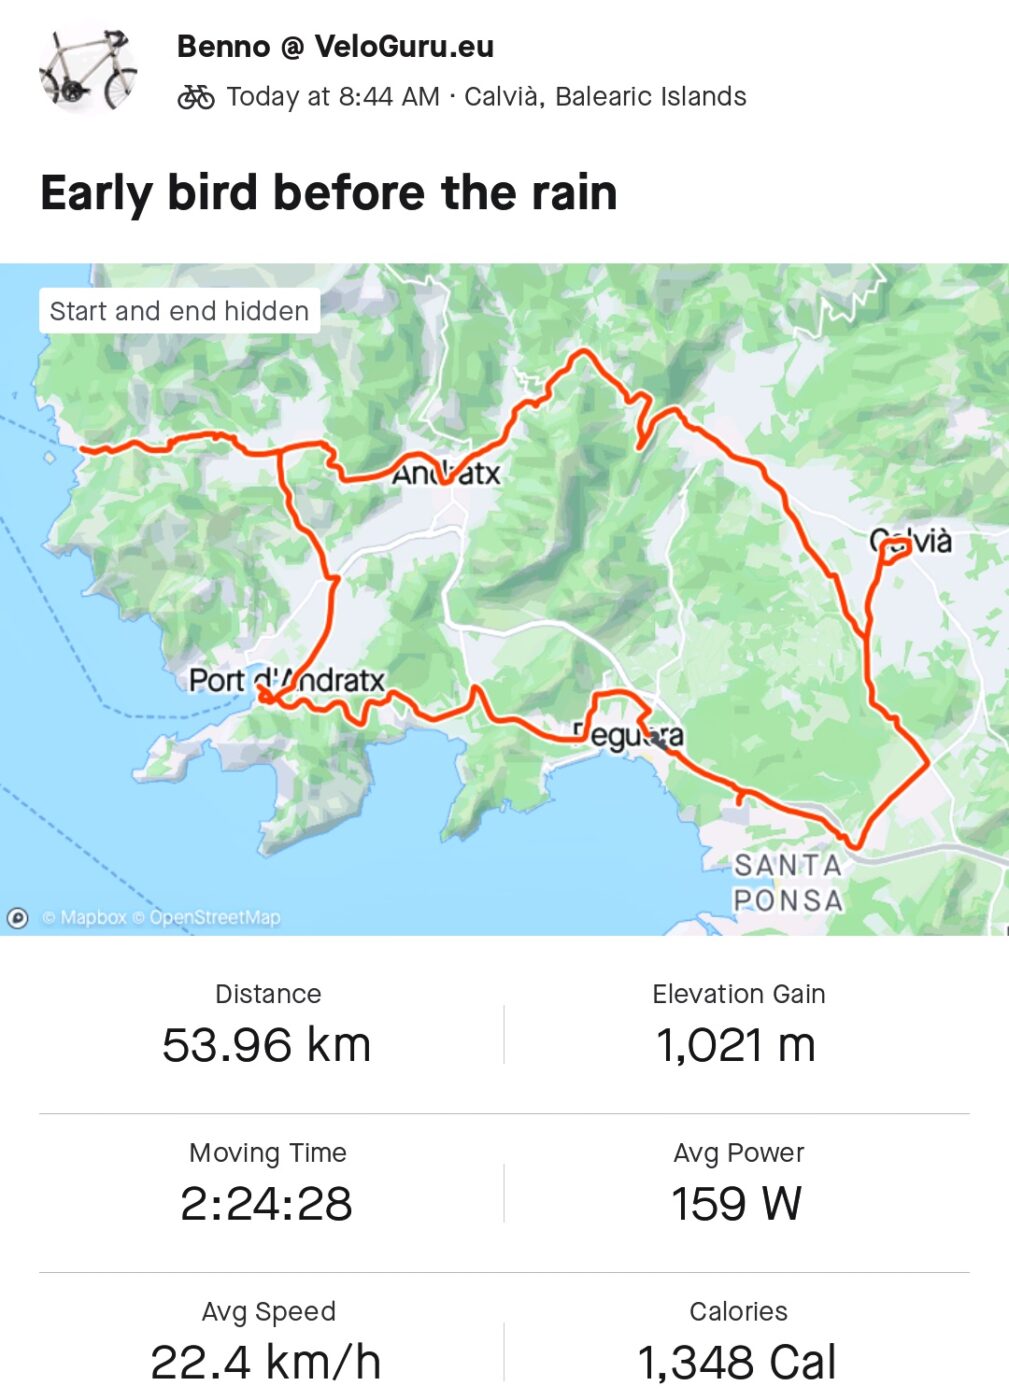
Results, in chronological order:


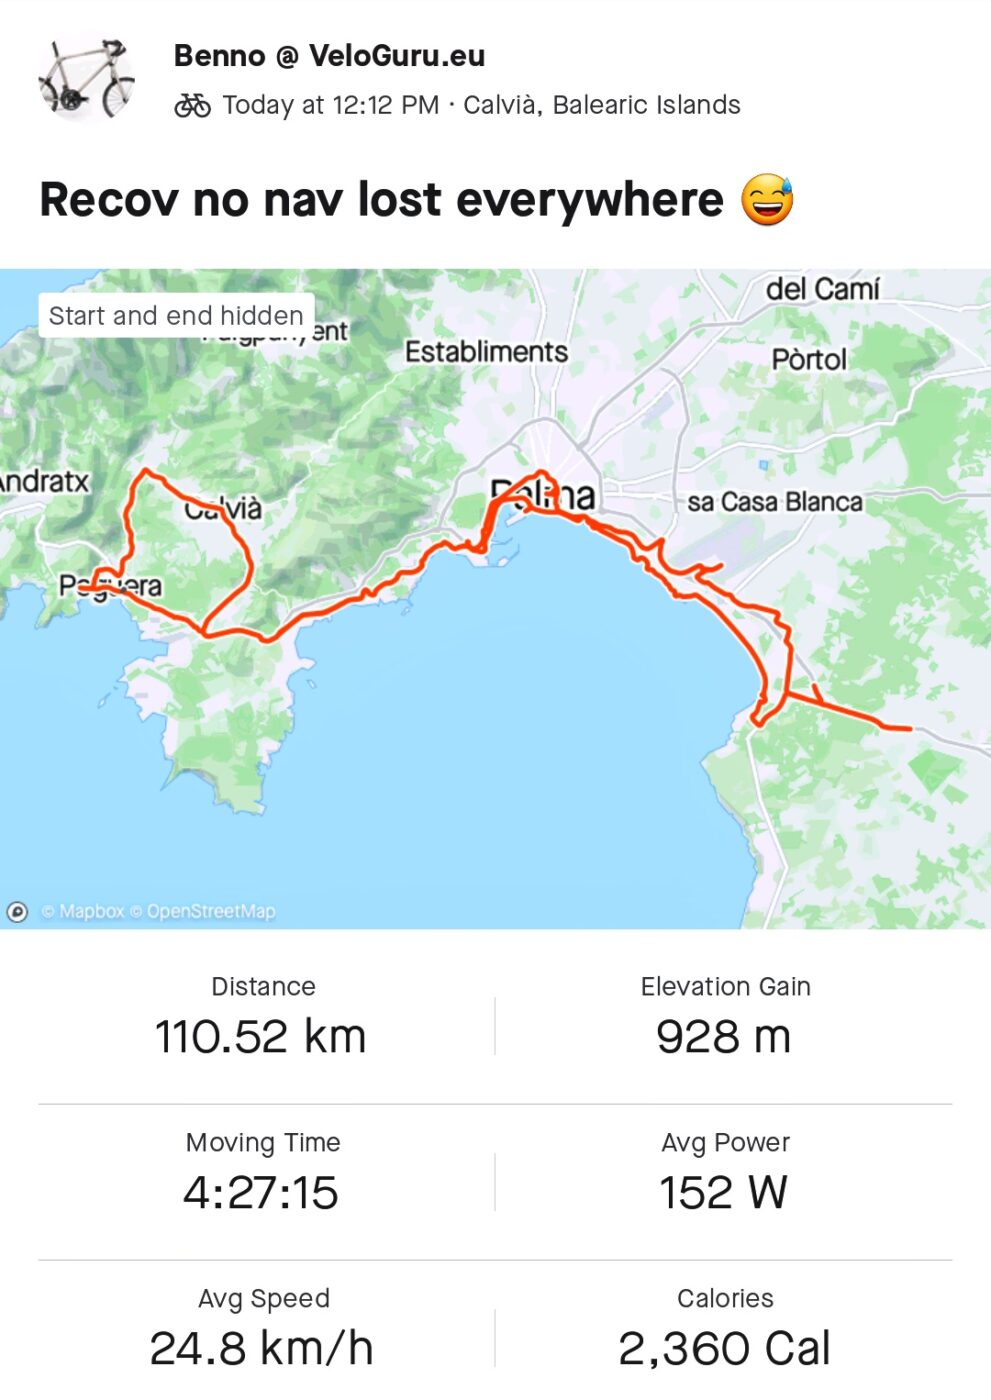
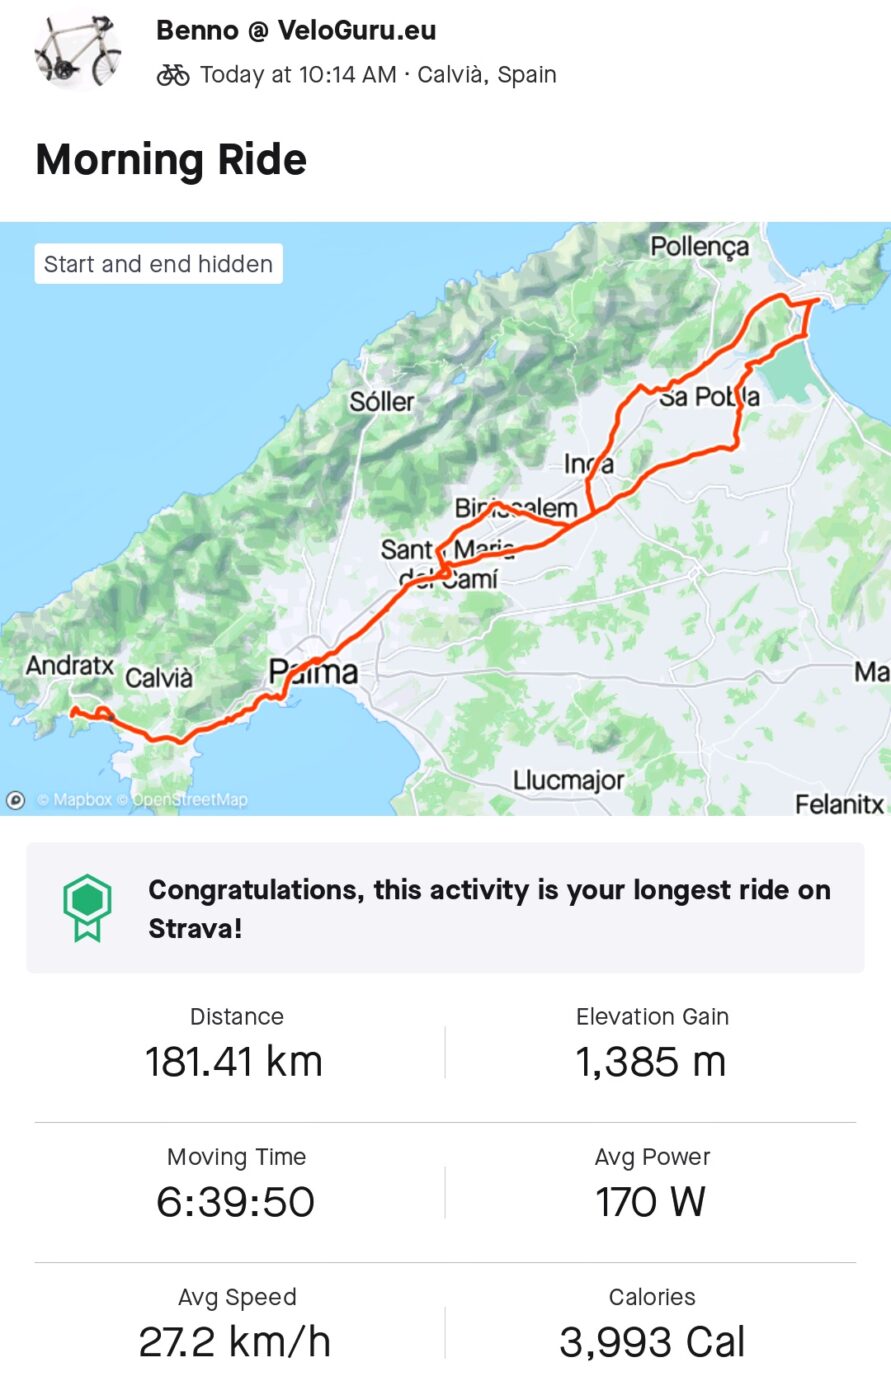

Flying with a bike (uhm, checked in)
How do you pack a bike for checking it into an airplane?
What boxes and cases are there, and which make sense?
Is it worth the money and extra fees?
Here is my pre-planning and experience, and how I beefed up the bag I chose with anti-crush-poles, in an easy and removable way.
Intense research made me choose the Evoc Road Bike Bag Pro.
– Relatively light at net 13kg.
– Only requires to remove pedals and wheels – handlebar/derailleur stay in place.
– Folds up when all reinforcement beams are removed – easy storage.
– Similar to the Elite Borson, but I liked the hard top shell better, with its possibilities to easily improve structural stability from the inside (point 10 on list below).
– Rolls like a pro, and is as easy to handle through the airport as my cabin roll-on, even fully packed and at 27kg total (Bike Bag, bike, accessories, clothing).
1. Document your seat height, your way. Then drop down seat really low, because a really hard push on the top shell could bend the bag inward as it flexes a bit, and thus potentially break carbon saddle shell or its rails, if the saddle is very close to the top of the case.

2. Remove Pedals. Clean all four involved threads, while you are at it.
Pedal wrench plus two pedals fit easily in the provide pouch on the inside of the bag, along with some grease for re-assembly, in a zip-loc (think ahead – and keep the inside of the pouch free of grease 😉 ),
3. Remove the wheels, drop tire pressure (paranoia, I know), put them in the provided wheel bags, set them aside for now.
4. Set bike frame loosely on the dummy axles on the rack, to figure out the best height for those axles – the big chain ring needs to clear the floor. Low-as-possible/high-as-needed is key here.
After that, I zip-tied the dummy-axles in position, so they can not fully slide out of the rack/ black brackets sideways. Memory-ties 😛
5. In this particular bag, I found the bike can slide left and right quite a bit, because the construction of the rack allows for lateral movement. Not sure if that is common, but it needs to be addressed if you want your derailleur and hanger arrive un-bent.
My rear derailleur ended up sitting way too close to the black rack-bracket, hitting it when the bike frame slid left.
So I cut some spacers from 1″ (25mm) water pipe, and slid them over the dummy axle.
Now, the inside of the drop out of the frame will take any impact, keeping the derailleur well clear of any obstacles. This might apply to other bike transport bags as well, so, keep an eye out for these pitfalls.
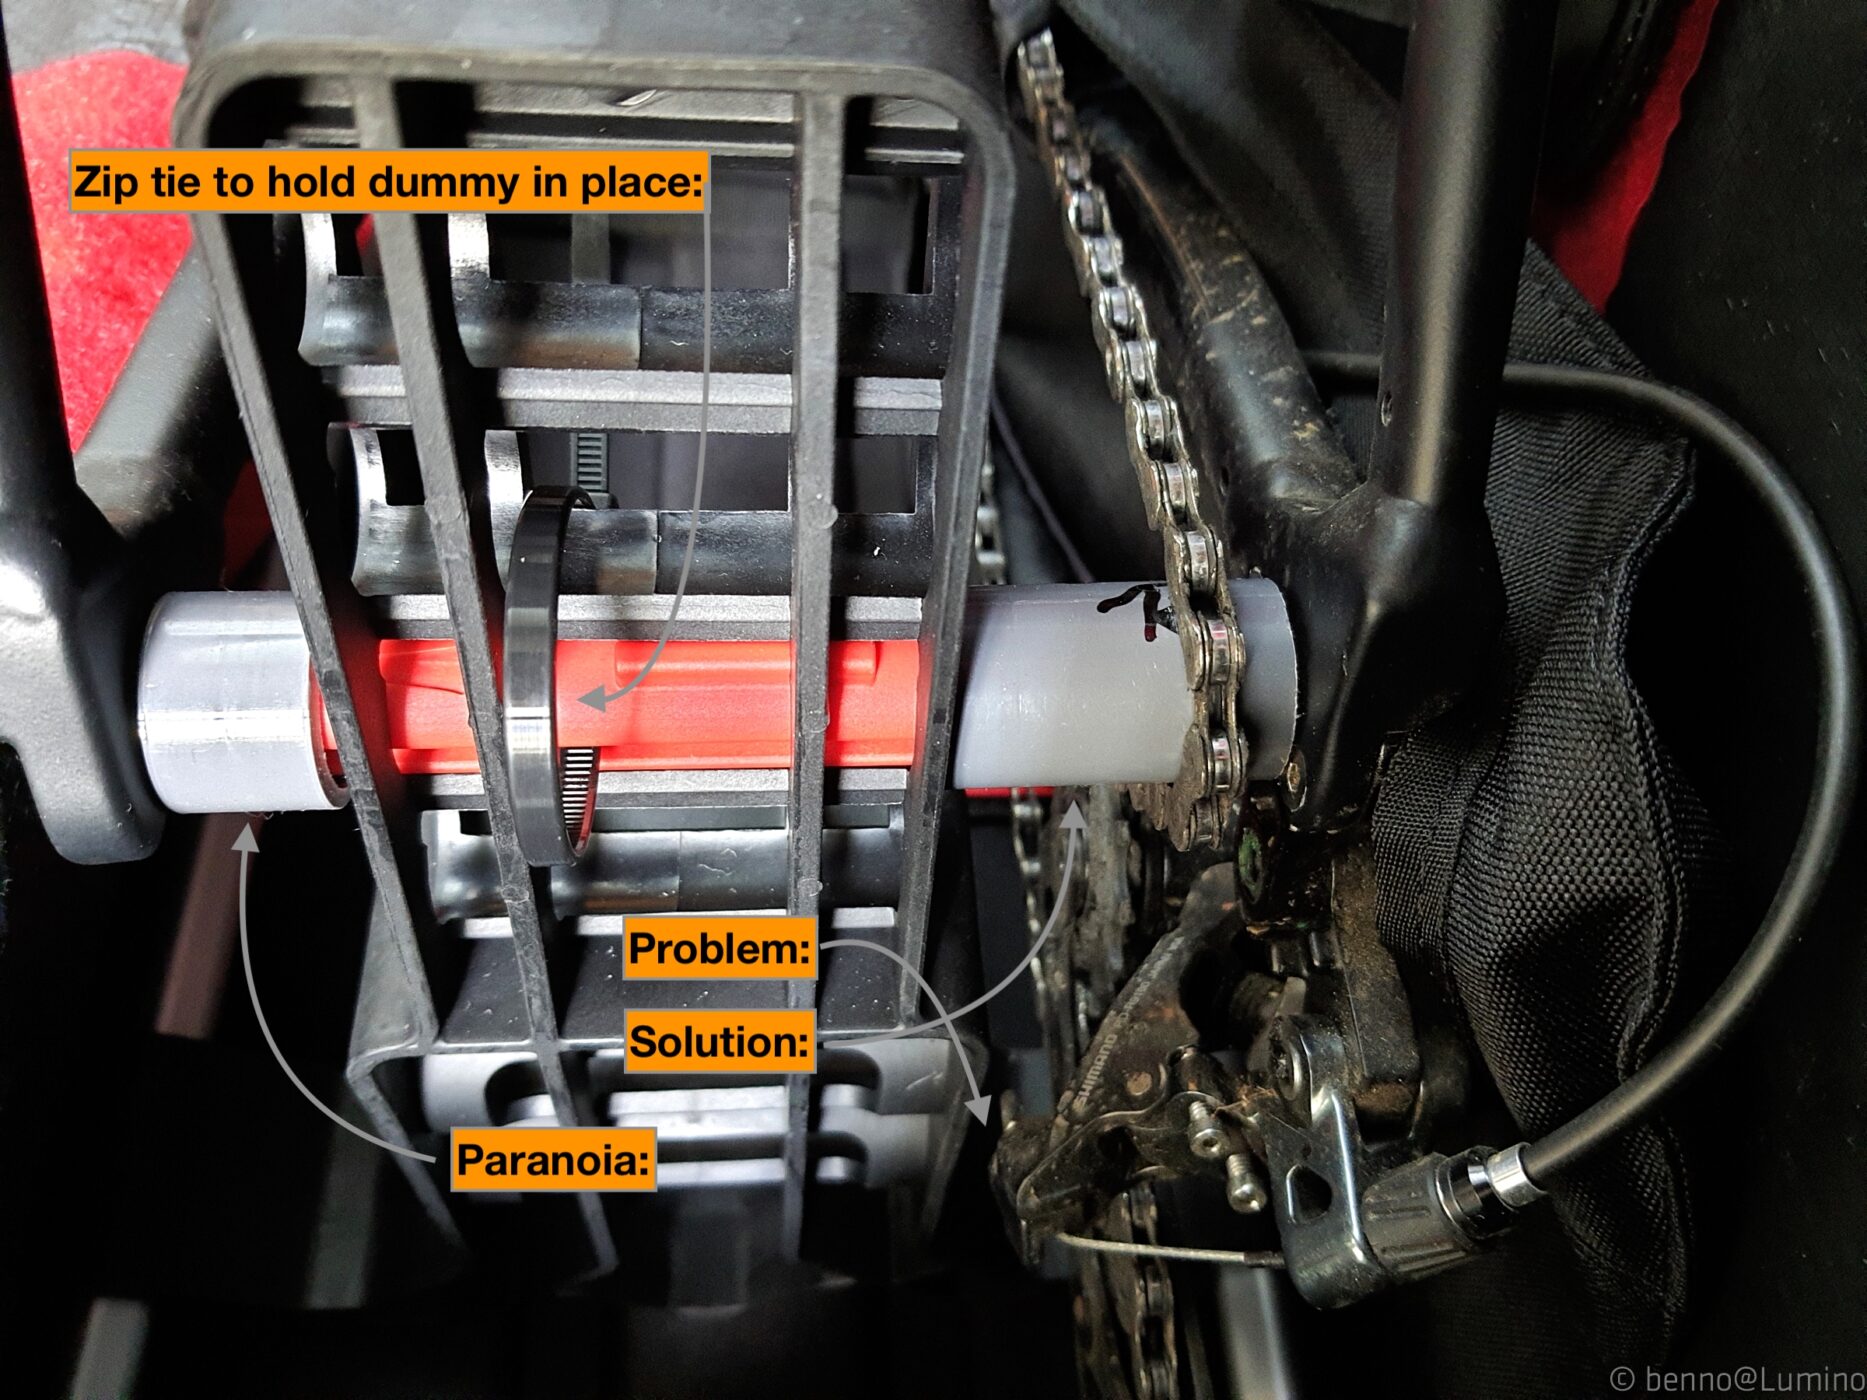
6. Next, I fixed the frame via my axle-spanners to the red dummy axles, while adding (paranoia) an extra, solid steel derailleur guard to the right side of the rear spanner.
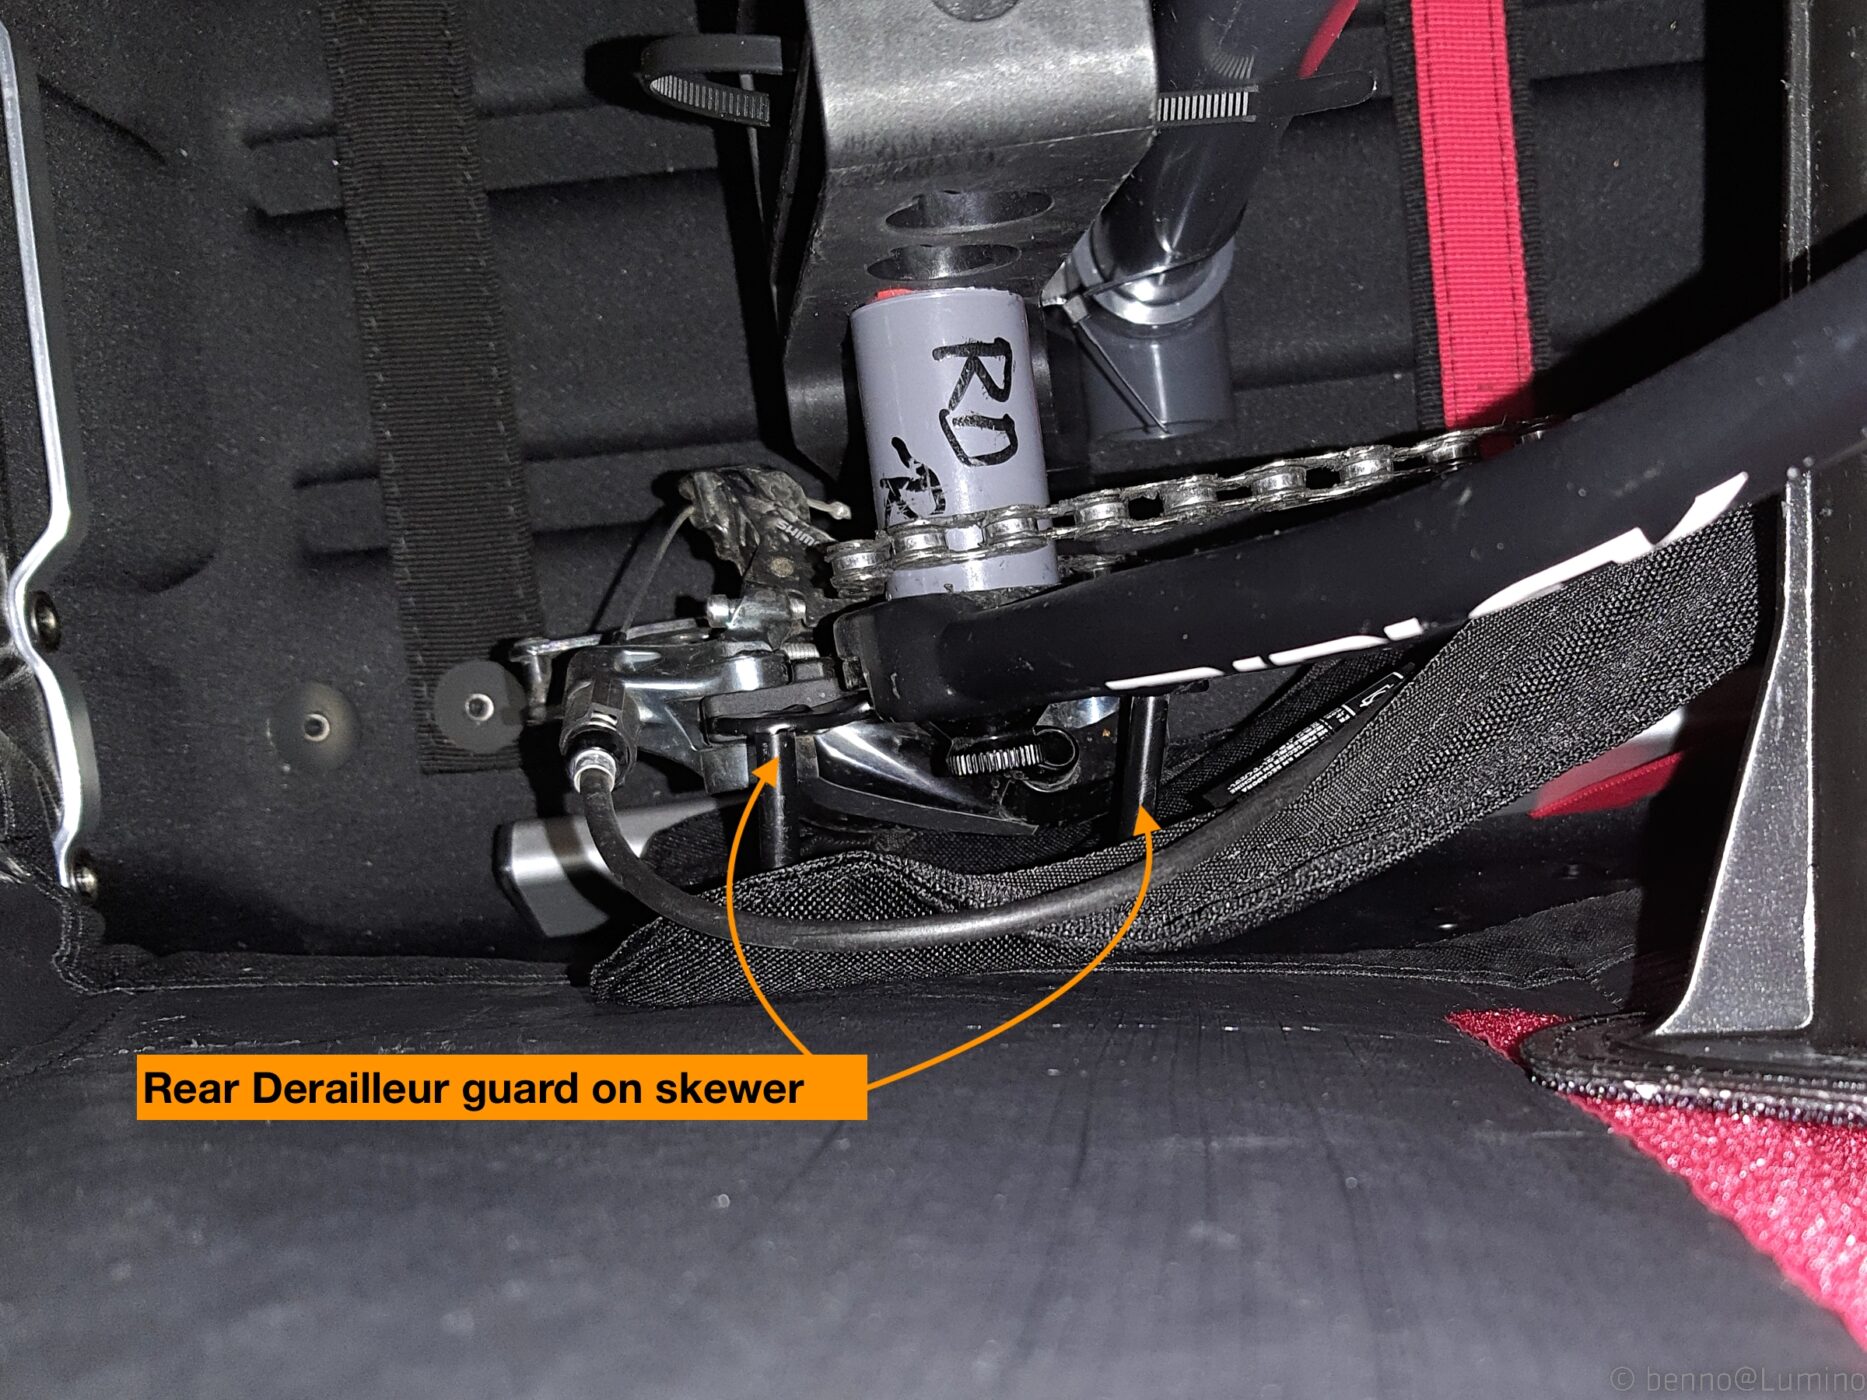
7. If you want, wrap a designated cover around chainrings and rear derailleur (and/or -guard), or keep the chain from slapping and mucking/marking the chain stay some other way.
Also, I fixed the left crank to the left stay, just to keep the drive train from moving and turning (I used tape here, but a velcro strap on the return flight).
8. I added a frame bag for some fluids to pack in there for the flight (squirt/chain lube, sun screen, liquid detergent….) and to have a container for long rides/overnight needs on location.
This particular bag can actually also be mounted upside down on top of the top tube, keeping the frame triangle clear for two bottles for longer rides (Topeak makes them, not sure what model that is).
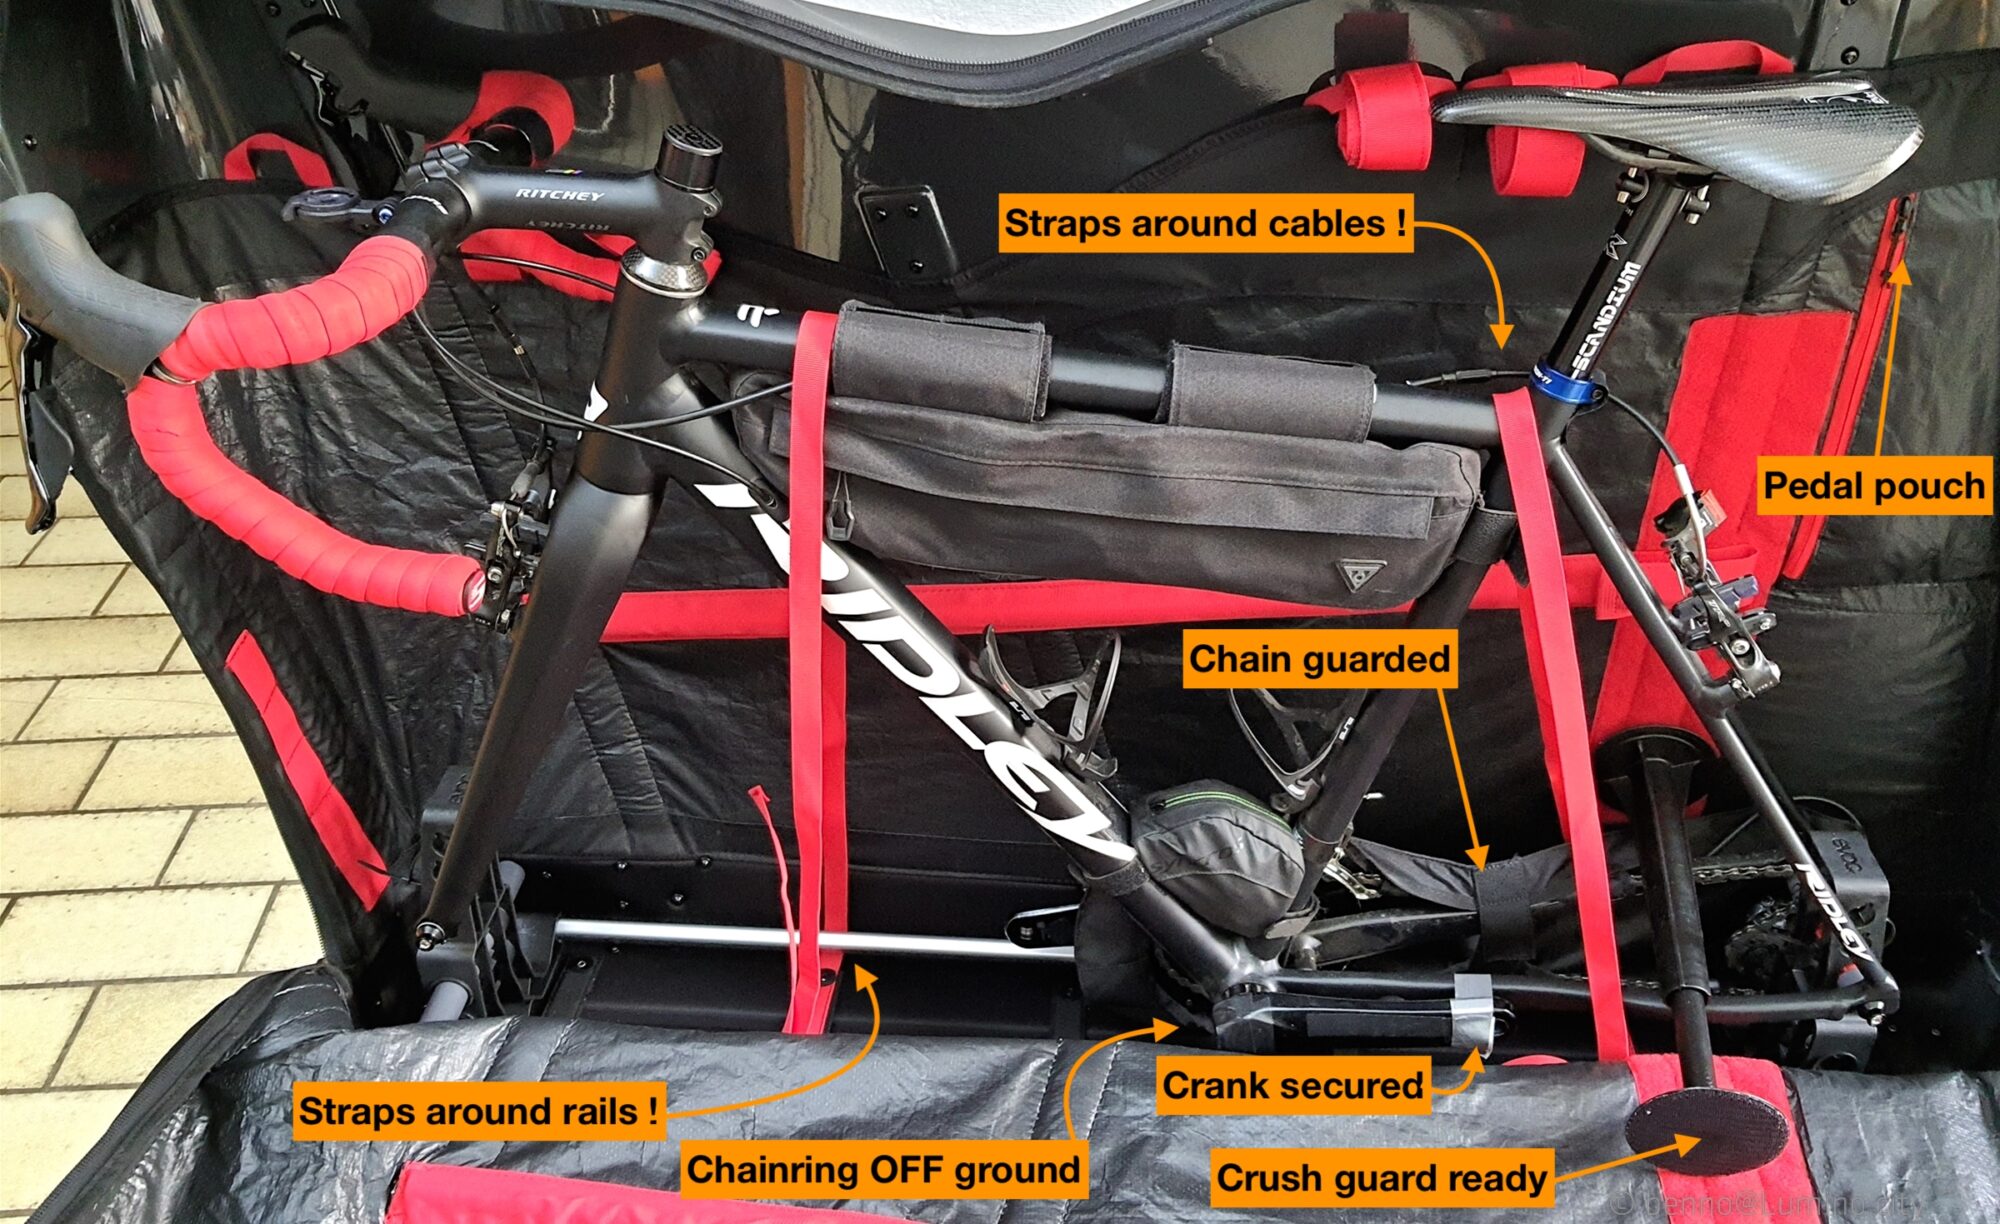
Make sure the two red compression straps go all around the two bottom aluminium-rails, to really set this thing up in the middle of the bags’ bottom shell. Those are common with most frame bags, even hard cases.
Also route those straps clear of any cabling (i.e. see rear brake cable near the seat clamp).
9. Roughly measure/expand the provided velcro-fixed crush-guard, position it close to the fragile parts of the rear. Allow for some fore/aft movement of the rack inside the bag.
If your case or bag does not come with a crush guard, you might want to think about making one – side impact of other heavy luggage can bend even some hard shells.
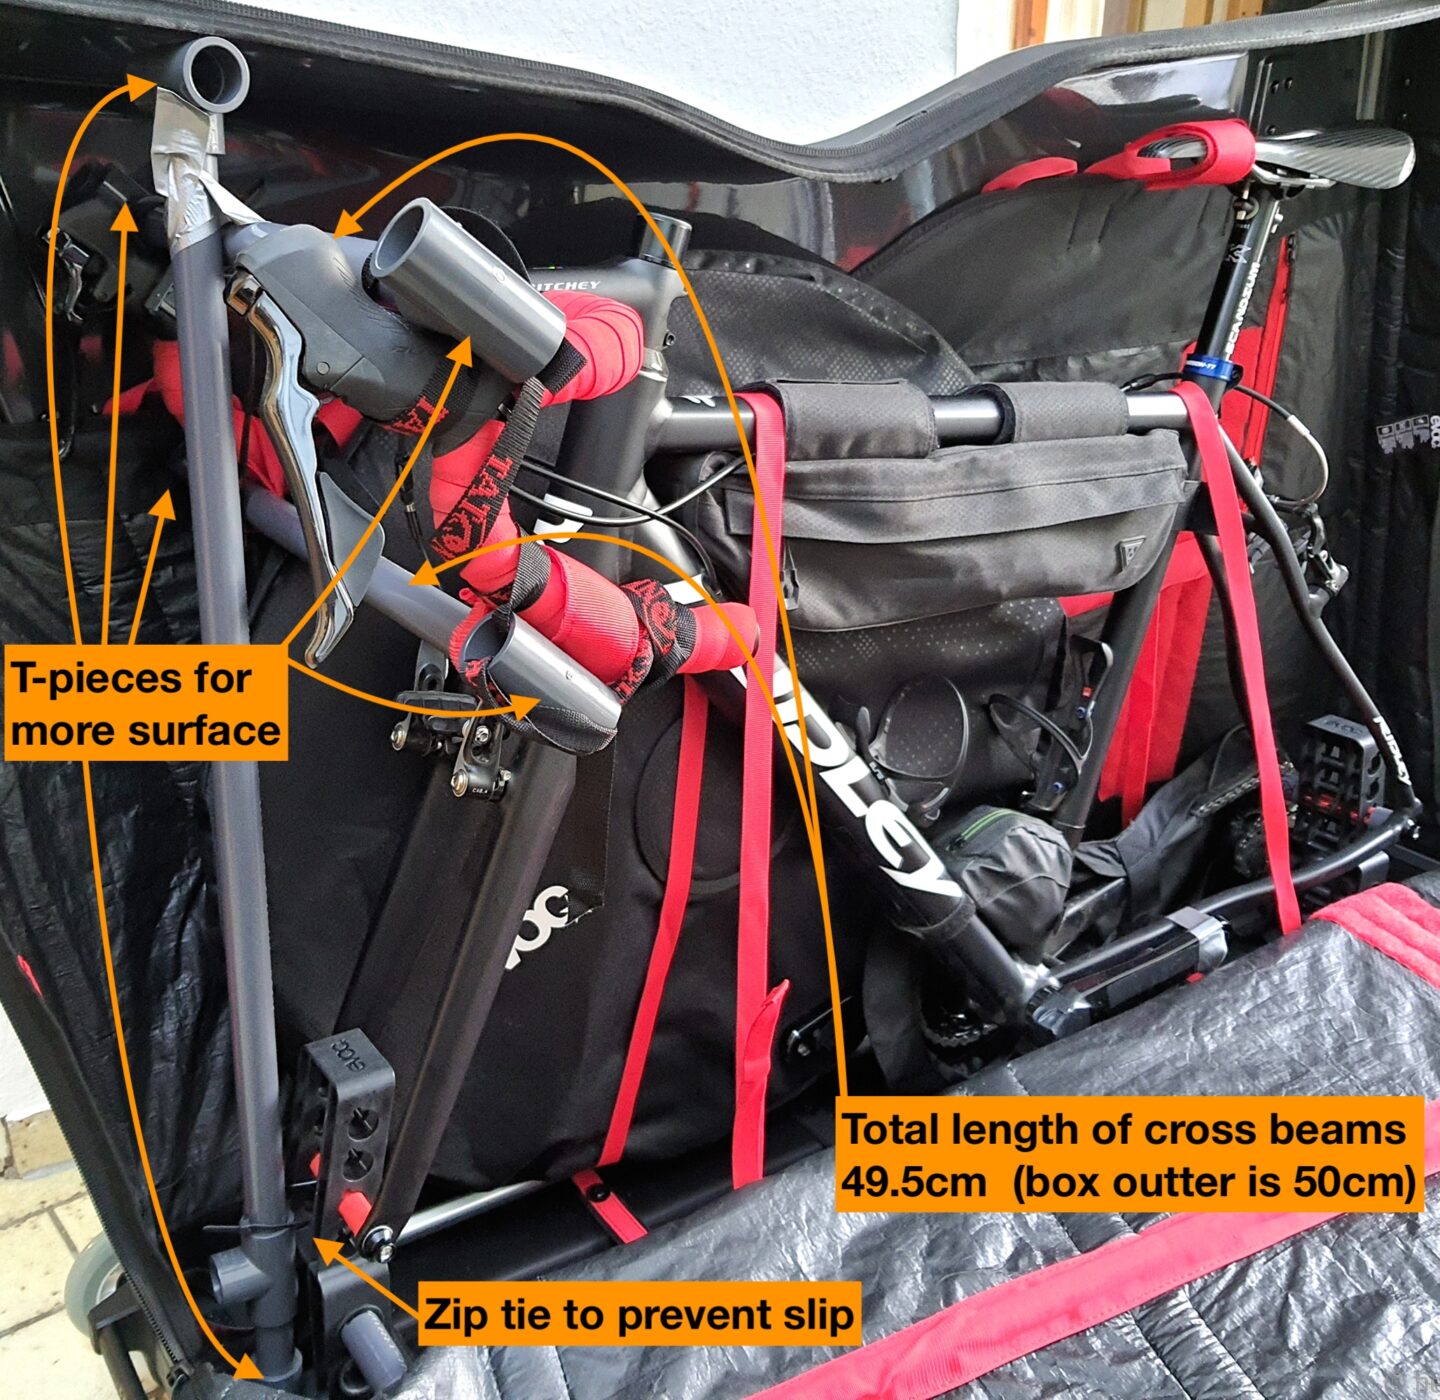
10. In case some other heavy luggage crashes into my bike bag, I installed a top-to-bottom rod in front, secured to the black rack-bracket with a zip tie on the bottom.
Then two rods across, with T-pieces on their ends to distribute incoming force over a wider surface, and secured those to the handle bar and hoods.
11. A second top-to-bottom anti-crush pole in the back followed, padded with a piece of rubber band (1cm thick) against the saddle, while loosely strapped to the back of it, so the pole can not sway left or right.
Zip-tied to the rack-bracket on the bottom, to prevent slippage there, too (it is meant to take an impact, not to slide away).
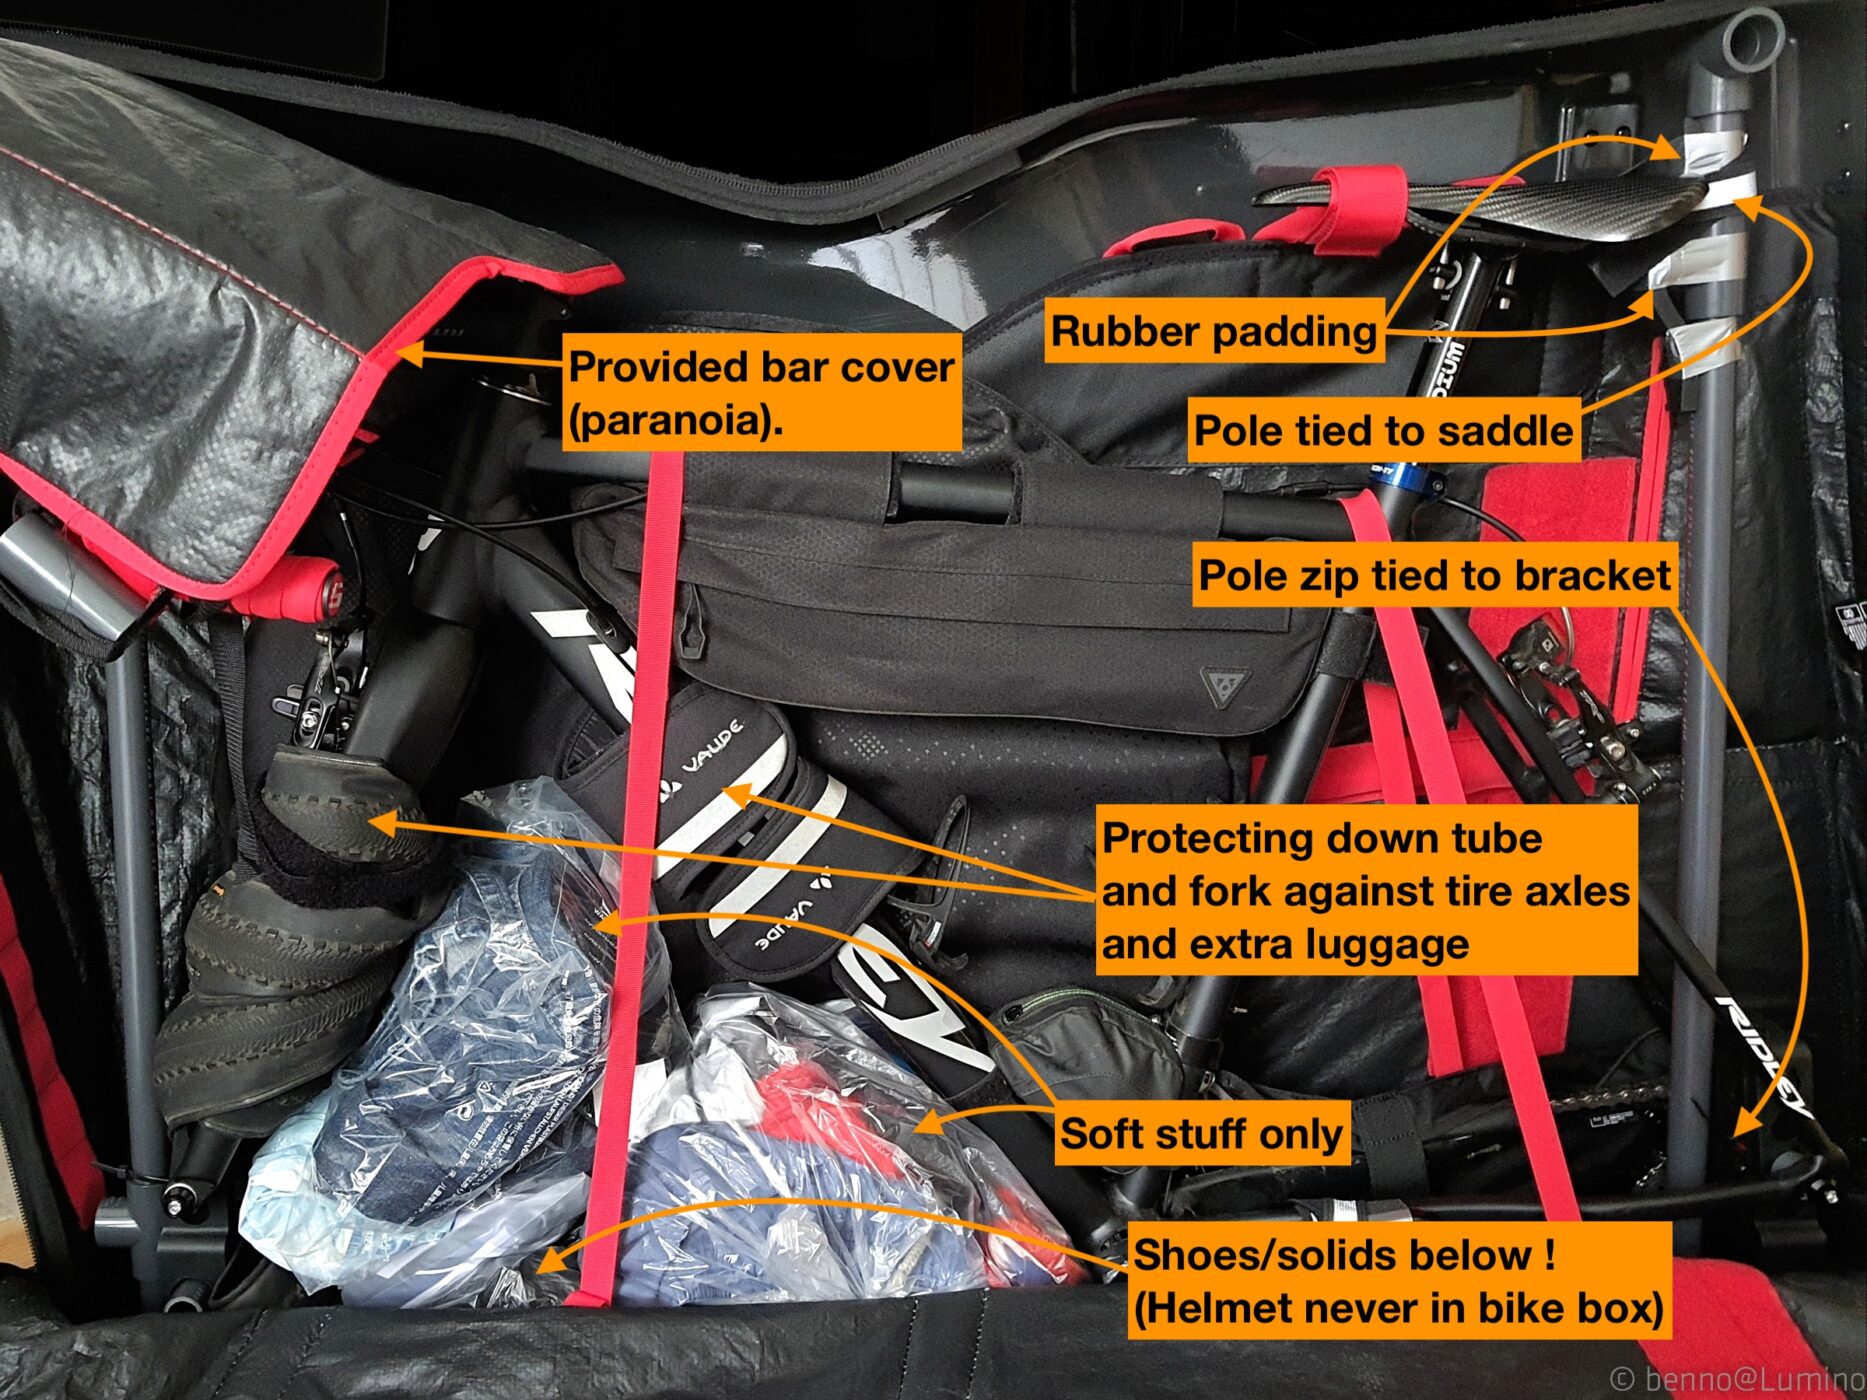
12. I then wrapped the front fork in a spare tire to protect against rubbing/hitting of the extra luggage I will put in the bag, and I cushionned the down tube as well.
This way I dared to put bike shoes in (in a clean bag, and below softer luggage), and some bottles second. I blocked their possible passage underneath the bottom bracket, by placing a tightly packed bag with cycling clothes in front of the BB.
Lastly, I placed more soft stuff in bags on top of that heap underneath the down tube, to prevent shuffling.
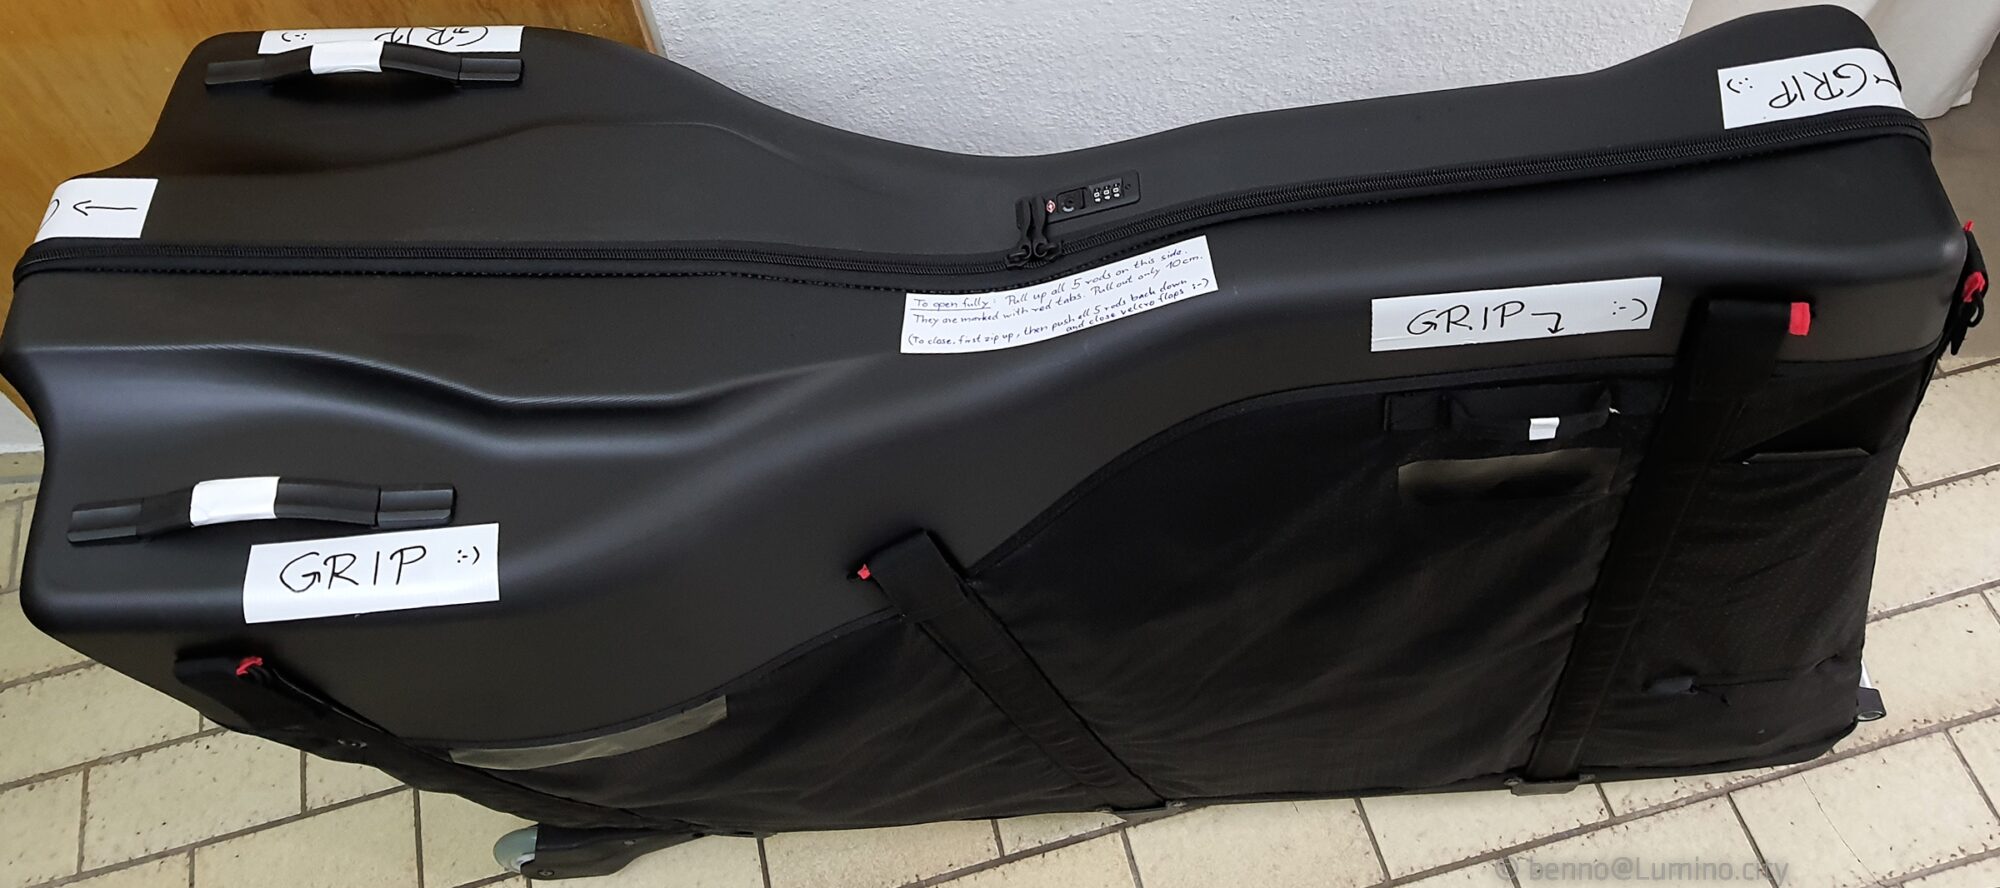
To finish off the prep, I marked the outside handles (black-on-black, not ideal for baggage handlers to find quickly) or grips in a friendly and bright way, and included a short note for anyone who might need to open the case for inspection (first picture).
Apart from the purchase of the bike box (varies greatly by brand, roughly available between 290,- and 900,- Euros) and water pipe pieces (38,- Euros total), the baggage fee depends on distance and airline rules. Within Europe (short haul), Condor charged 55,- Euros per direction for a packed bike up to 30kg.
How much is rent for a bike of this quality, per day? Per 10 days?
Will you bring your own pedals, and possibly even a saddle and a stem – after pre-checking the rental bikes’ geometries before packing for the flight there?
Been there, done that – and it also works fine, of course 😉
.
.
Carbon fork steerer expanders
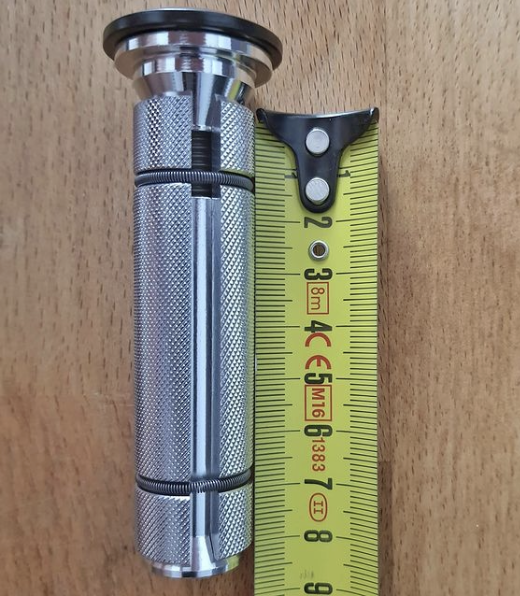
Especially when your forks’ steerer is a little too long, because you wanted the option to lift up your handlebars in the future, or to sell your bike at some point to a person preferring a higher set-up, or you just did not get around to cutting it yet – you will have spacers on top of the stem collar, to balance the steerer tube sticking out above. Some call that “a chimney”. I call it smart.
Of course your 40mm expander still expands, but with spacers on top it does not reach down inside the tube, where this equalising force is needed to keep your fork steerer intact.
If you have a fork made from carbon fibre composite, you most likely have a fork steerer made out of the same material.
Carbon fibre is great, but does not like to be clamped on, or squeezed. Which the stem that you need to attach handlebars to your bike will do.
That is the second task for the so called “expander plug”, that will go in and live inside the top of your steerer tube: It helps you screw in the top cap, which applies force on your head set bearing via the stack of spacers and your stem collar, so that bearing does not rattle around, but will turn your fork-handlebar-column smoothly and play-free. The technical term for that would be, it is the counter part for your preload-adjustment system. But I digress.
More importantly in carbon fibre fork steerers, this expander presses outward against the walls, providing countering forces for the expected clamping force of your stem.
And here is the kicker, finally: Those expanders are usually too short, with their expanding collar being roughly 40mm in height, roughly the same as the collar of the stem.
So please, get an extra long steerer plug, the likes Fouriers, Deda, and Neco make (there are possibly more brands – let me know). They are a bit heavier than the short ones, of course. But they provide that extra safety, should anything be wrong inside your carbon layup or other points of failure – which you would not want at all, on your steerer.
Even 10k and up bikes fail
Specialized 2019
Tarmac SL7 2021
//////
/////////// Deutsch, danke, google ///////////
Vor allem dann, wenn der Gabelschaft Ihrer Gabel etwas zu lang ist, weil Sie die Möglichkeit haben wollten, Ihren Lenker in Zukunft höher zu legen, oder Ihr Fahrrad irgendwann an eine Person zu verkaufen, die eine höhere Einstellung bevorzugt, oder Sie es einfach nicht bekommen haben Um es noch zu schneiden – Sie werden Abstandshalter oben auf dem Vorbaukragen haben, um das oben herausstehende Gabelschaftrohr auszugleichen. Manche nennen das „Schornstein“. Ich nenne es schlau.
Und Ihr 40-mm-Expander dehnt sich immer noch aus, reicht aber nicht nach unten in das Rohr, wo diese Ausgleichskraft benötigt wird, um Ihren Gabelschaft intakt zu halten.
Wenn Sie eine Gabel aus Kohlefaserverbundwerkstoff haben, haben Sie höchstwahrscheinlich einen Gabelschaft aus dem gleichen Material.
Kohlefaser ist großartig, mag es aber nicht, festgeklemmt oder gequetscht zu werden. Was der Vorbau tun wird, den Sie benötigen, um den Lenker an Ihrem Fahrrad zu befestigen.
Das ist die zweite Aufgabe für den sogenannten „Expander Plug“, der oben in Ihrem Gabelschaft sitzt und lebt: Er hilft Ihnen beim Einschrauben der Abdeckkappe, die über den Stapel von Spacern Kraft auf Ihr Steuersatzlager ausübt Ihrem Vorbaubund, damit das Lager nicht klappert, sondern Ihre Gabel-Lenker-Säule leichtgängig und spielfrei dreht. Der Fachausdruck dafür wäre, es ist das Gegenstück zu Ihrem Vorspannungs-Einstellsystem. Aber ich schweife ab.
Noch wichtiger bei Kohlefaserrohren ist, dass dieser Expander nach außen gegen die Wände drückt.
Bereitstellung von Gegenkräften für die erwartete Klemmkraft Ihres Vorbaus.
Und hier ist schließlich der Clou: Diese Expander sind normalerweise zu kurz, da ihr Spreizkragen mit etwa 40 mm Höhe ungefähr so hoch ist wie der Kragen des Vorbaus.
Besorgen Sie sich also bitte einen extra langen Gabelschaftstecker, wie er von Fouriers, Deda und Neco hergestellt wird (möglicherweise gibt es noch mehr Marken – lassen Sie es mich wissen). Sie sind natürlich etwas schwerer als die kurzen. Aber sie bieten diese zusätzliche Sicherheit, falls etwas in Ihrem Carbon-Layup oder anderen Fehlerstellen – was Sie überhaupt nicht wollen würden – an Ihrem Gabelschaft nicht stimmen sollte.
Chain lube options
I prefer Squirt Lube for my chains, a ready-made wax, for environmental reasons and possibly even reduced friction = longer lasting drive train.
Cons:
– Needs to be applied more often than oil (but not by much)
– First application takes some preparation
– In heavy rain, it gets washed out quicker than oil (but will be more biologically friendly in the process 🙂
Pros:
– 100% biological neutral, can drop on grass without harm
– Chain collects less dirt
– Friction reduced
(according to some independent testing, and
road bike pro mechanics often use some kind of wax)
– Drive train lasts longer
How to:
Even a brand new chain has some oil on it from manufacture, this needs to be removed for best results.
Easy method – if chain is already installed on the bike:
Get a biological degreaser. And do not trust the biological-part too much, I’d suggest, i.e. do not water your favourite plants with it.
Clean chain with a rug as much as possible from dirt, also all sprockets and derailleur rollers.
Cover your rear tire and ground/surroundings with old paper or similar, then spray/apply degreaser on lower part of chain while turning cranks backwards. Do not spray directly on ANY bearings, i.e. bottom bracket, rear hub, rear cassette, or rear derailleur! Just hit the chain, nothing much else.
If sprockets need to be cleaned with degreaser (because the rug did not suffice), then be careful to not get degreaser into bearings – or just leave this step alone ;).
Let it sit for an hour.
Use the rug again, then wash of with lots of warm water and soap, rinse with only water.
Dry with rug, let sit over night until chain fully dry.
Shake the bottle vigorously, then apply Squirt Lube on the lower part of the chain from above (the “inside” of the chain, if you want to call it that) – a drop on each roller, while turning cranks backwards, until whole chain is done.
Let sit for two hours.
Do it again.
Let sit for 30 minutes.
You are now ready to ride.
In the future, reapply Squirt Lube directly on the lower part of the chain, from above, onto the rollers once every 200km (estimate), or when you hear the chain get louder in use.
That takes only about one minute every 200km !
More thorough method:
Remove chain from bike (or in case new, from the package).
Drop it into an old, clean, screw-top jar and spray degreaser into it.
This jar can be re-used many times!
Shake well, so degreaser gets into the chain. Shake every time you walk past the jar, for a day or so. If you cannot be bothered, well, do less of that 😛
Take chain out and hang it straight down, jar underneath, so it can drip dry into it.
Close jar, store for future (label it maybe, do not drink or spill…).
Clean chain with water and soap of all the degreaser, then rinse thoroughly with water.
Hang it straight over night, so it can completely dry off.
Take another jar, drop chain into it. Pour Squirt Lube into the jar, about half way up the inserted chain. Shake during the day frequently, so the wax can immerse iteself into the tiniest crevices. If you want to get fancy, put jar into hot water for a bit to heat up the wax, and shake one more time.
Let cool off, then hang it above the jar to drip dry (jar can be re-used in the future!).
Apply chain to bike.
You are now ready to ride.
Same as above: In the future, reapply Squirt Lube directly on the lower part of the chain, from above, onto the rollers once every 200km (estimate), or when you hear the chain get louder in use.
That takes only about one minute every 200km !
////
Danke, Google 🙂////
Ich bevorzuge für meine Ketten Squirt Lube, ein fertiges Wachs, aus Umweltgründen und wegen evtl. sogar reduzierter Reibung = länger haltbarer Antriebsstrang.
Nachteile:
– Muss öfter aufgetragen werden als Öl (aber nicht viel)
– Die erste Anwendung bedarf einiger Vorbereitung
– Bei starkem Regen wird es schneller ausgewaschen als Öl (ist dabei aber biologisch verträglicher ?
Vorteile:
– 100 % biologisch neutral, kann unbeschadet auf Gras fallen
– Kette sammelt weniger Schmutz
– Reibung reduziert – (Laut einigen unabhängigen Tests (Rennrad-Profi-Mechaniker verwenden auch häufig eine spezielle Art von Wachs)
– Antriebsstrang hält länger
Wie bringen wie Squirt Lube auf die Kette:
Selbst eine nagelneue Kette hat von der Herstellung her etwas Öl, das für beste Ergebnisse entfernt werden muss.
Einfache Methode – wenn die Kette bereits am Fahrrad montiert ist:
Holen Sie sich einen biologischen Entfetter (und vertrauen Sie dem biologischen Teil nicht zu sehr, würde ich vorschlagen, d.h. gießen Sie Ihre Lieblingspflanzen nicht damit…).
Kette mit einem Lappen so gut wie möglich von Schmutz befreien, ebenso alle Zahnräder und Schaltungsrollen (das sollte sowieso häufiger geschehen 😛 ).
Bedecken Sie Ihren Hinterreifen und Untergrund mit altem Papier oder ähnlichem, sprühen/tragen Sie dann Bio-Entfetter auf den unteren Teil der Kette, während Sie die Kurbeln rückwärts drehen. Sprühen Sie NICHT direkt auf Lager, d. h. Tretlager, hintere Nabe, hintere Kassette oder hinteres Schaltwerk! Einfach auf die Kette treffen, sonst nichts.
Lassen Sie es für eine Stunde sitzen.
Reinigen Sie die Kette mit dem Lappen erneut, und waschen Sie dann mit viel warmem Wasser den Entfetter ab. Am besten nicht in den Untergrund oder die Kanalisation!
Kette mit einem anderen Lappen trocknen, über Nacht stehen lassen, bis die Kette vollständig trocken ist.
Schüttle die Flasche, dann trage Squirt Lube von oben auf den unteren Teil der Kette auf (die „Innenseite“ der Kette, wenn du es so nennen willst) – ein Tropfen auf jede Rolle, während du die Kurbeln rückwärts drehst, bis die ganze Kette ist erledigt.
Zwei Stunden ruhen lassen.
Mach es nochmal.
30 Minuten ruhen lassen.
Sie sind jetzt fahrbereit.
Tragen Sie in Zukunft Squirt Lube direkt auf den unteren Teil der Kette von oben auf die Rollen einmal alle 200 km auf (geschätzt) oder wenn Sie hören, dass die Kette im Gebrauch lauter wird.
Das dauert nur etwa eine Minute alle 200 km!
Gründlichere Methode:
Entfernen Sie die Kette vom Fahrrad (oder falls neu, aus der Verpackung).
Geben Sie es in ein altes, sauberes Schraubglas und sprühen Sie Entfetter hinein.
Dieses Glas kann viele Male wiederverwendet werden!
Gut schütteln, damit der Entfetter in die Kette gelangt. Schütteln Sie etwa einen Tag lang jedes Mal, wenn Sie an dem Glas vorbeigehen. Wenn das nervt, dann mach weniger davon 😛
Nehmen Sie die Kette heraus und hängen Sie sie gerade nach unten, das Gefäß darunter, damit sie hineintropfen kann.
Glas verschließen, für die Zukunft aufbewahren (evtl. beschriften, nicht trinken oder verschütten…).
Kette mit Wasser und Seife von allen Entfettungsmitteln reinigen, dann klarspülen mit Wasser. Hängen Sie es über Nacht gerade auf, damit es vollständig trocknen kann.
Nehmen Sie ein anderes Glas und lassen Sie die Kette hineinfallen. Gießen Sie Squirt Lube in das Glas, etwa auf halber Höhe der eingesetzten Kette. Tagsüber häufig schütteln, damit das Wachs in die kleinsten Ritzen eindringen kann. Wenn Sie Lust bekommen möchten, stellen Sie das Glas kurz in heißes Wasser, um das Wachs zu erhitzen, und schütteln Sie es noch einmal.
Abkühlen lassen, dann zum Abtropfen über das Glas hängen (Glas kann später wiederverwendet werden!).
Kette am Fahrrad anbringen.
Sie sind jetzt fahrbereit.
Wie oben: Squirt Lube in Zukunft erneut direkt auf den unteren Teil der Kette von oben auf die Rollen auftragen, einmal alle 200 km (geschätzt) oder wenn Sie hören, dass die Kette im Gebrauch lauter wird.
Das dauert nur etwa eine Minute alle 200 km!
Wheel rim depth
(German below)
Deeper dished rims are more aerodynamic than the shallow variety. They get you further, or faster, at the same energy input.
Some disadvantages can be found as well, of course, as always: They are heavier than shallow rims of the same material/stability, and they are more prone to getting pushed around by wind gusts from the sides.
As with disc brakes, everyone should decide for themselves what he-she-it prefers, or even “needs”.
And this topic is a very good example for me turning against the obvious numbers, by preferring the feel (and in this case, looks as well) of very lightweight bikes over the obvious advantages in aerodynamic
/////////////////////////////
Tiefere Felgen sind mehr “aero”. Sparen Kraft beziehungsweise bringen uns schneller und/oder weiter durch den Wind bei gleichem Kraftaufwand.
Nachteile gibt es – wie immer – auch: Sie wiegen bei gleicher Stabilität/Material mehr und sind für Windstösse von der Seite empfindlicher.
Wie bei Scheibenbremsen sollte jeder selbst entscheiden, was ersiees bevorzugt oder gar “braucht”.
Und dieses Thema ist ein gutes Beispiel dafür, dass auch ich mich hin und wieder gegen die wahren Zahlen entscheide, und mir das Gefühl eines leichten Velos wichtiger ist als die klar messbare Zahl der Aerodynamik.
Disc Forks. Uhm, nah, Suspension Forks.
..or should we say “where the marketing craze got real”.
Seeing more and more of those on household bikes led me to seriously question if the customer really wants those, or if the sales man / brands / distributor pushed them onto unsuspecting individuals.
Hear me out.
The advent of reliable suspension in forks for bikes were and are a revolution, of the good kind!
For downhill. To keep the front end on the ground as much as possible, so higher speeds can be managed on the descent.
They are heavy, but that does not matter in the scenario they are built for.
They are expensive, and need to be maintained and parts replaced. Then they can do wonders for their riders.
Fast forward a couple of years, and it feels like each and every bike for the commoner like us, city slickers, commuters, tarmac tarzans and janes, was blessed with a suspension fork.
Why.
They dive down when you pedal along, costing forward motion.
They were made cheap. So cheap, maintenance is impossible.
And after a little bit of time, and rain, they would dive rough, or stop altogether.
And then, you are left with a heavy, solid, non-suspended fork, riding through your city.
And what benefit was there?
I see NONE. Enlighten me.
If you just go up and down curbs without lifting your wheels, you will stress your wheels beyond spec, suspension fork or no.
If you want a more cushionned ride, then get wide tires, and ride them soft. Job done.
Point is, the woman with the child seat in the back, riding her bike to the grocery store at 14km/h through her city, does. not. need. suspension. She could probably do with a less heavy bike though.
Carbon Fibre Composite
As frame material, or even now everywhere, it seems to be the gold standard.
I really like it as saddle material actually, making very comfortably flexing rails, at a very low weight – still, for insane prices. But in percentage, a lot of weight can be saved here, and comfort to be had. Tune Skyracer weighs 63 grams. A Fizik Arione between 147 and 243 grams.
Same with seat posts. Comfortably flexy and light. Torque wrench NEEDED to install on the bike, though.
But.
My cyclocross frame in 54 cm weighs 1150 grams without fork.
Of course, especially with the advent of disc brakes for road bikes, those frames for road racing bikes have again been drastically reduced in weight, coming in at around 700 grams per frame.
I would not touch any of those, because as with any material, I believe in redundance. Some extra stability, that I might need, when a defect in craftsmanship unintentionally introduced a stress maximum within the layup. So, with a cyclocross frame, an avid amateur like me has the best of both worlds, as I am sure.
Now, let’s compare that 54 cm carbon fibre composite frame to the very same size, make, and geometry in aluminium. The latter weighs in at 1510 grams. That is 360 grams more than CF, if my calculator does not cheat me.
Taking into account that the composite material is perfectly made for the stress its parts are intended to withstand, but, for example, a lot of manufactures will VOID any warranty if the user sits on the top tube (you read that right), for 360 grams more I will gladly take the aluminium version.
Because:
It costs way less. Way.
The bottom bracket shell in aluminium or steel frames is usually thread-in BSA standart, with hardly any problems with spec, and other measurements, ever.
Carbon frames are known to have their press fit openings out of specification for the bottom brackets to be pressed in (it is quite a challenge to make a perfectly round shape to the 20th of a mm, when the item in question consists of multiple layers of carbon fibre lay-up, drenched in resin, baked at around 130 degrees Centigrade, and then cooling off back down to room temperature – go figure), causing all sorts of noises from misaligned bearings, and wear of crank arms, loss of watts transferred.
Is it possible to make a perfectly round and aligned BB-Shell from Carbon fibre to mett specifications? Absolutely. But it seems manufacturers (yes, even “brand, expensive ones”) are either too lazy or too cheap. If only their frames were, then, too….
Aluminium can fail as well, of course. But a kick into the side of a tube, a tumble and fall, will usually show a scar on the outside, if problematic.
Carbon fibre can actually deflect and tear on the inside and thus lose strength, with little to no sign of that problem on the outside.
So, only for the very brave, going for a 700grams CFC frame (then with rim brakes of course, for the ultimate in light weight bike), this seems to be a tolerable trade in for stability, and safety redundance.
And for those believing that CFC frames ride better, because they are somehow super stiff, while being somehow super “compliant” at the same time (i.e. cushiony against road bumps) should really curb their intake of marketing outlets, and talk to some engineers about the rigidity of trusses…
If you want cushion, get a frame with a sloping top tube, and sort out the (then longer) seat post most fitting your needs. Get wider tires. Get Carbon Fibre saddle rails, or a saddle entirely made of CFC.
Go blind-compare two identical bikes with identical parts and identical weight (I dare you), one in CFC, one in steel or aluminium, and tell me what you felt.
Which one was “better”? Which one was which material?
And if you did not get around to do this test yet, please shut up until you did.
After that, I am more than willing to learn about whatever you found out.
As for forks, the weight penalty of using anything other than Carbon Fibre Composite is higher in relation to total weight. My cyclocross forks are CFC from drop-out to top of the steerer, being “heavy” at 470 grams, cut to length (around 490 frams uncut).
My Titanium forks weigh in around 800 grams for the same structural stability, aluminium and steel will be slightly heavier still. A skinny road bike fork in CFC can be light as 340 grams.
So, I will cut CFC steerers very carefully with fresh, clean blades, round out the ends to perfection to avoid stress maximums there.
And place a very long expander to go deep inside the steerer tube, and adjust everything to torque specs with a calibrated wrench.
I will use a super sized cone ring for the bearing play adjustment, to reduce stress on the carbon being pressed from the outside, from the inside of the top bearing seat.
I will use stems with at least 40mm clamping height to distribute the forces over as much carbon steerer tube as possible, and will never clamp the top of the tube, leaving at least 1mm exposed, spacer on top.
I will watch that nothing hits my fork legs from the side, ever. And have it inspected if it happens.
I will check for play in the steerer regularly, and also drop out the fork every 4000 km, to check for visible damage where it is clamped and touched by parts of the bearings and stem.
Lastly, I want to point out that my favourite shape drop bars are aluminium, weighing in at 263 grams in size 400mm. The same brand offers carbon fibre bars, same model, triple the price, weighing in at 230 grams. Thirty-three grams saved – One fall-over accident of the bike leaning awkwardly, and you might be in for a surprise later, just riding along.
Find out what is what, and what you need. Do not believe any hype.